Design Process: The value of failure before success

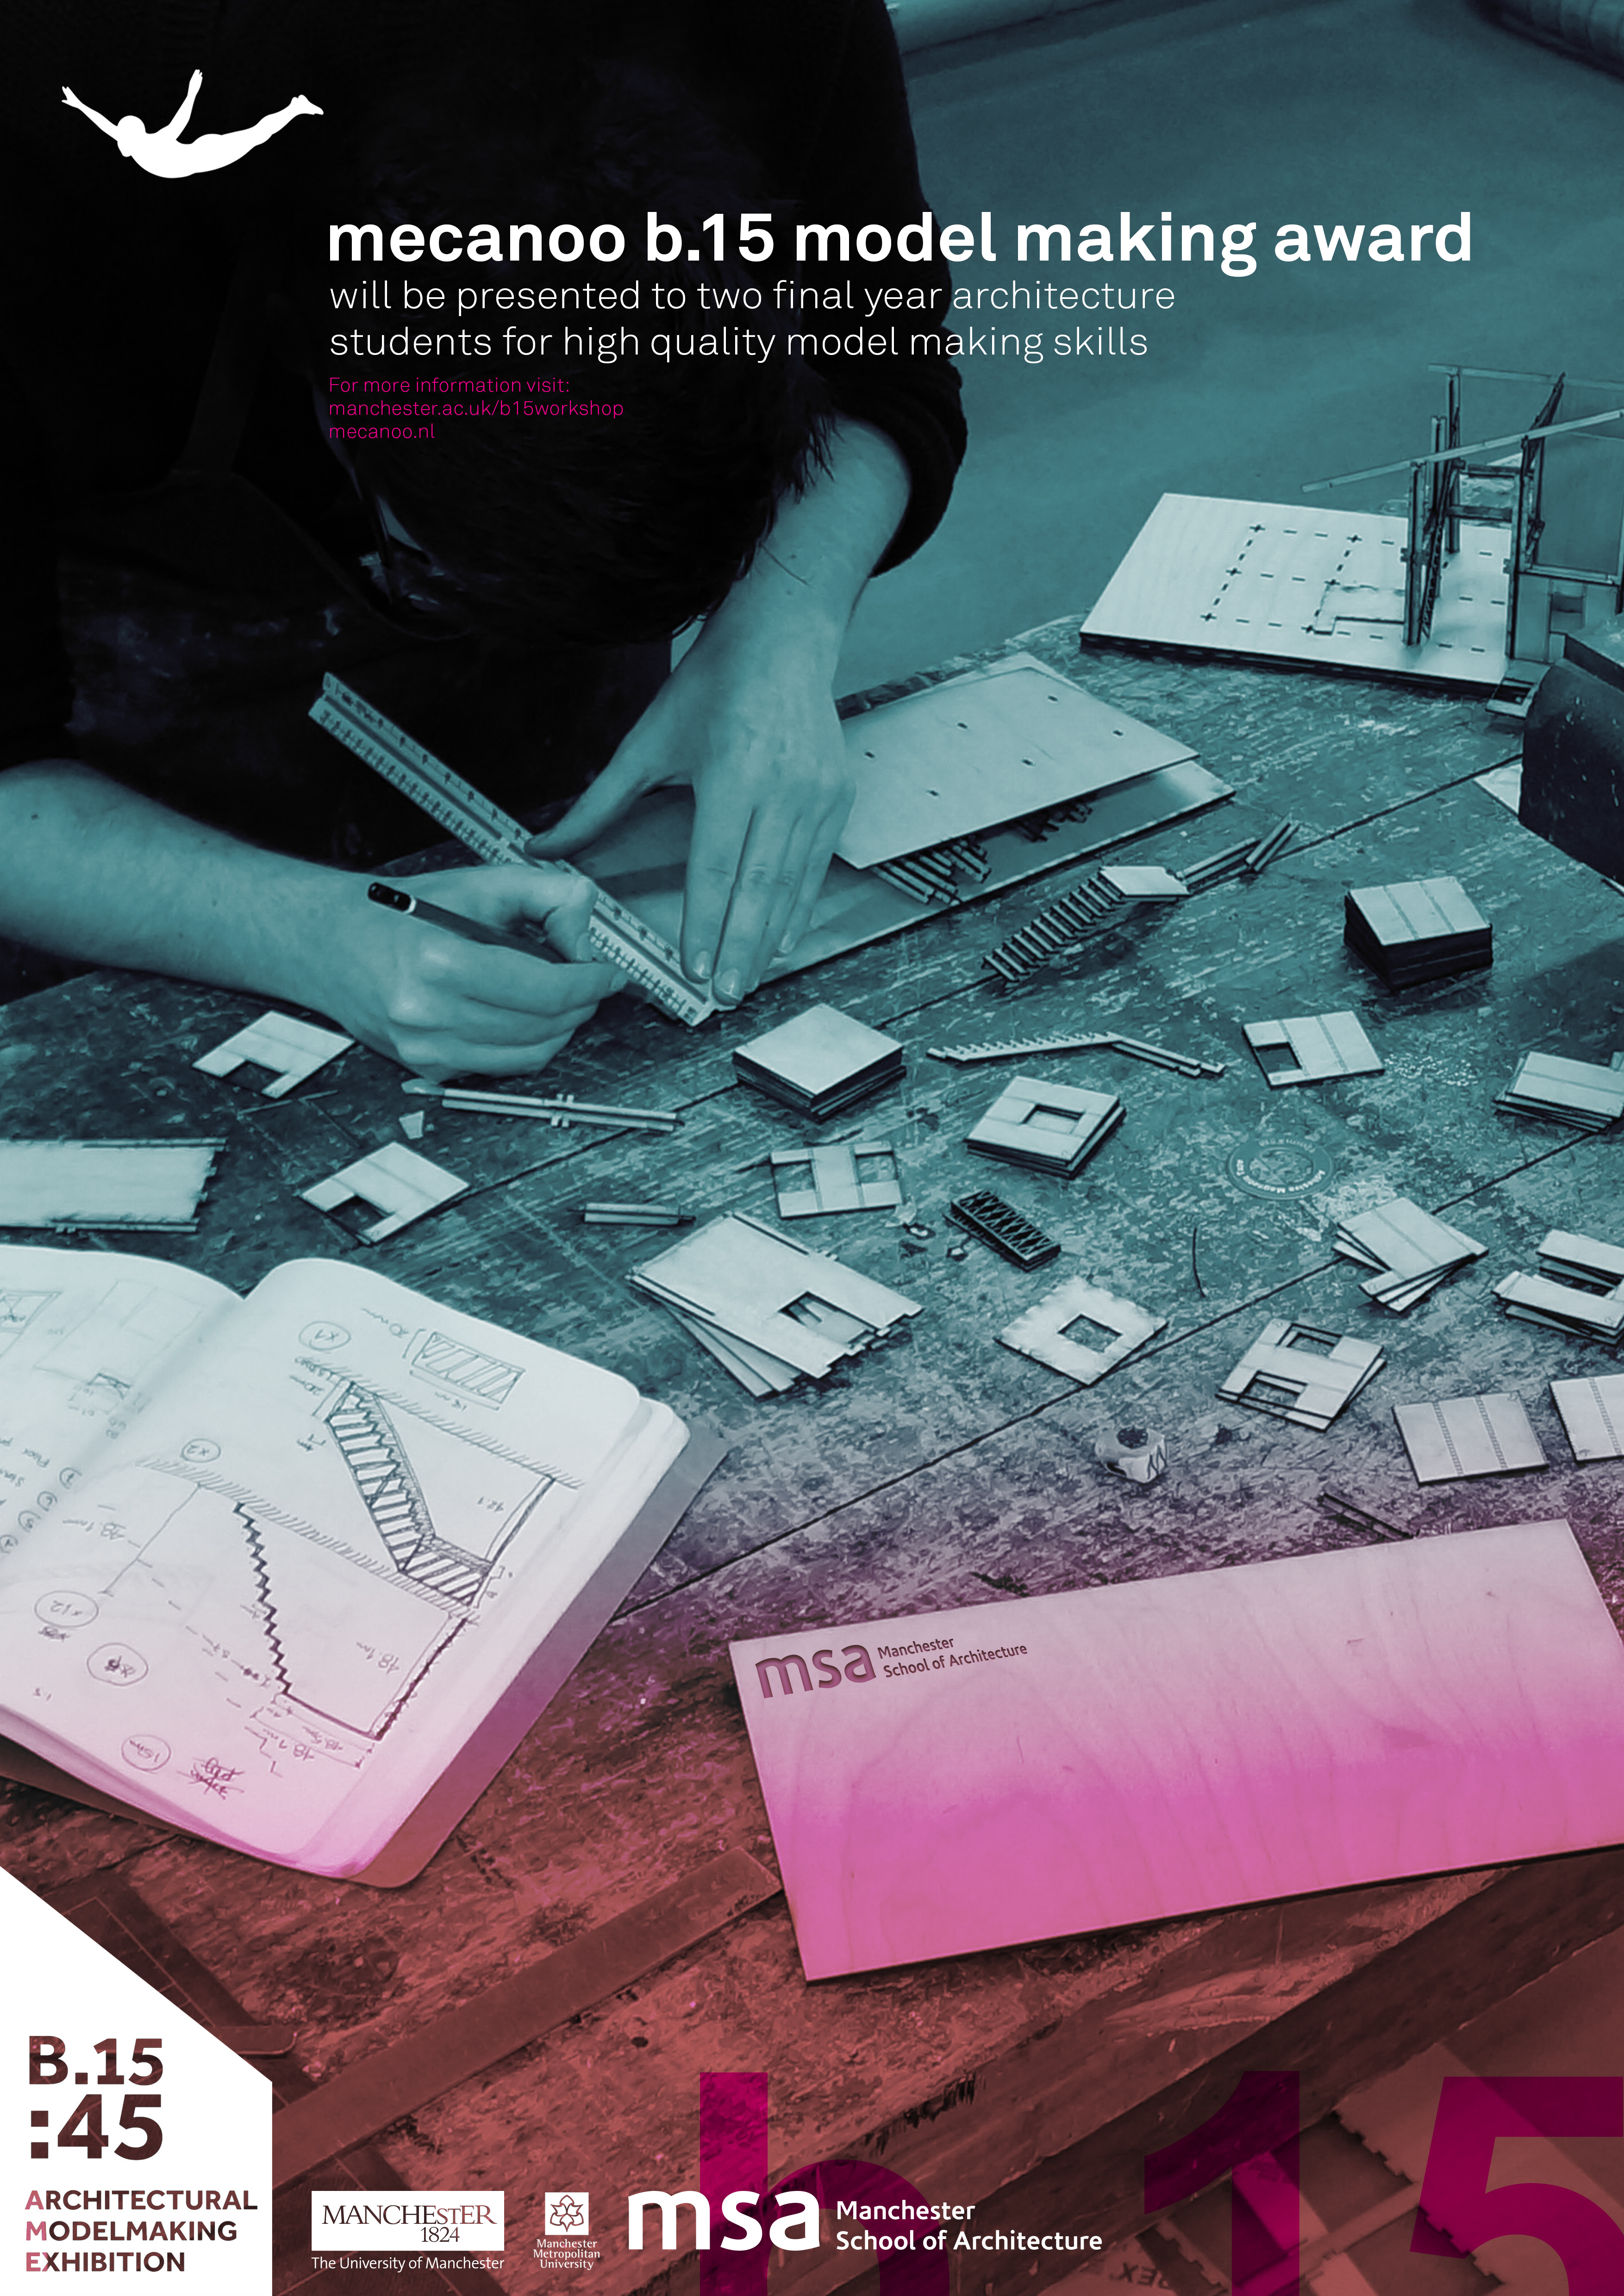
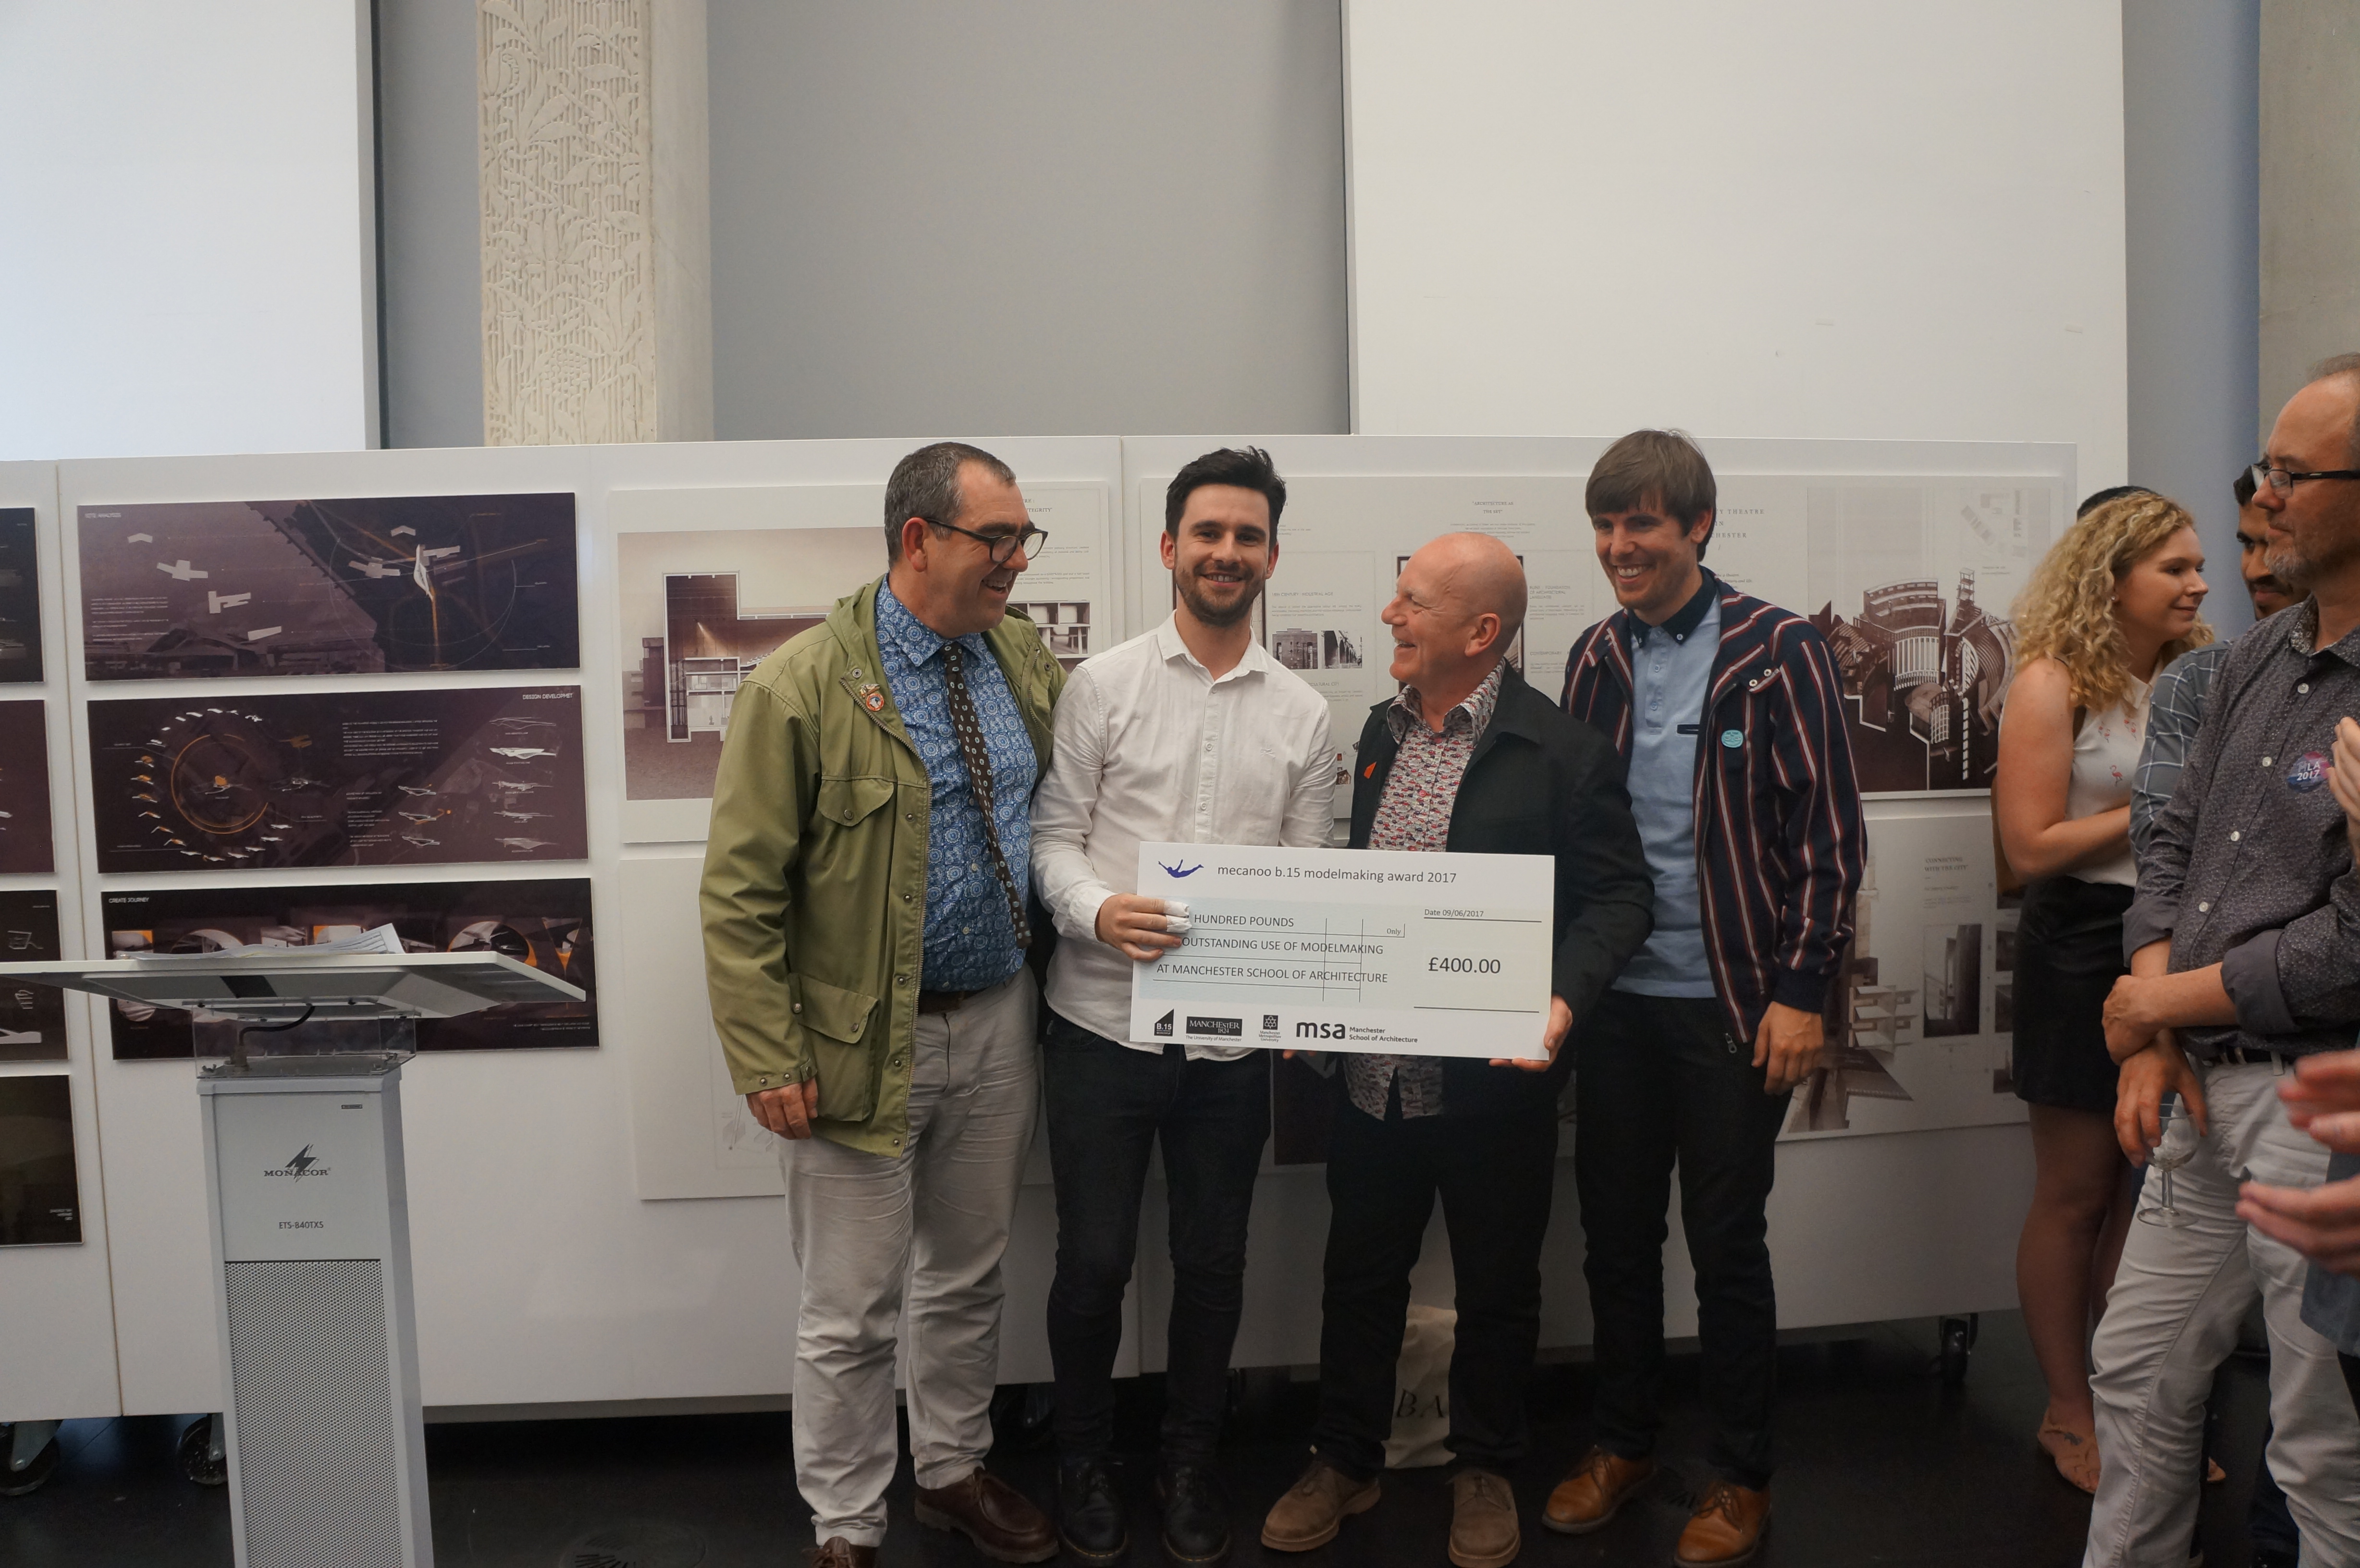
Back in June there was much to be celebrated at the end of year show where many MSA students revealed their hard work to eager practice and public visitors. Part of the popular launch is the prize giving ceremony where students are selected for their prowess in specific areas of study. Drawing, Team-work, Innovation, Sketchbook, Academic and Visual achievement awards have been permanent fixtures at the school for many years. A more recent addition to this list is our own: The B.15 Modelmaking awards sponsored by Mecanoo.
For the past three years Netherlands based architects Mecanoo have generously supported our desire to celebrate the use of models within architectural design. The awards consider not just a single piece of work but each individuals attitude and approach to using physical models as a vehicle to advance the understanding of their design to both themselves and to others.

This has helped to stimulate an improved output in terms of typology and quality of the models produced across all years of study. This year highlighted that with the number of long-listed projects proving difficult to cut down. Seeing these projects develop over the academic year put us as technicians in a good position to see not only the physical changes in terms of the work but in each individuals attitudes to the idea of making in design and how its correct use can serve to inform key design decisions along the way.
I decided to write this article to highlight a particular case in which a student initially struggled to grasp the idea of experimentation before settling on the most appropriate way forward with their work. The student won this years’ MArch first prize for his use of modelmaking. A prize which was well deserved and from our perspective a pleasure to award given the steep learning curve and effective turnaround that was made over the last two years of study.

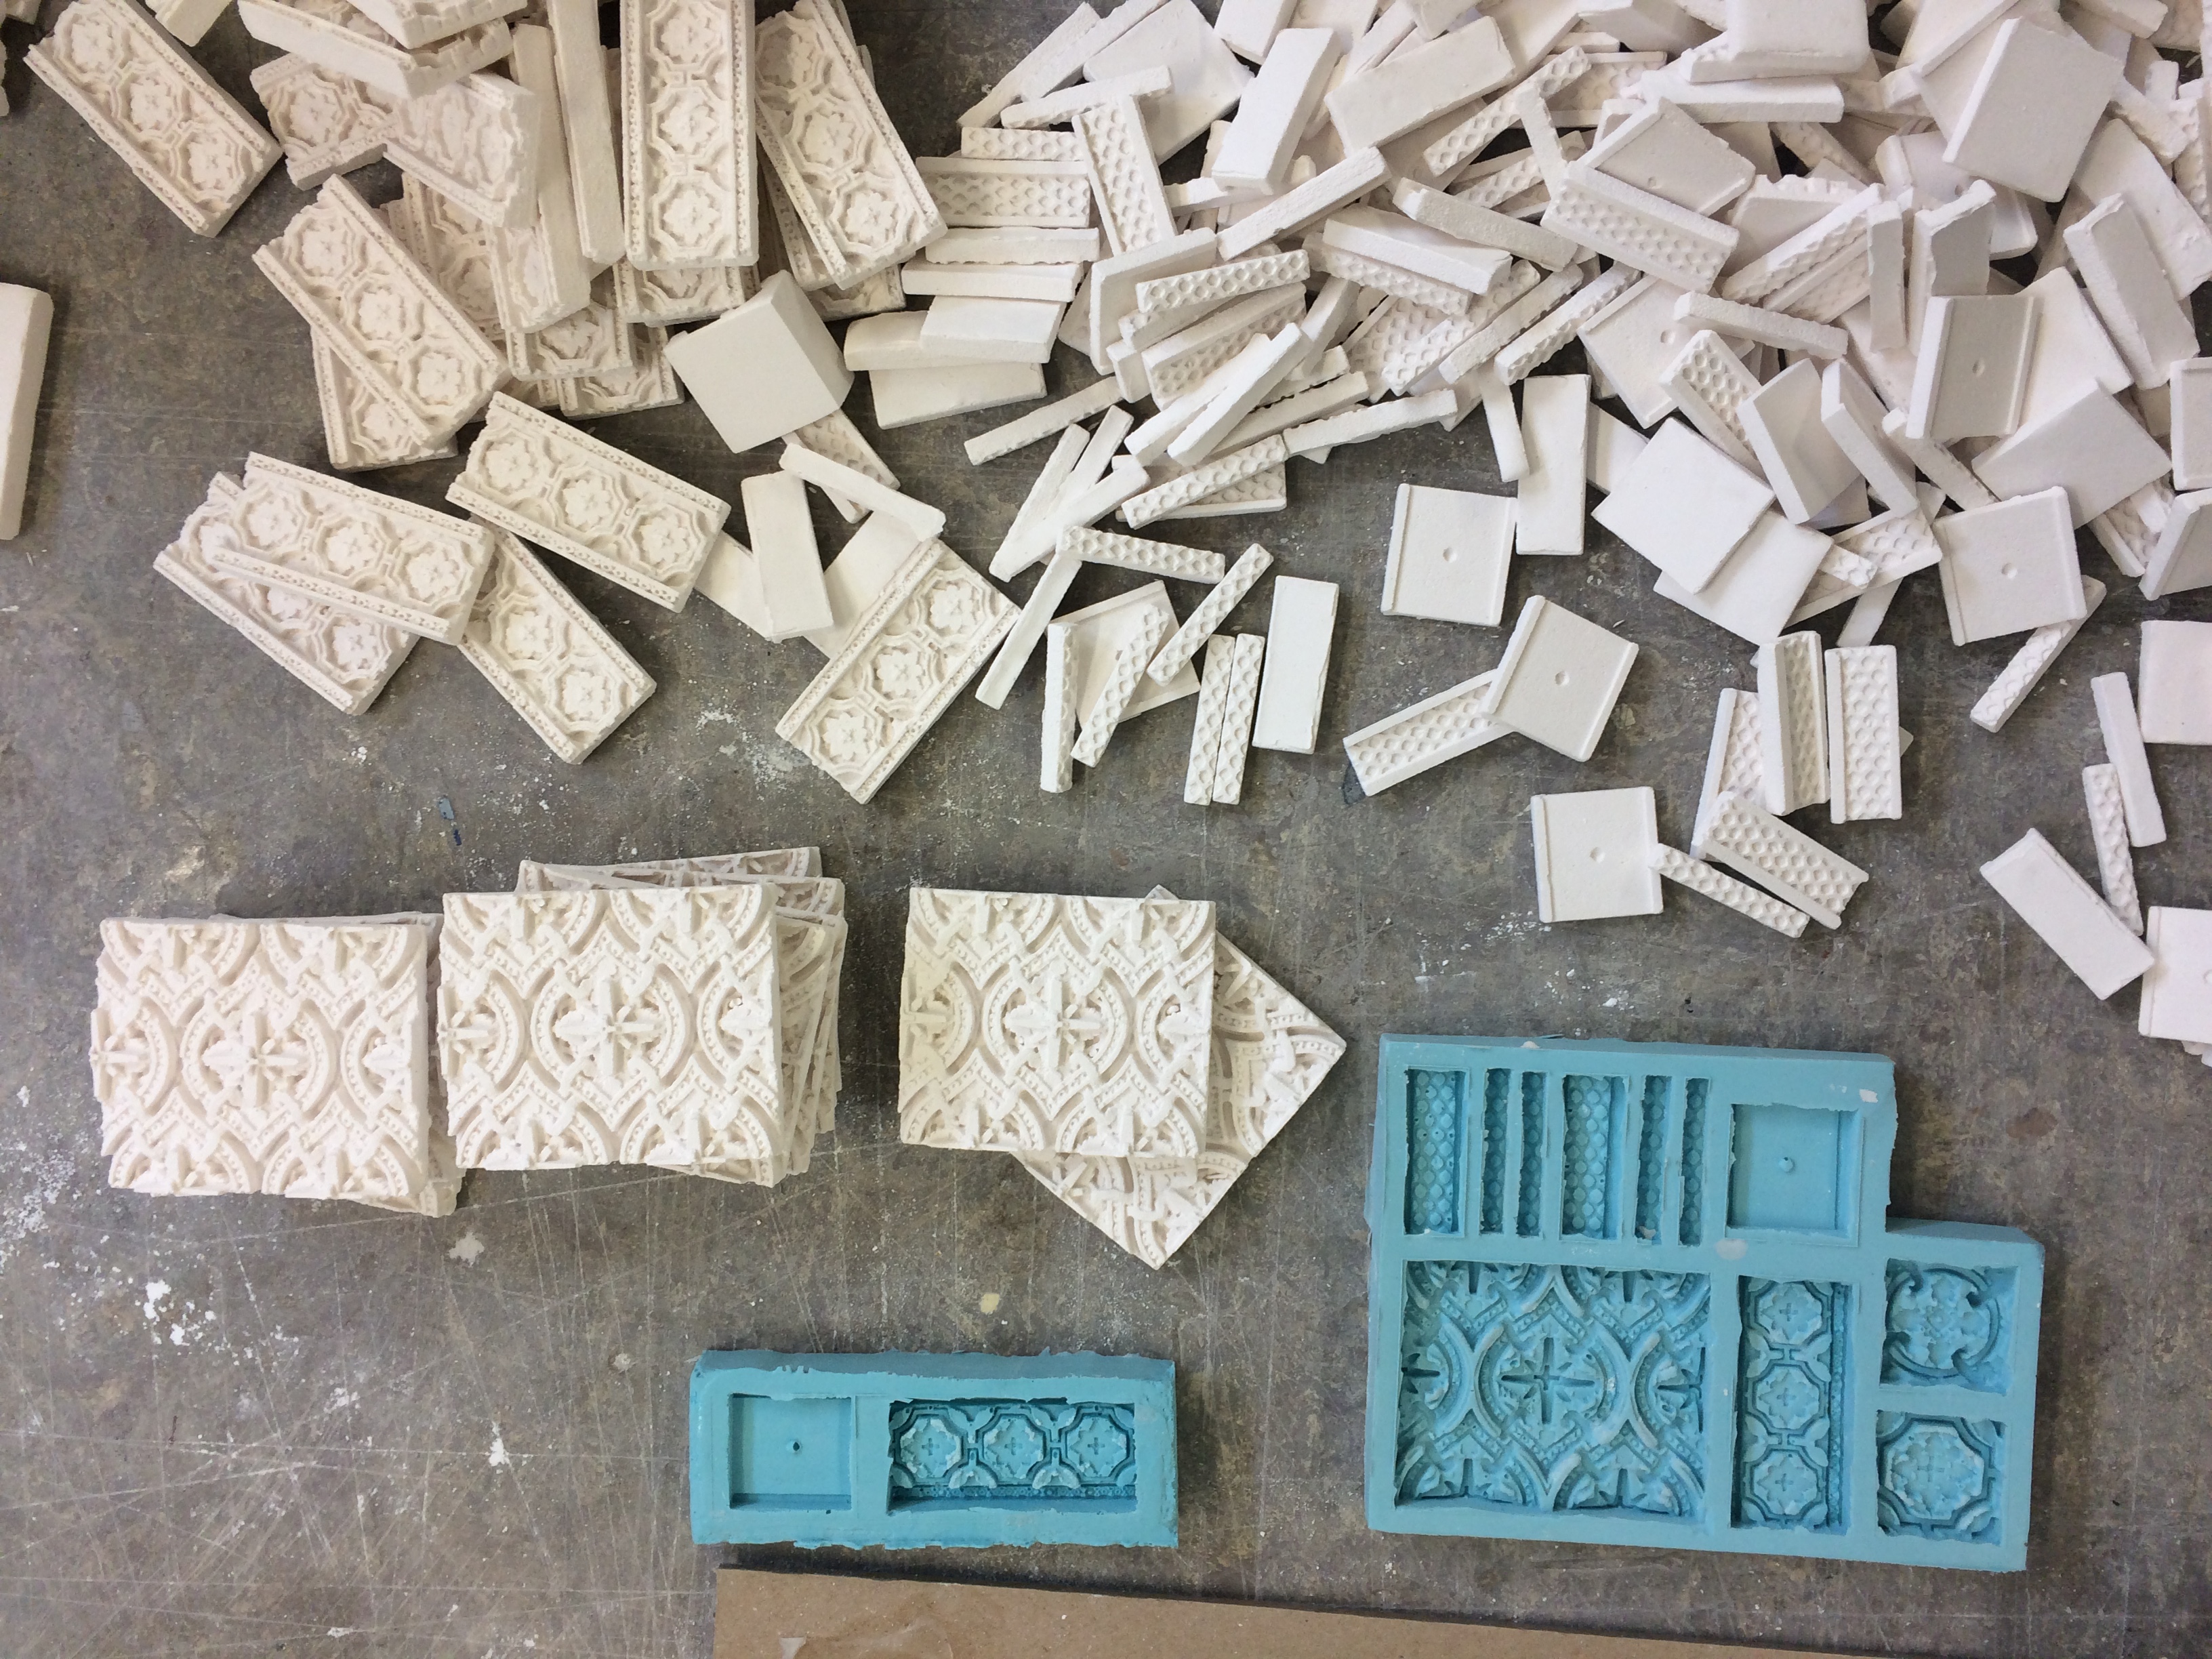
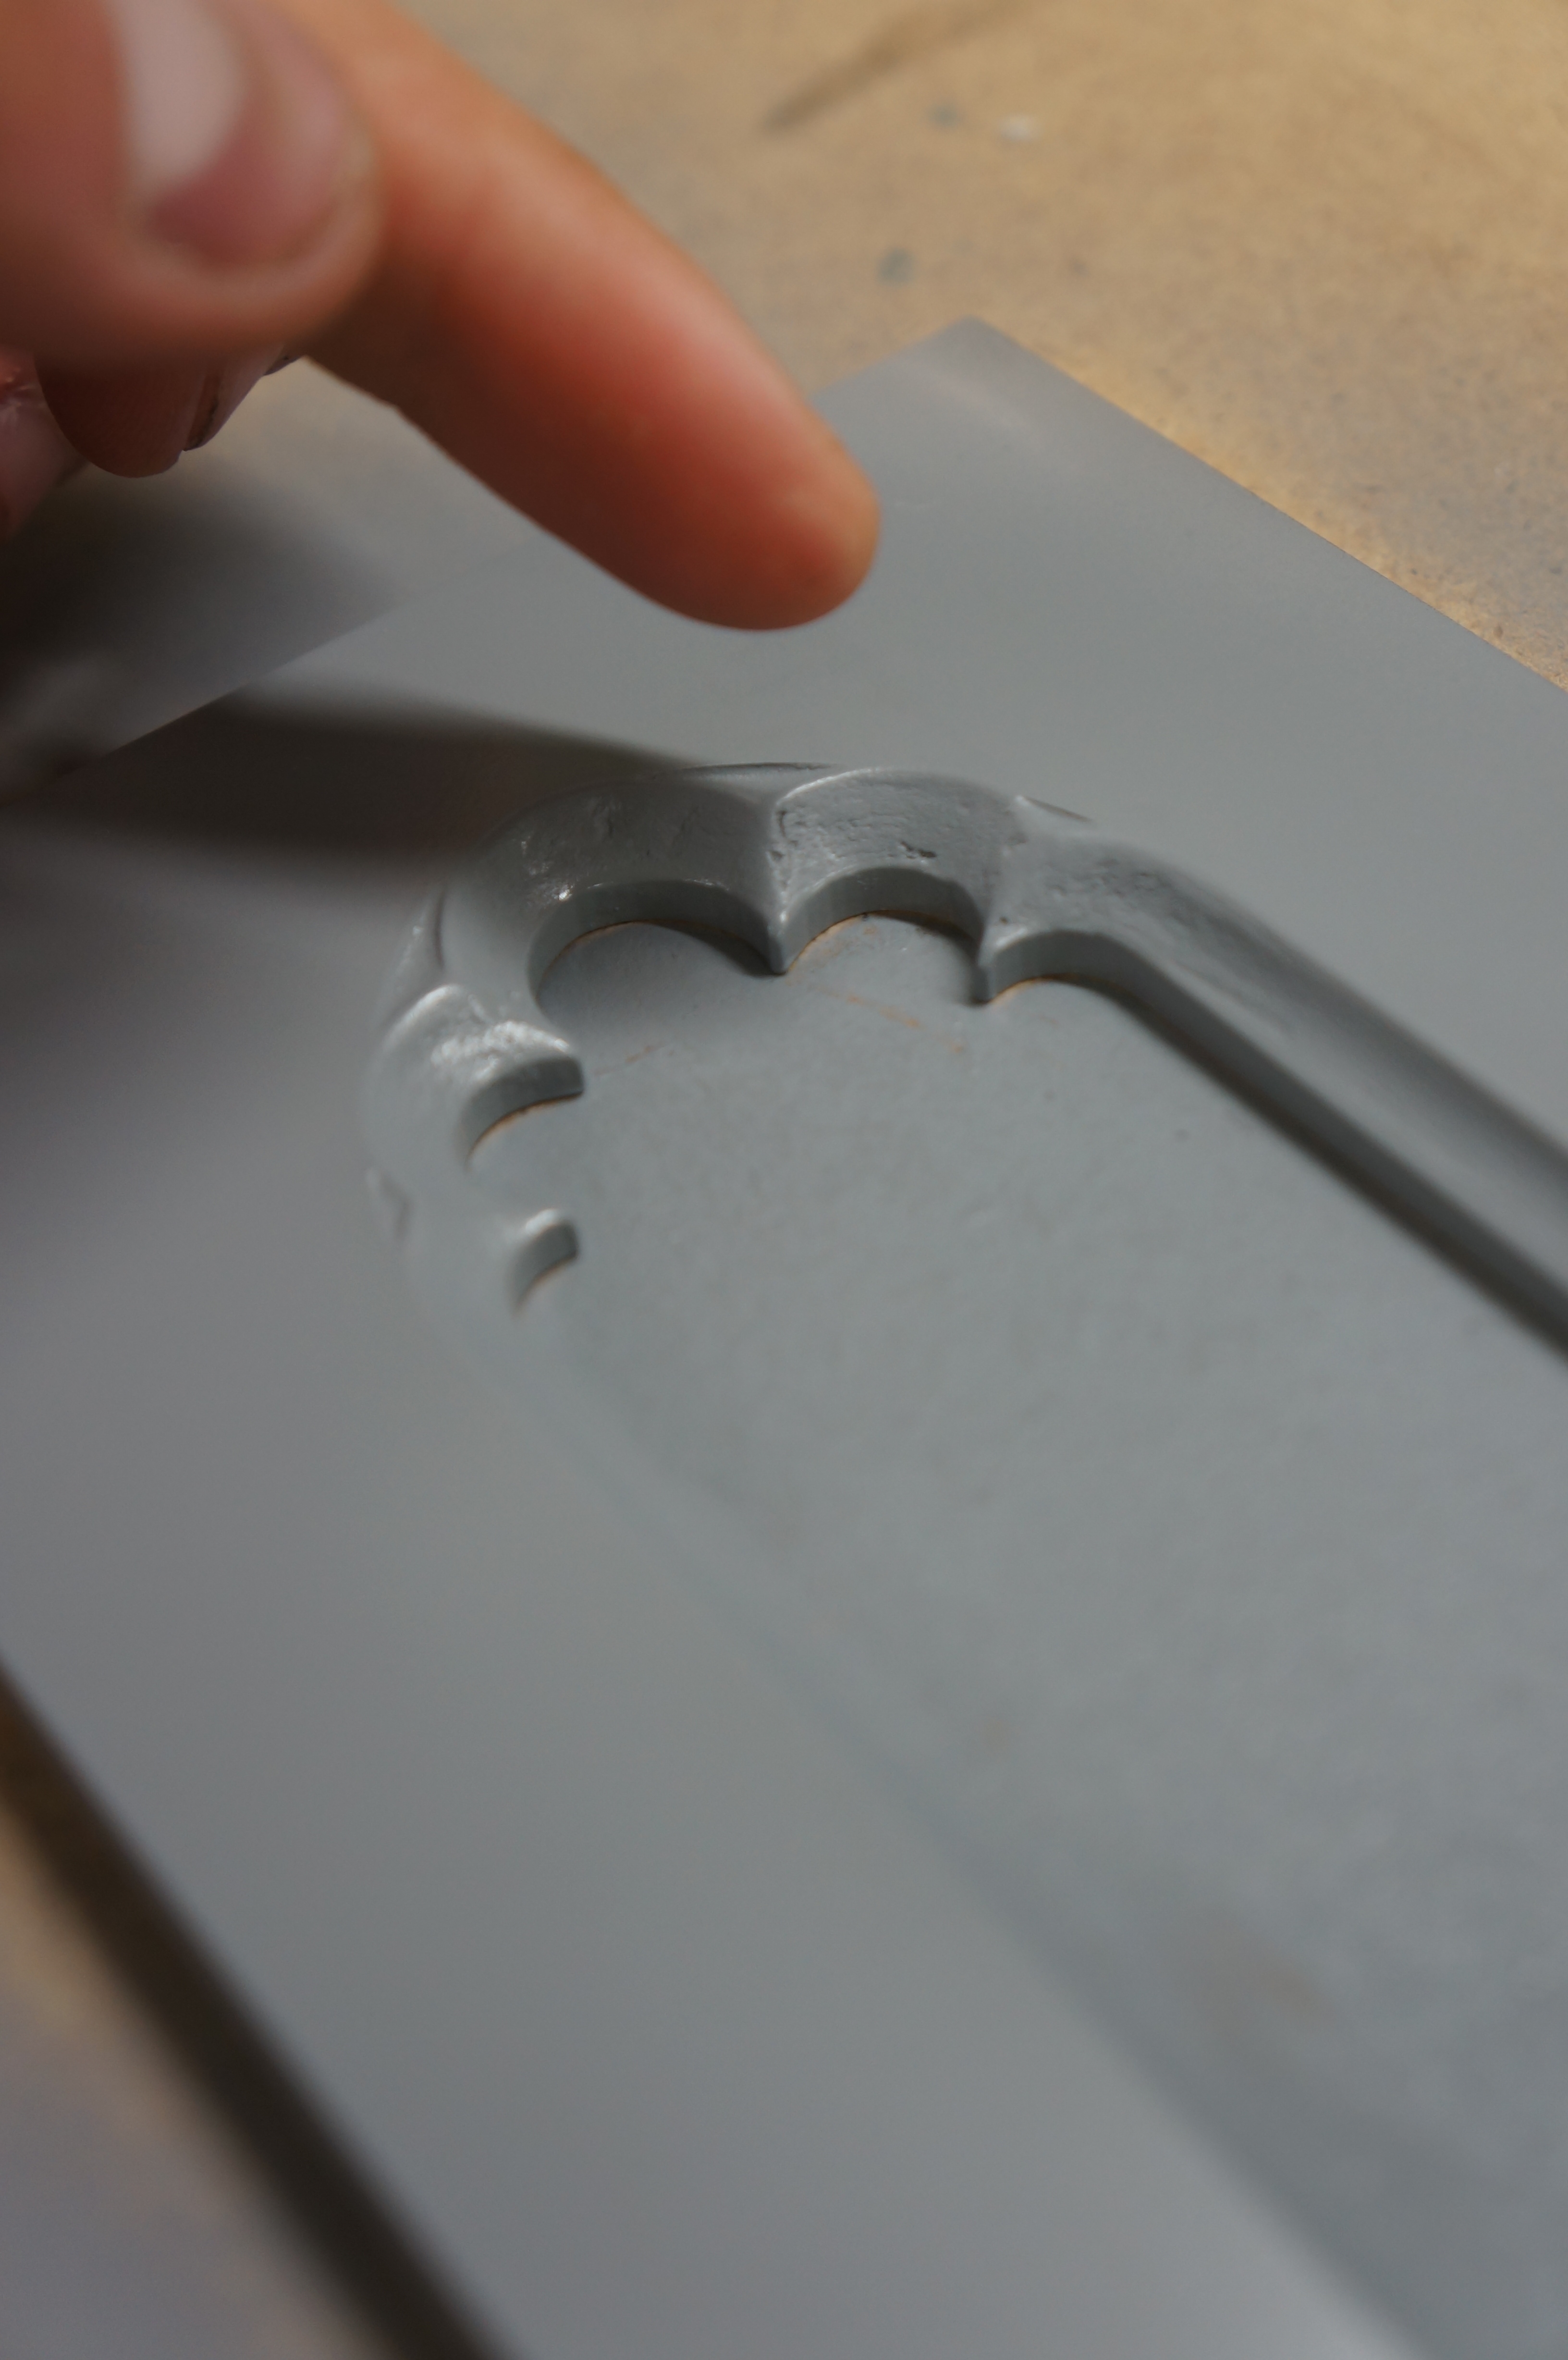
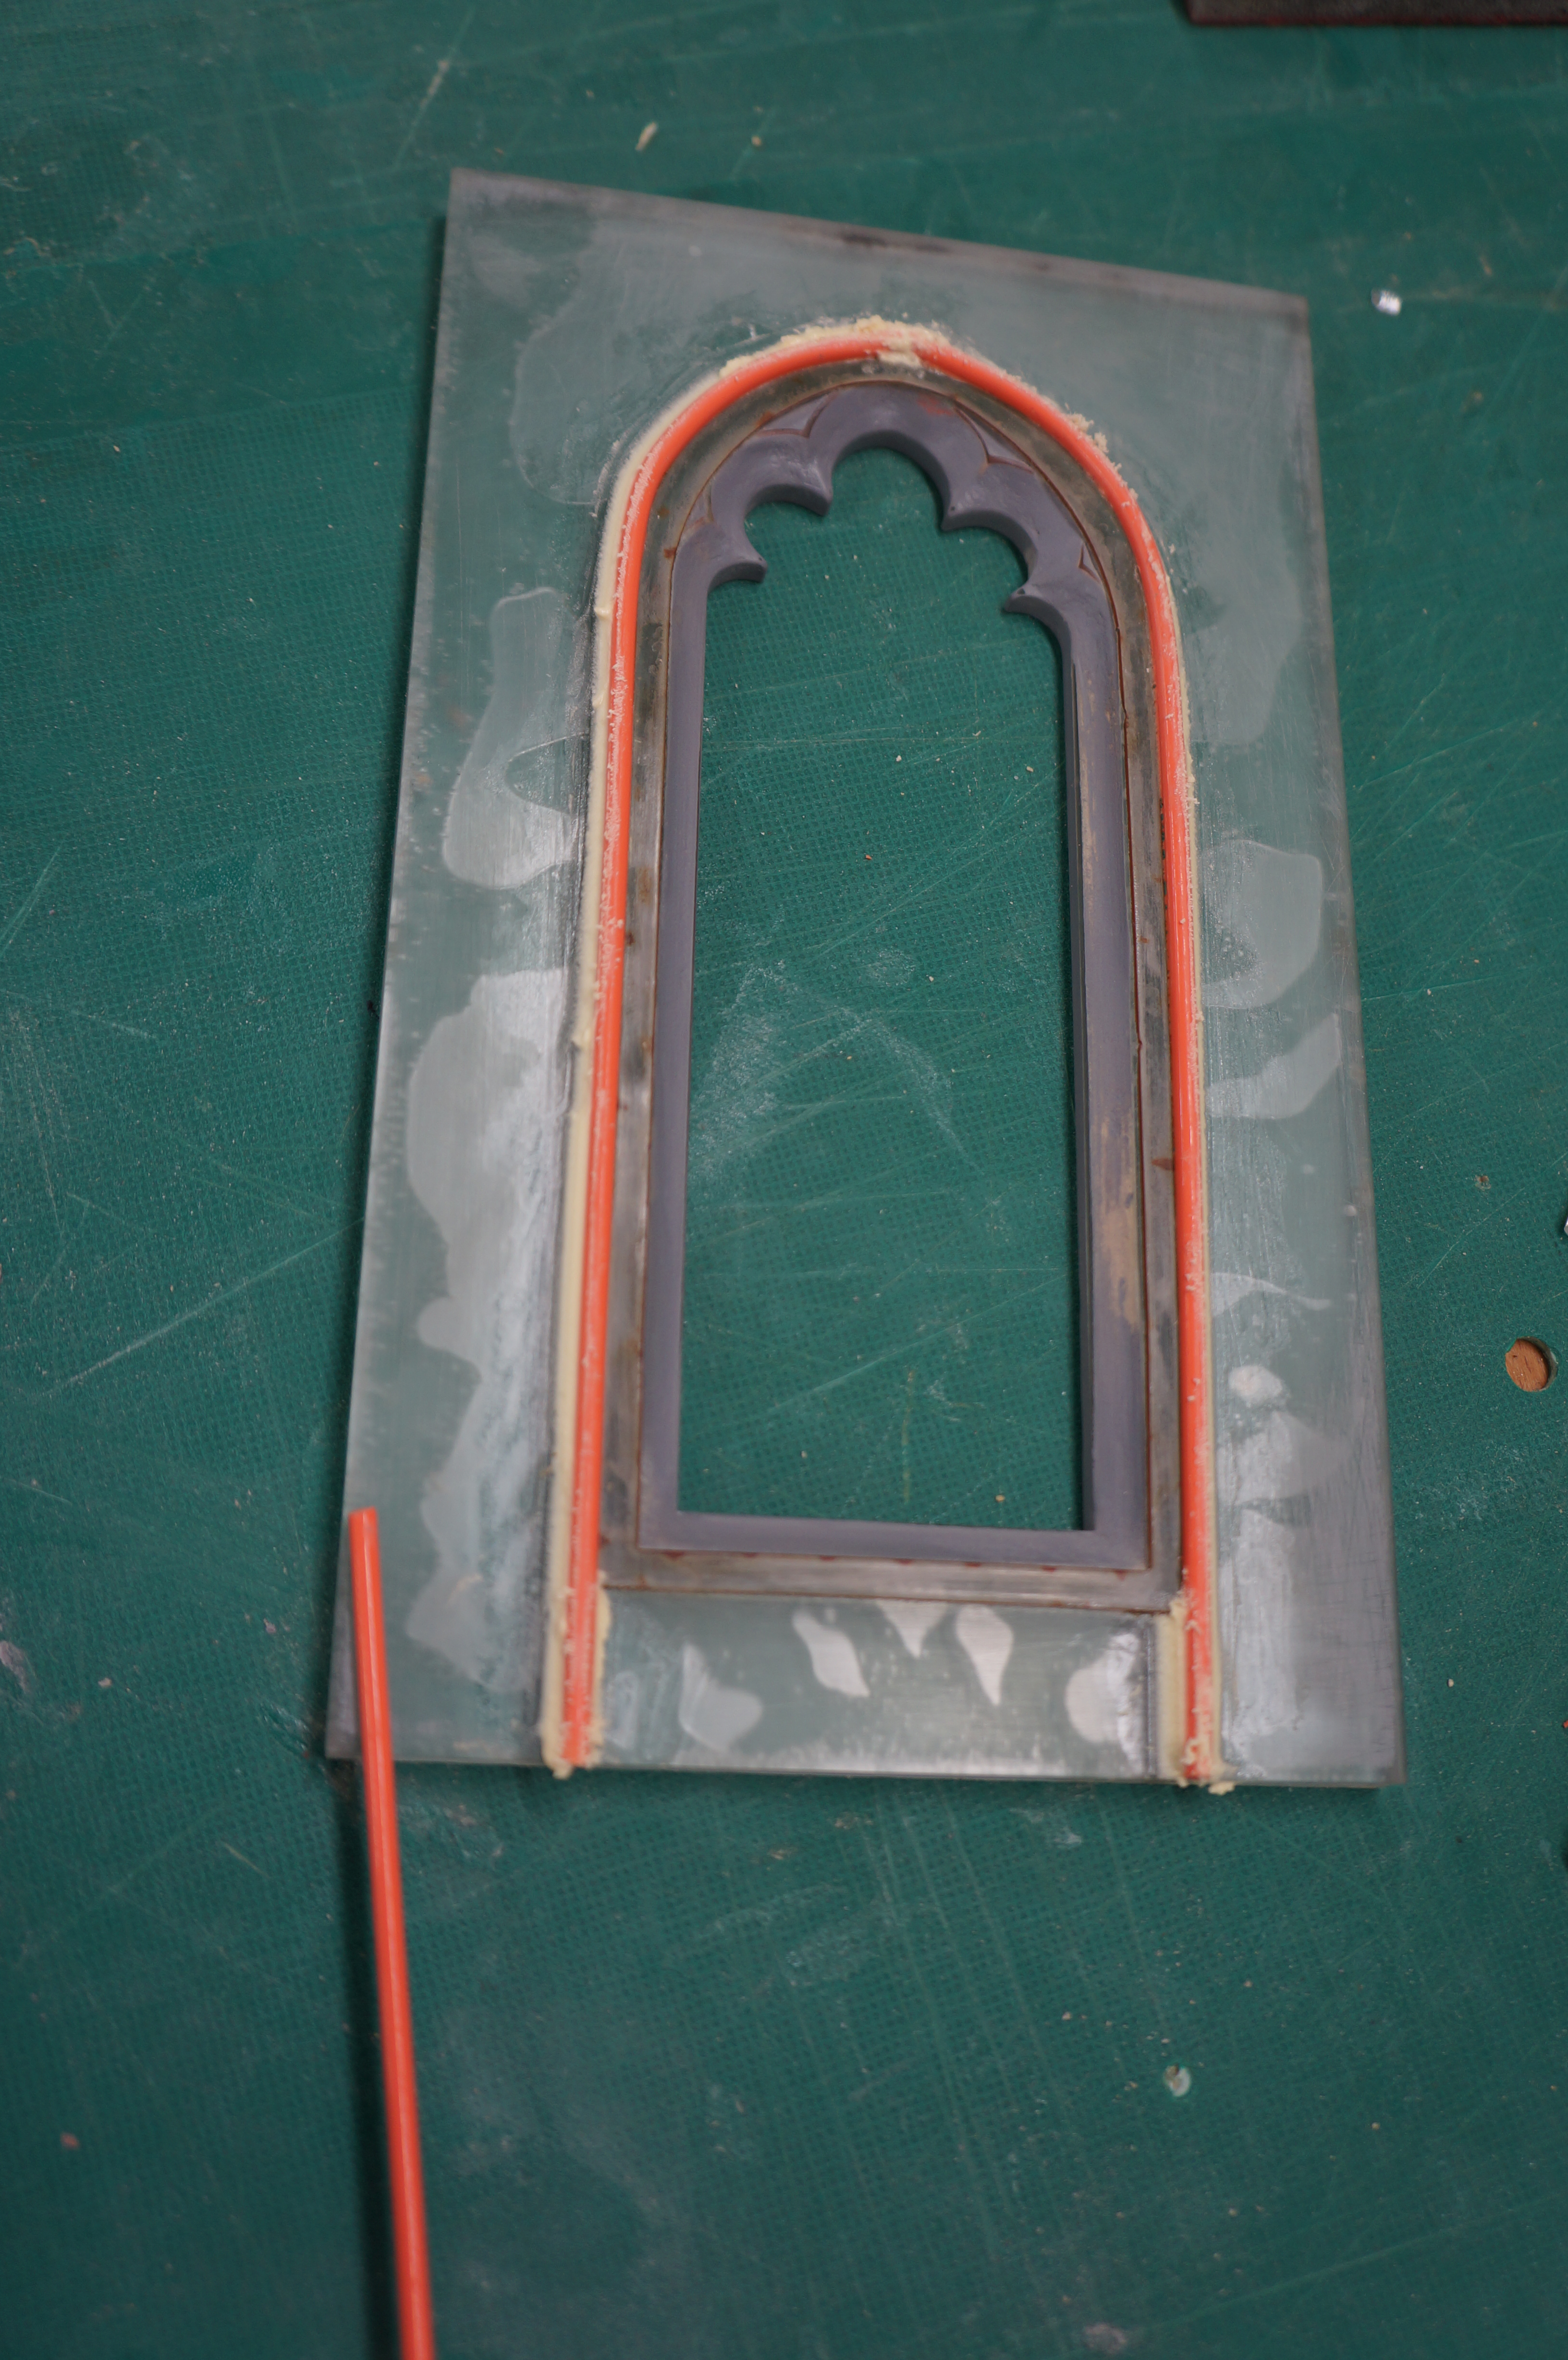
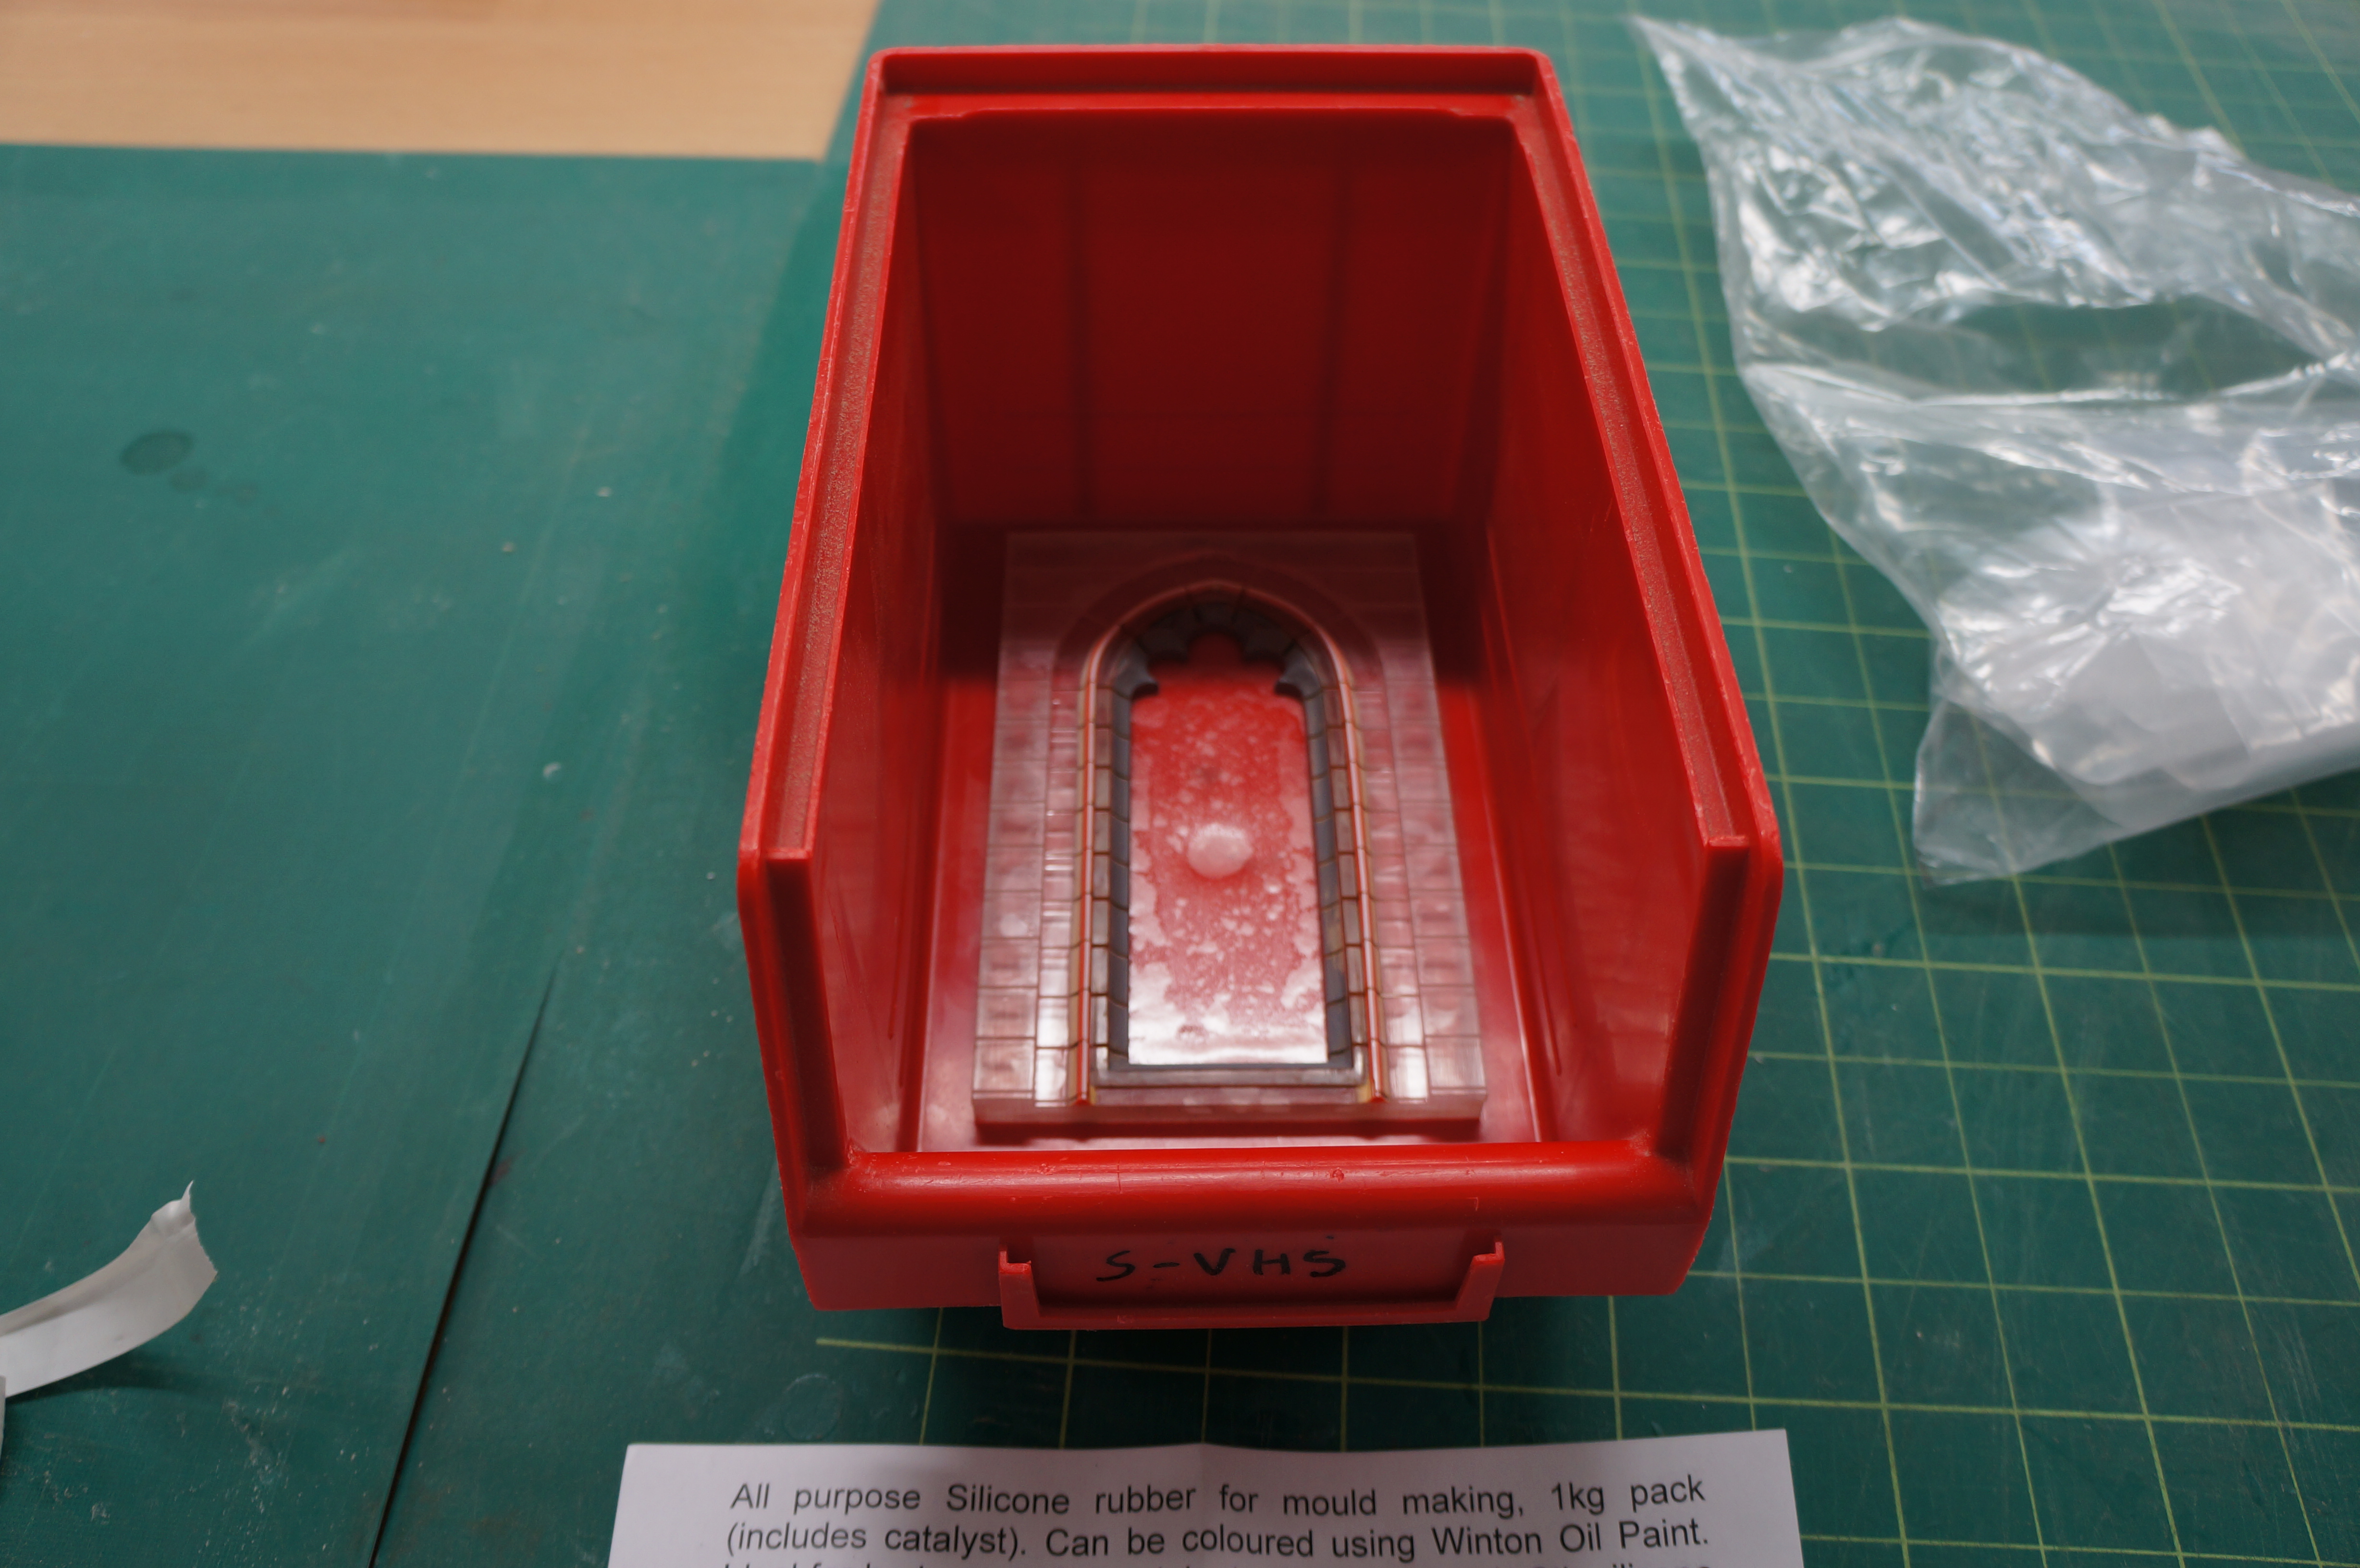
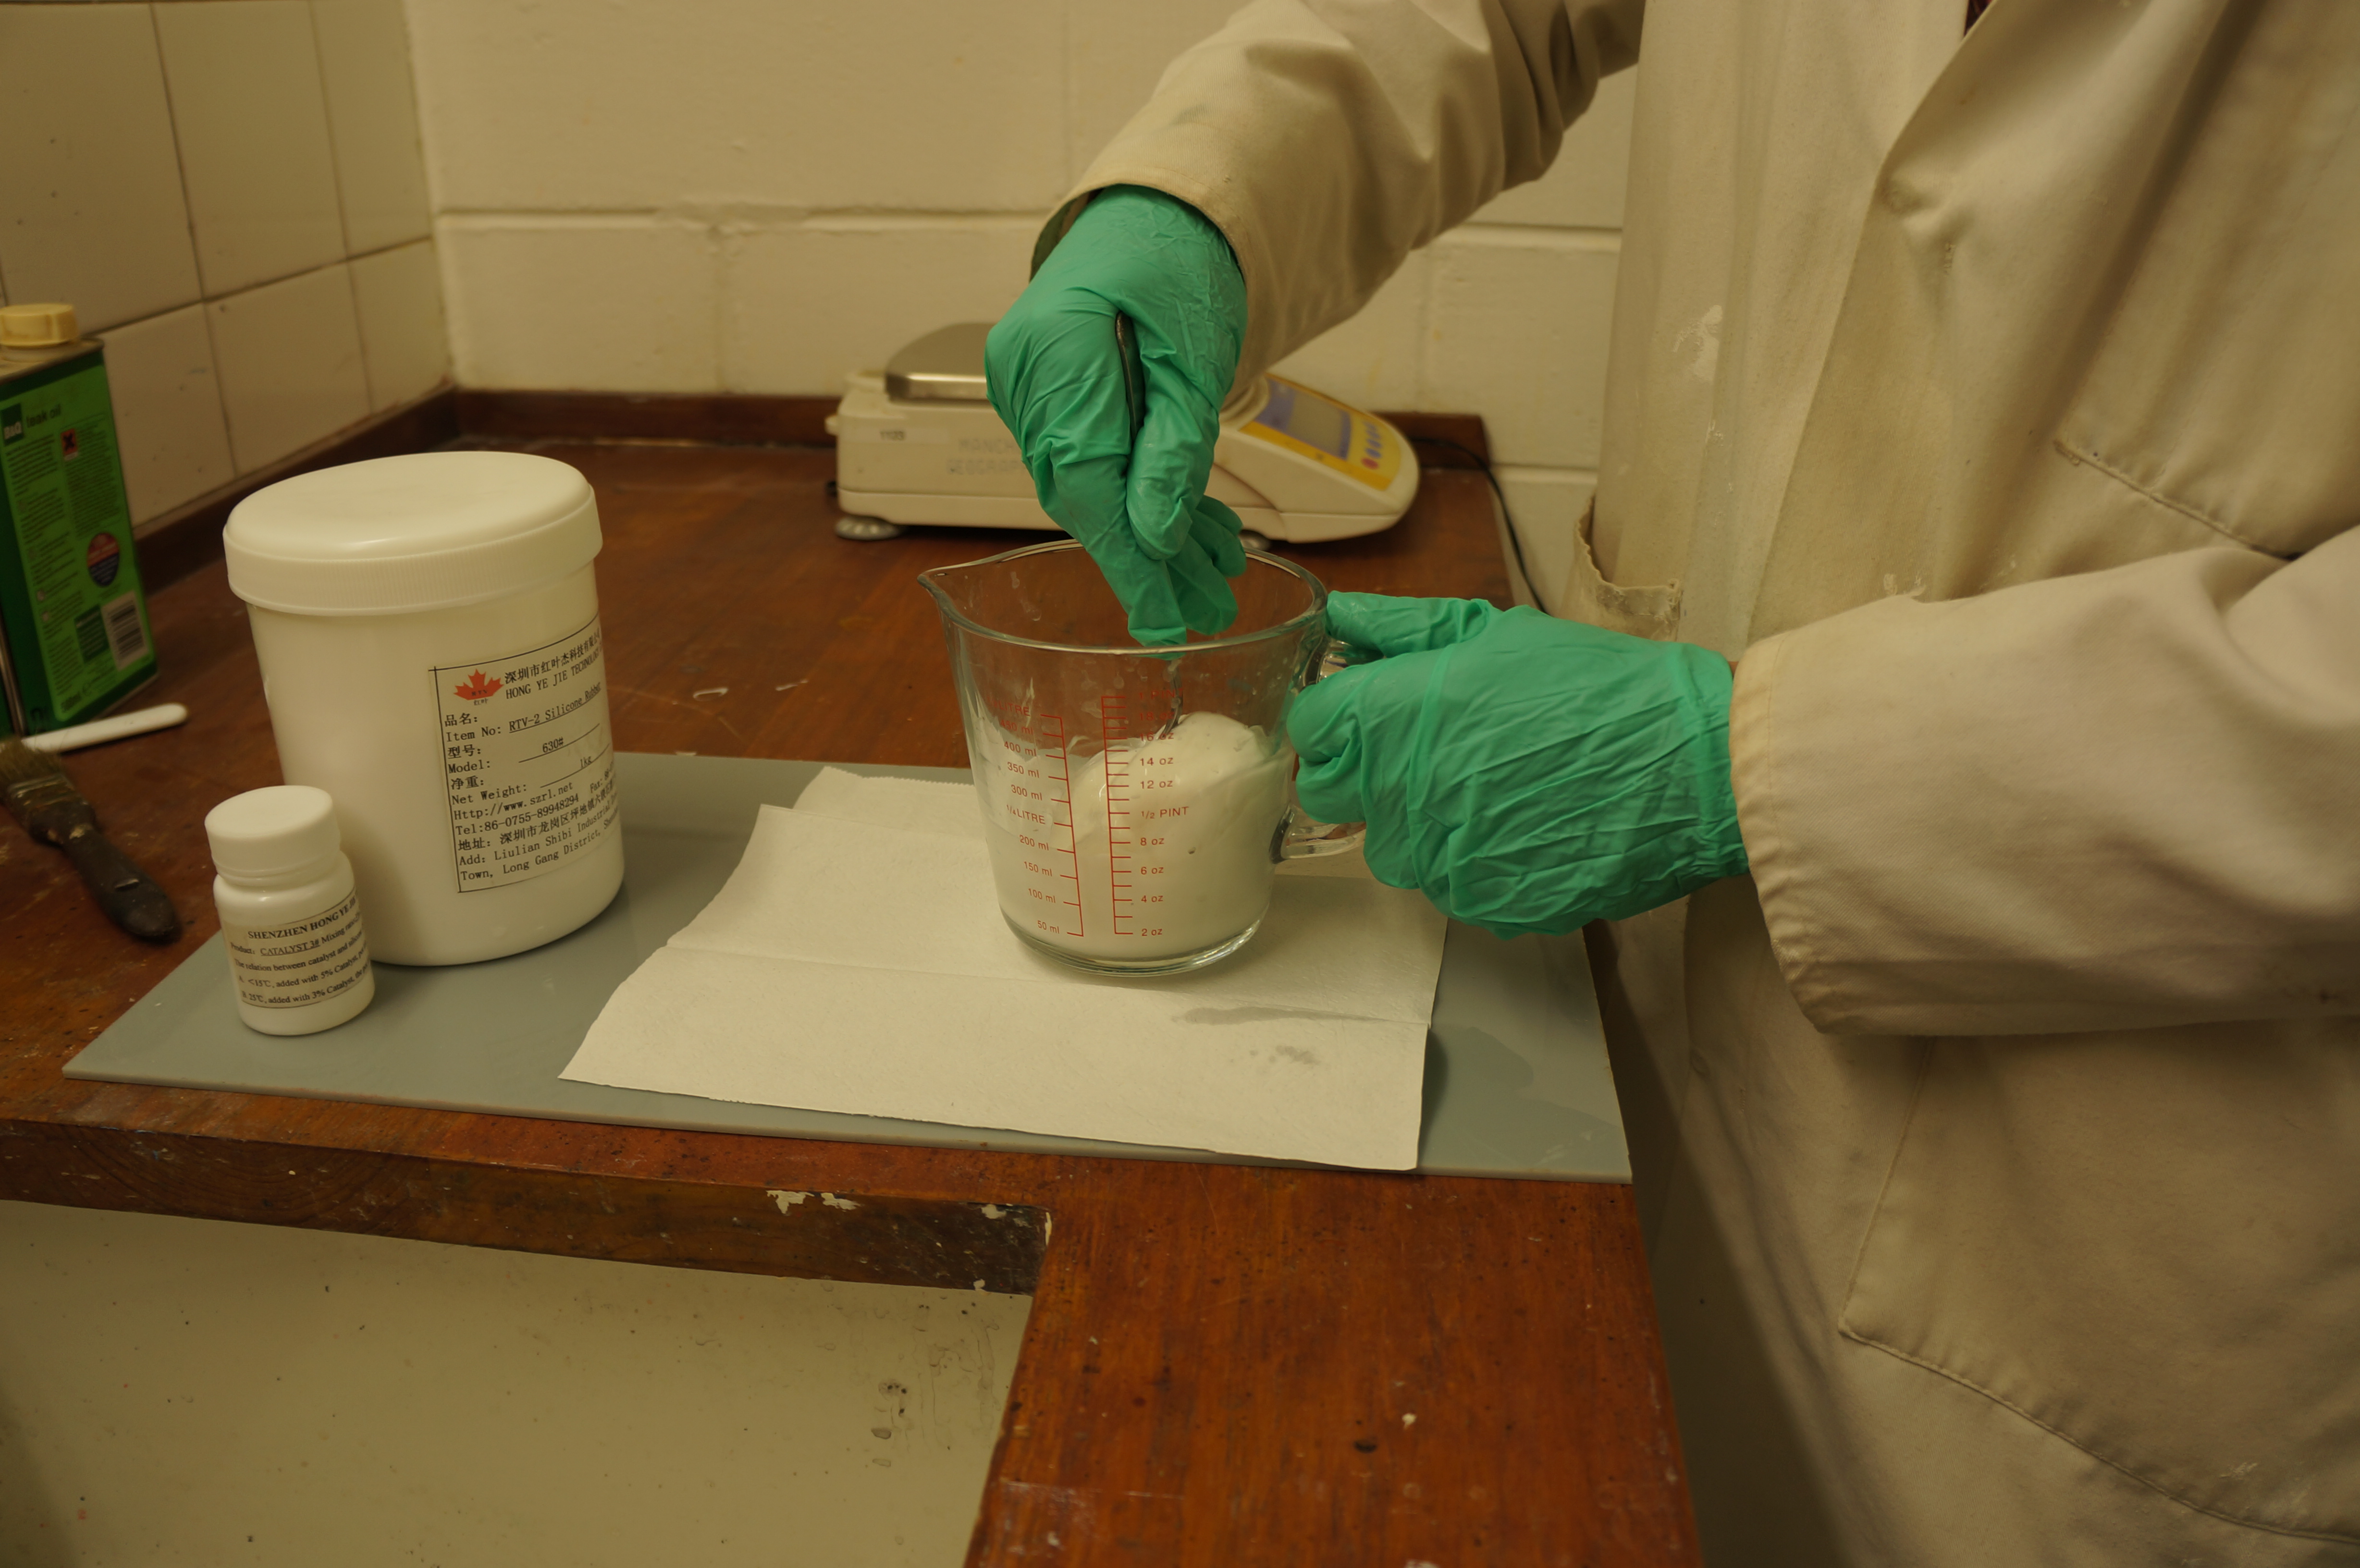
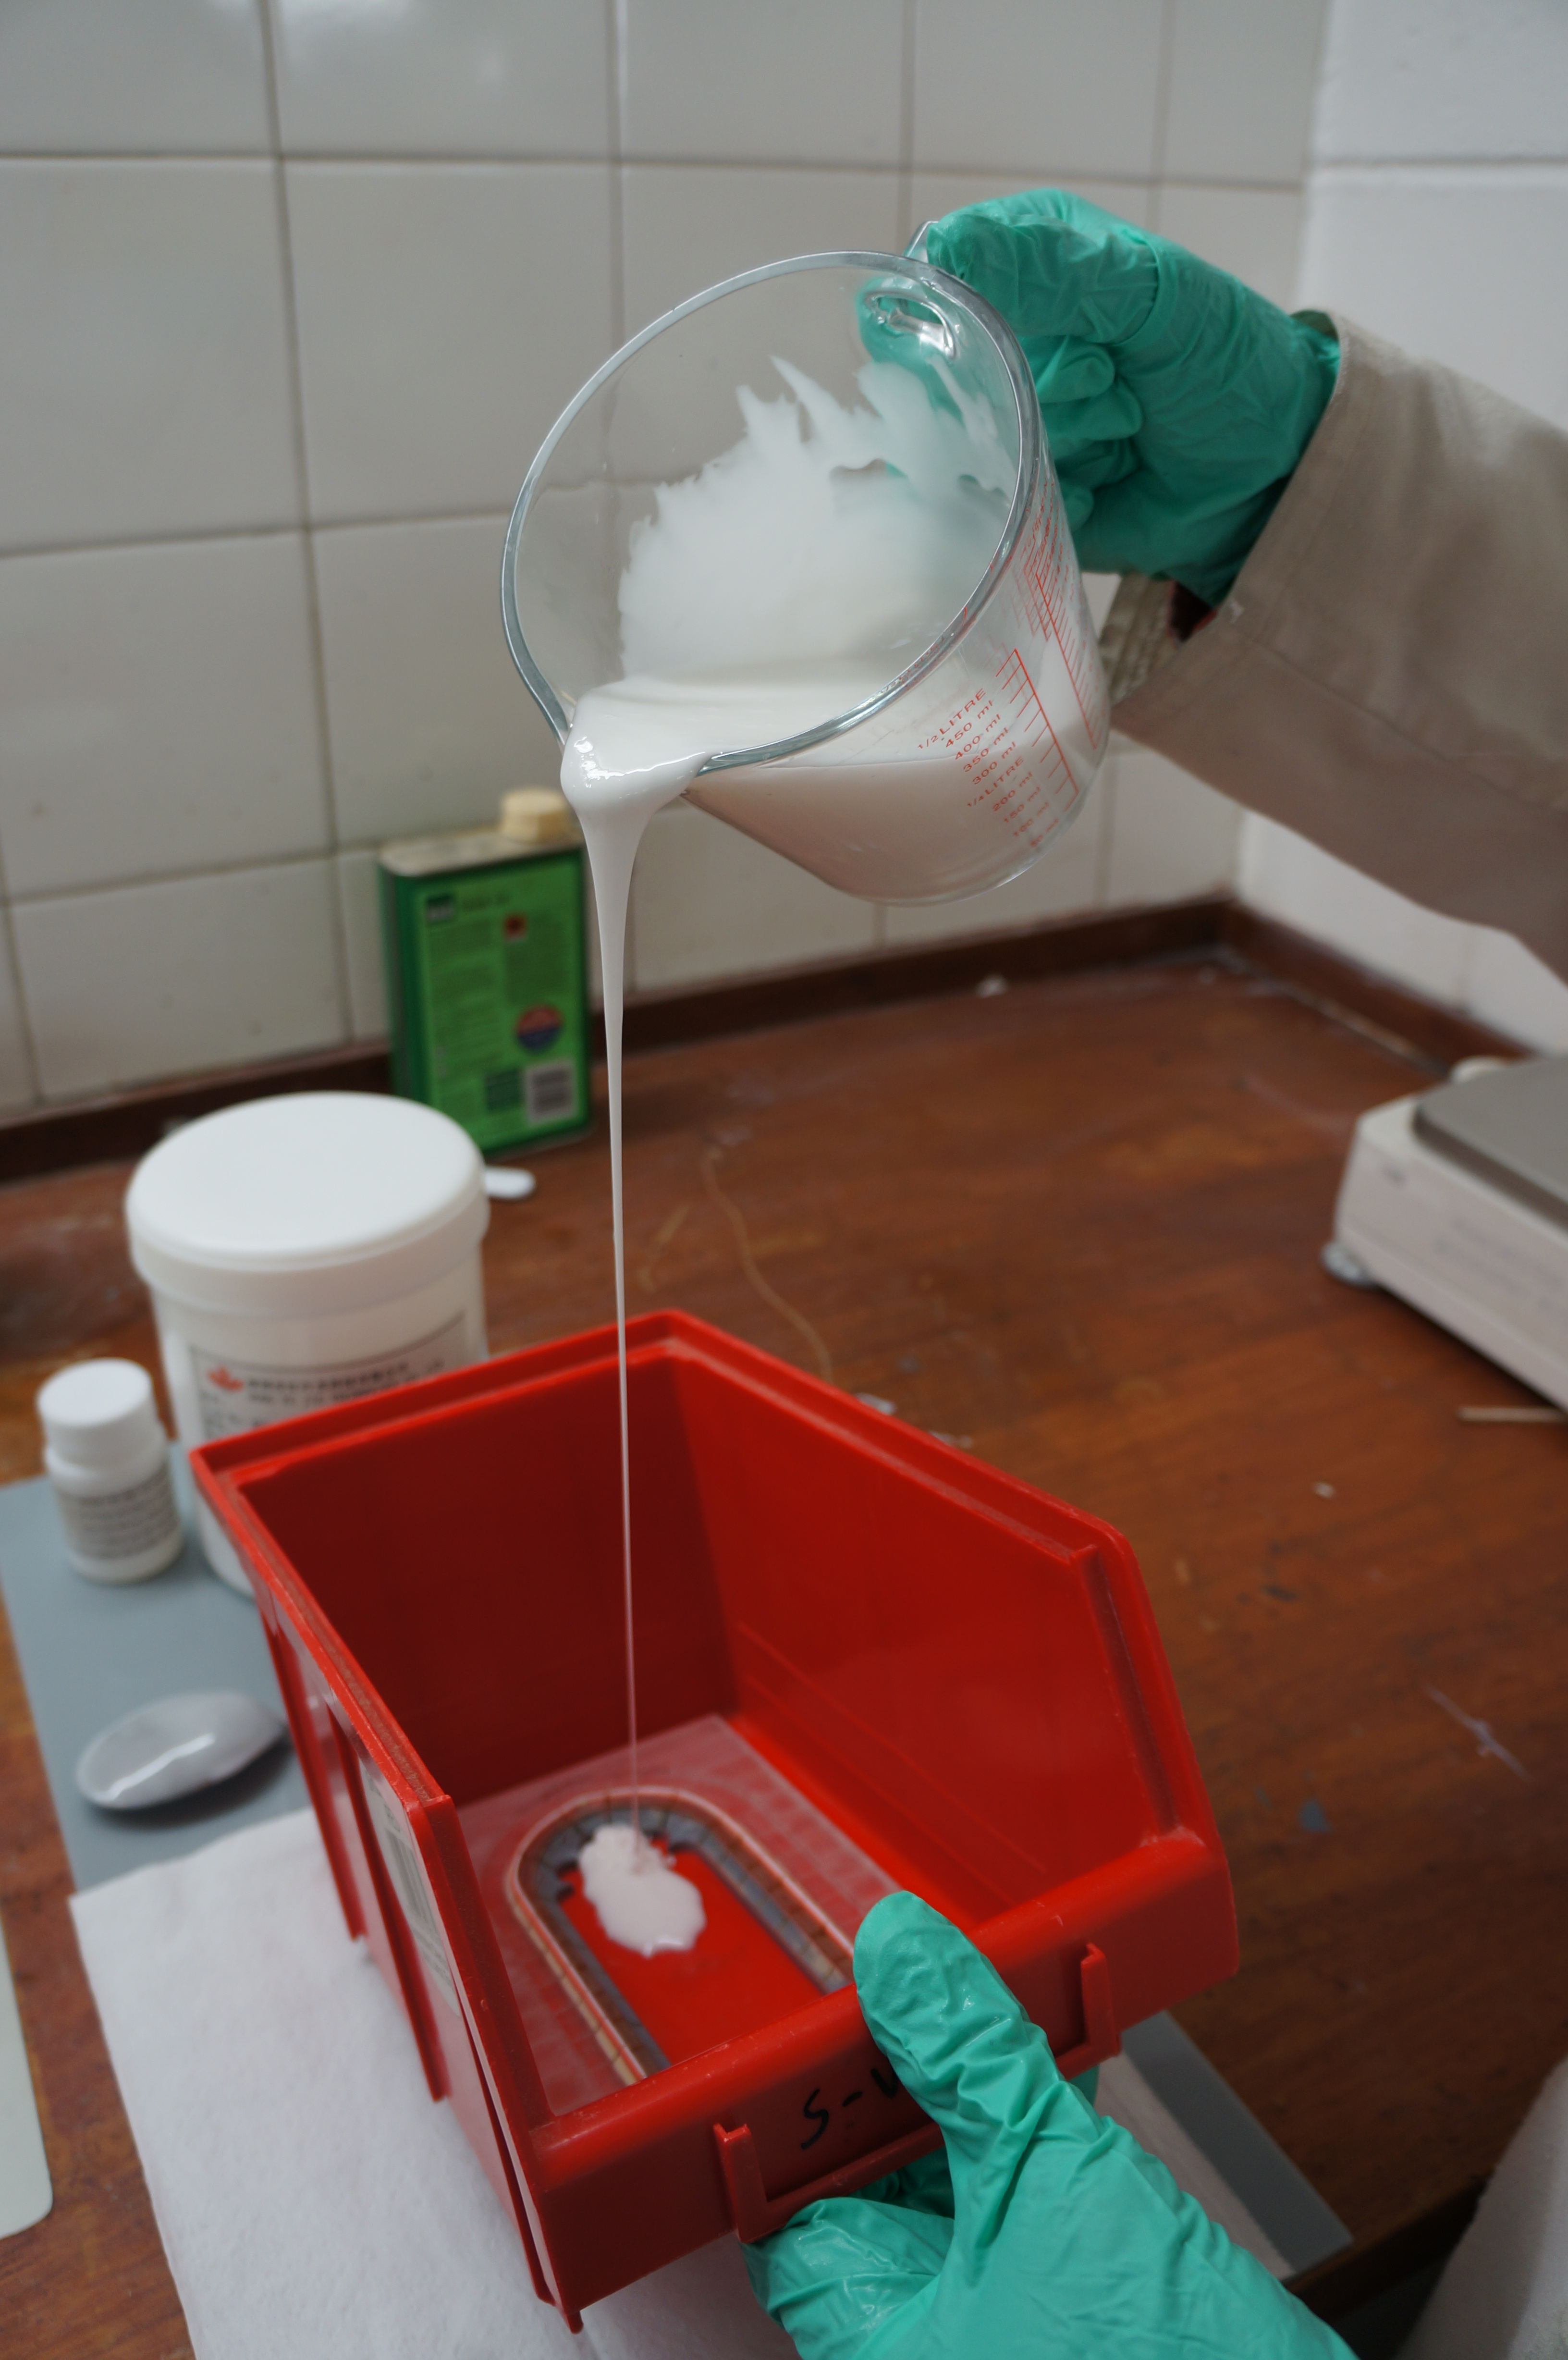
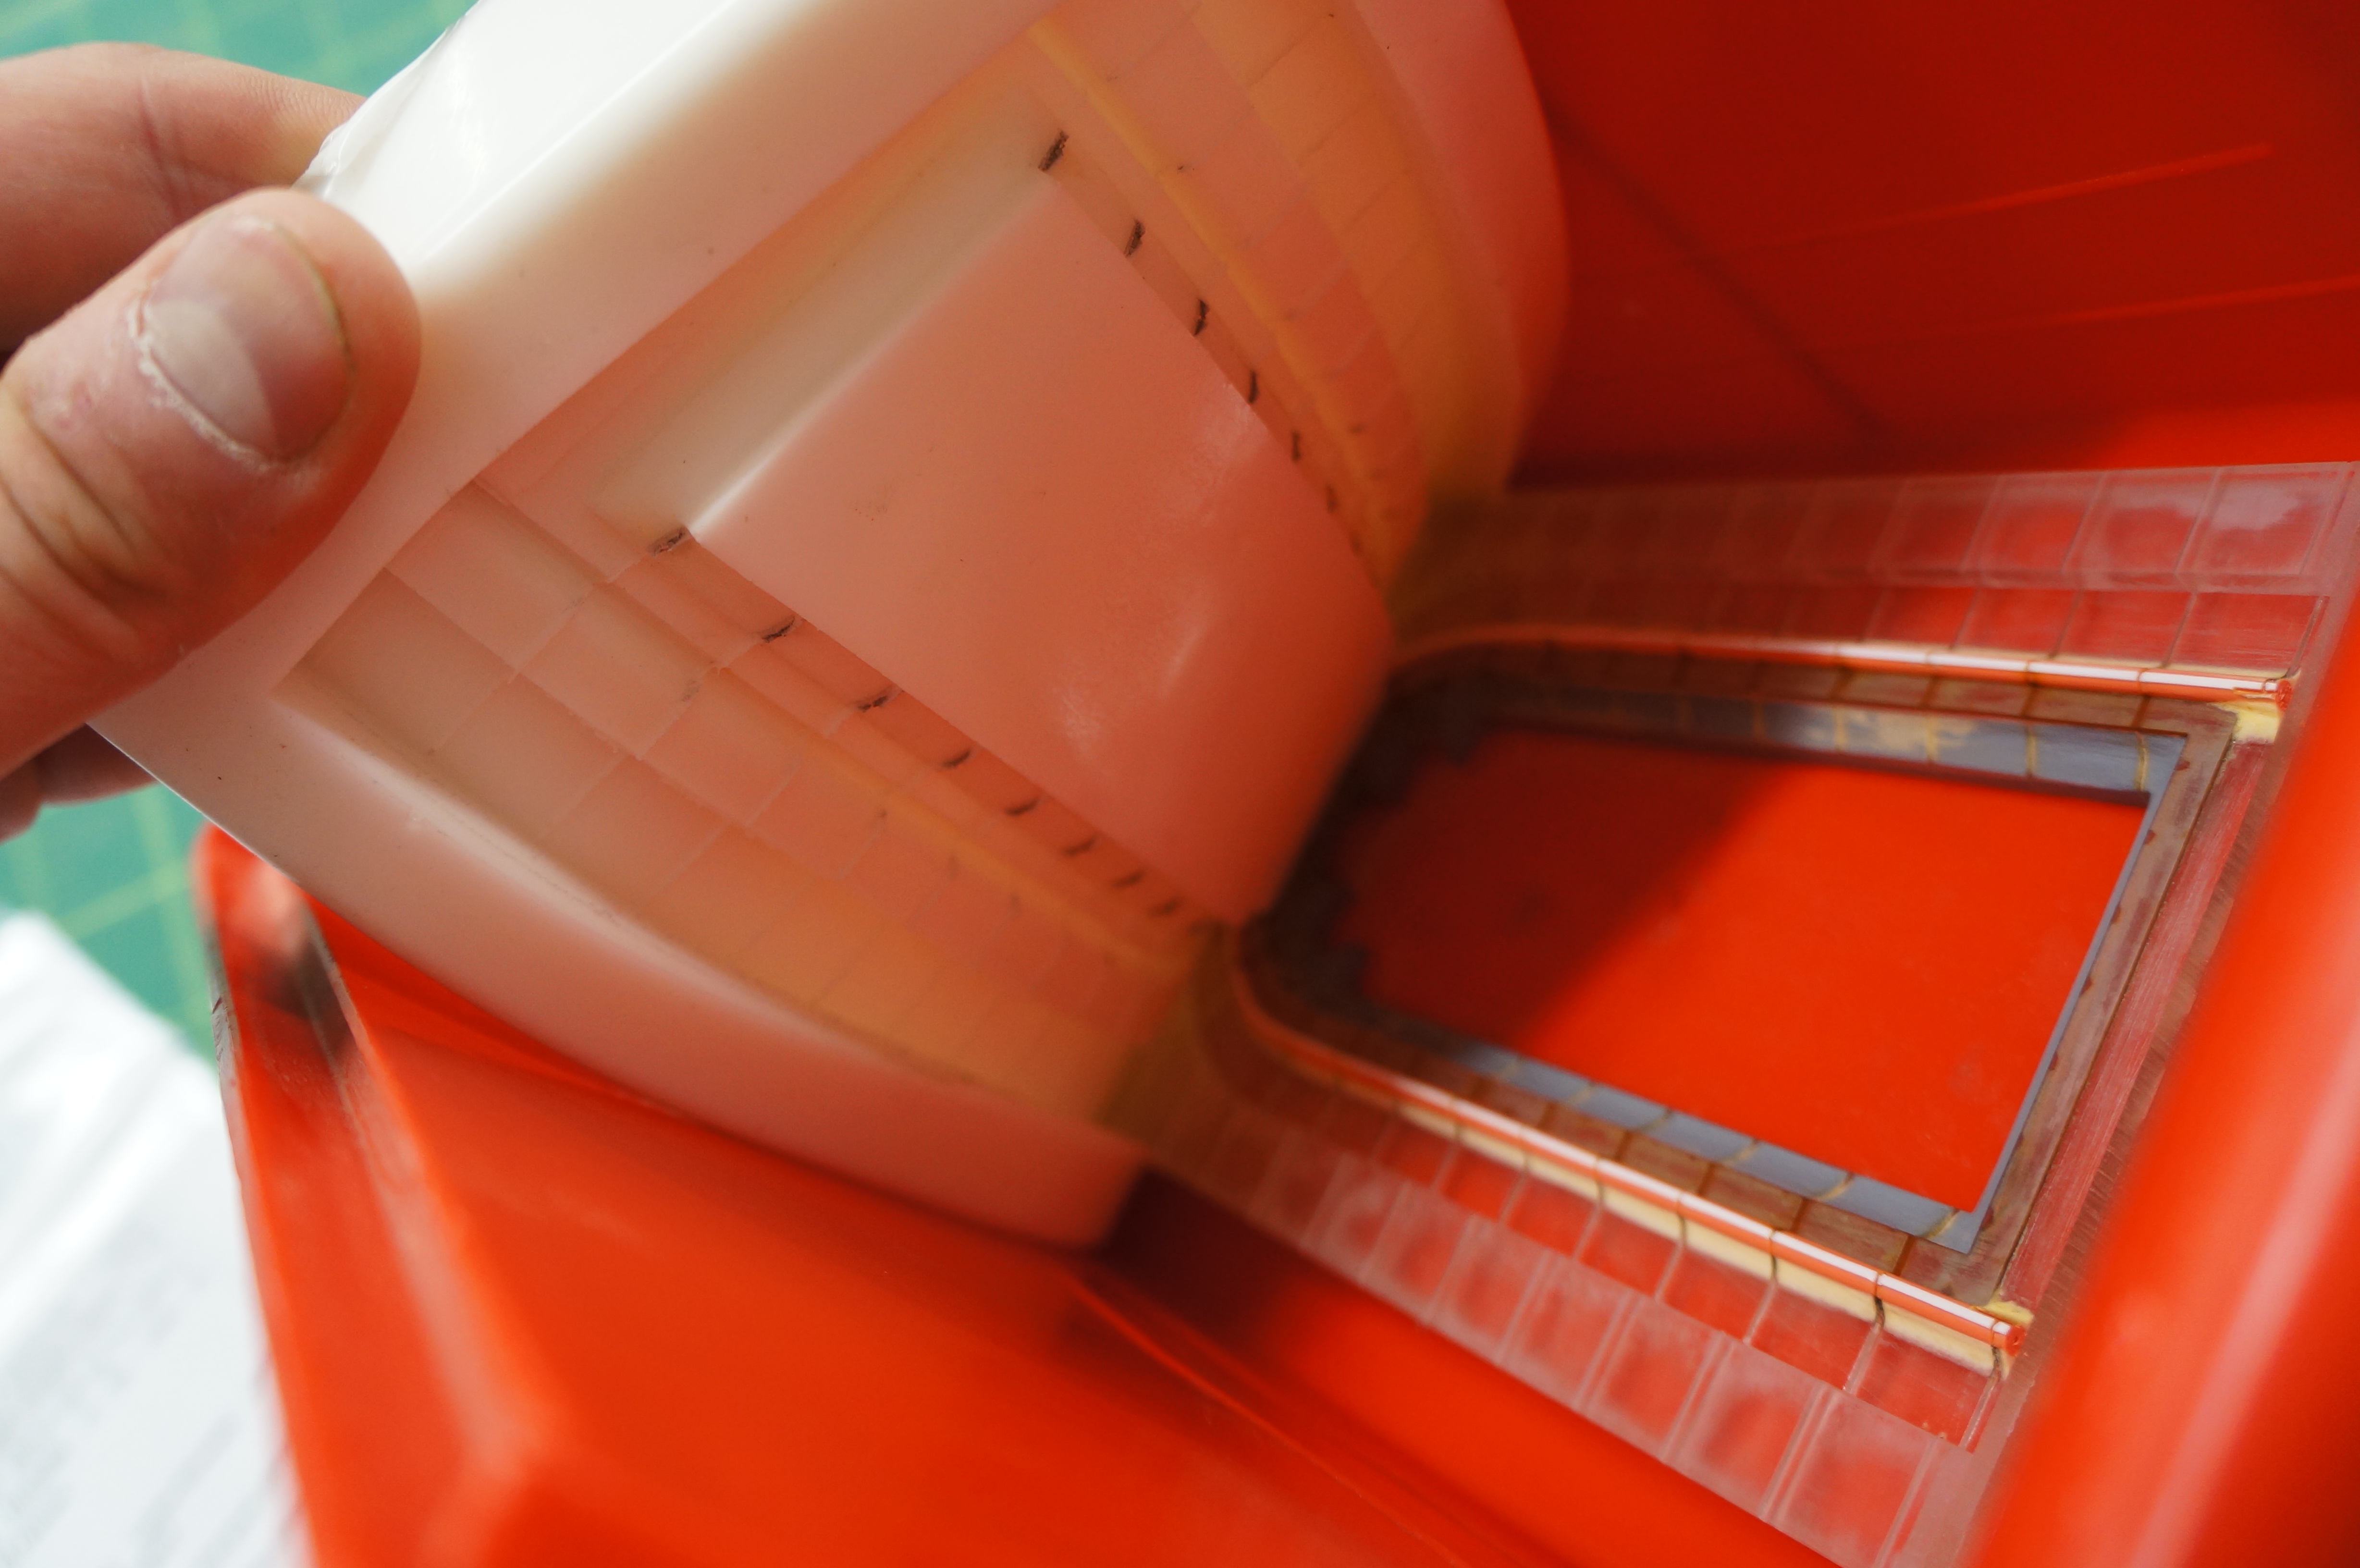
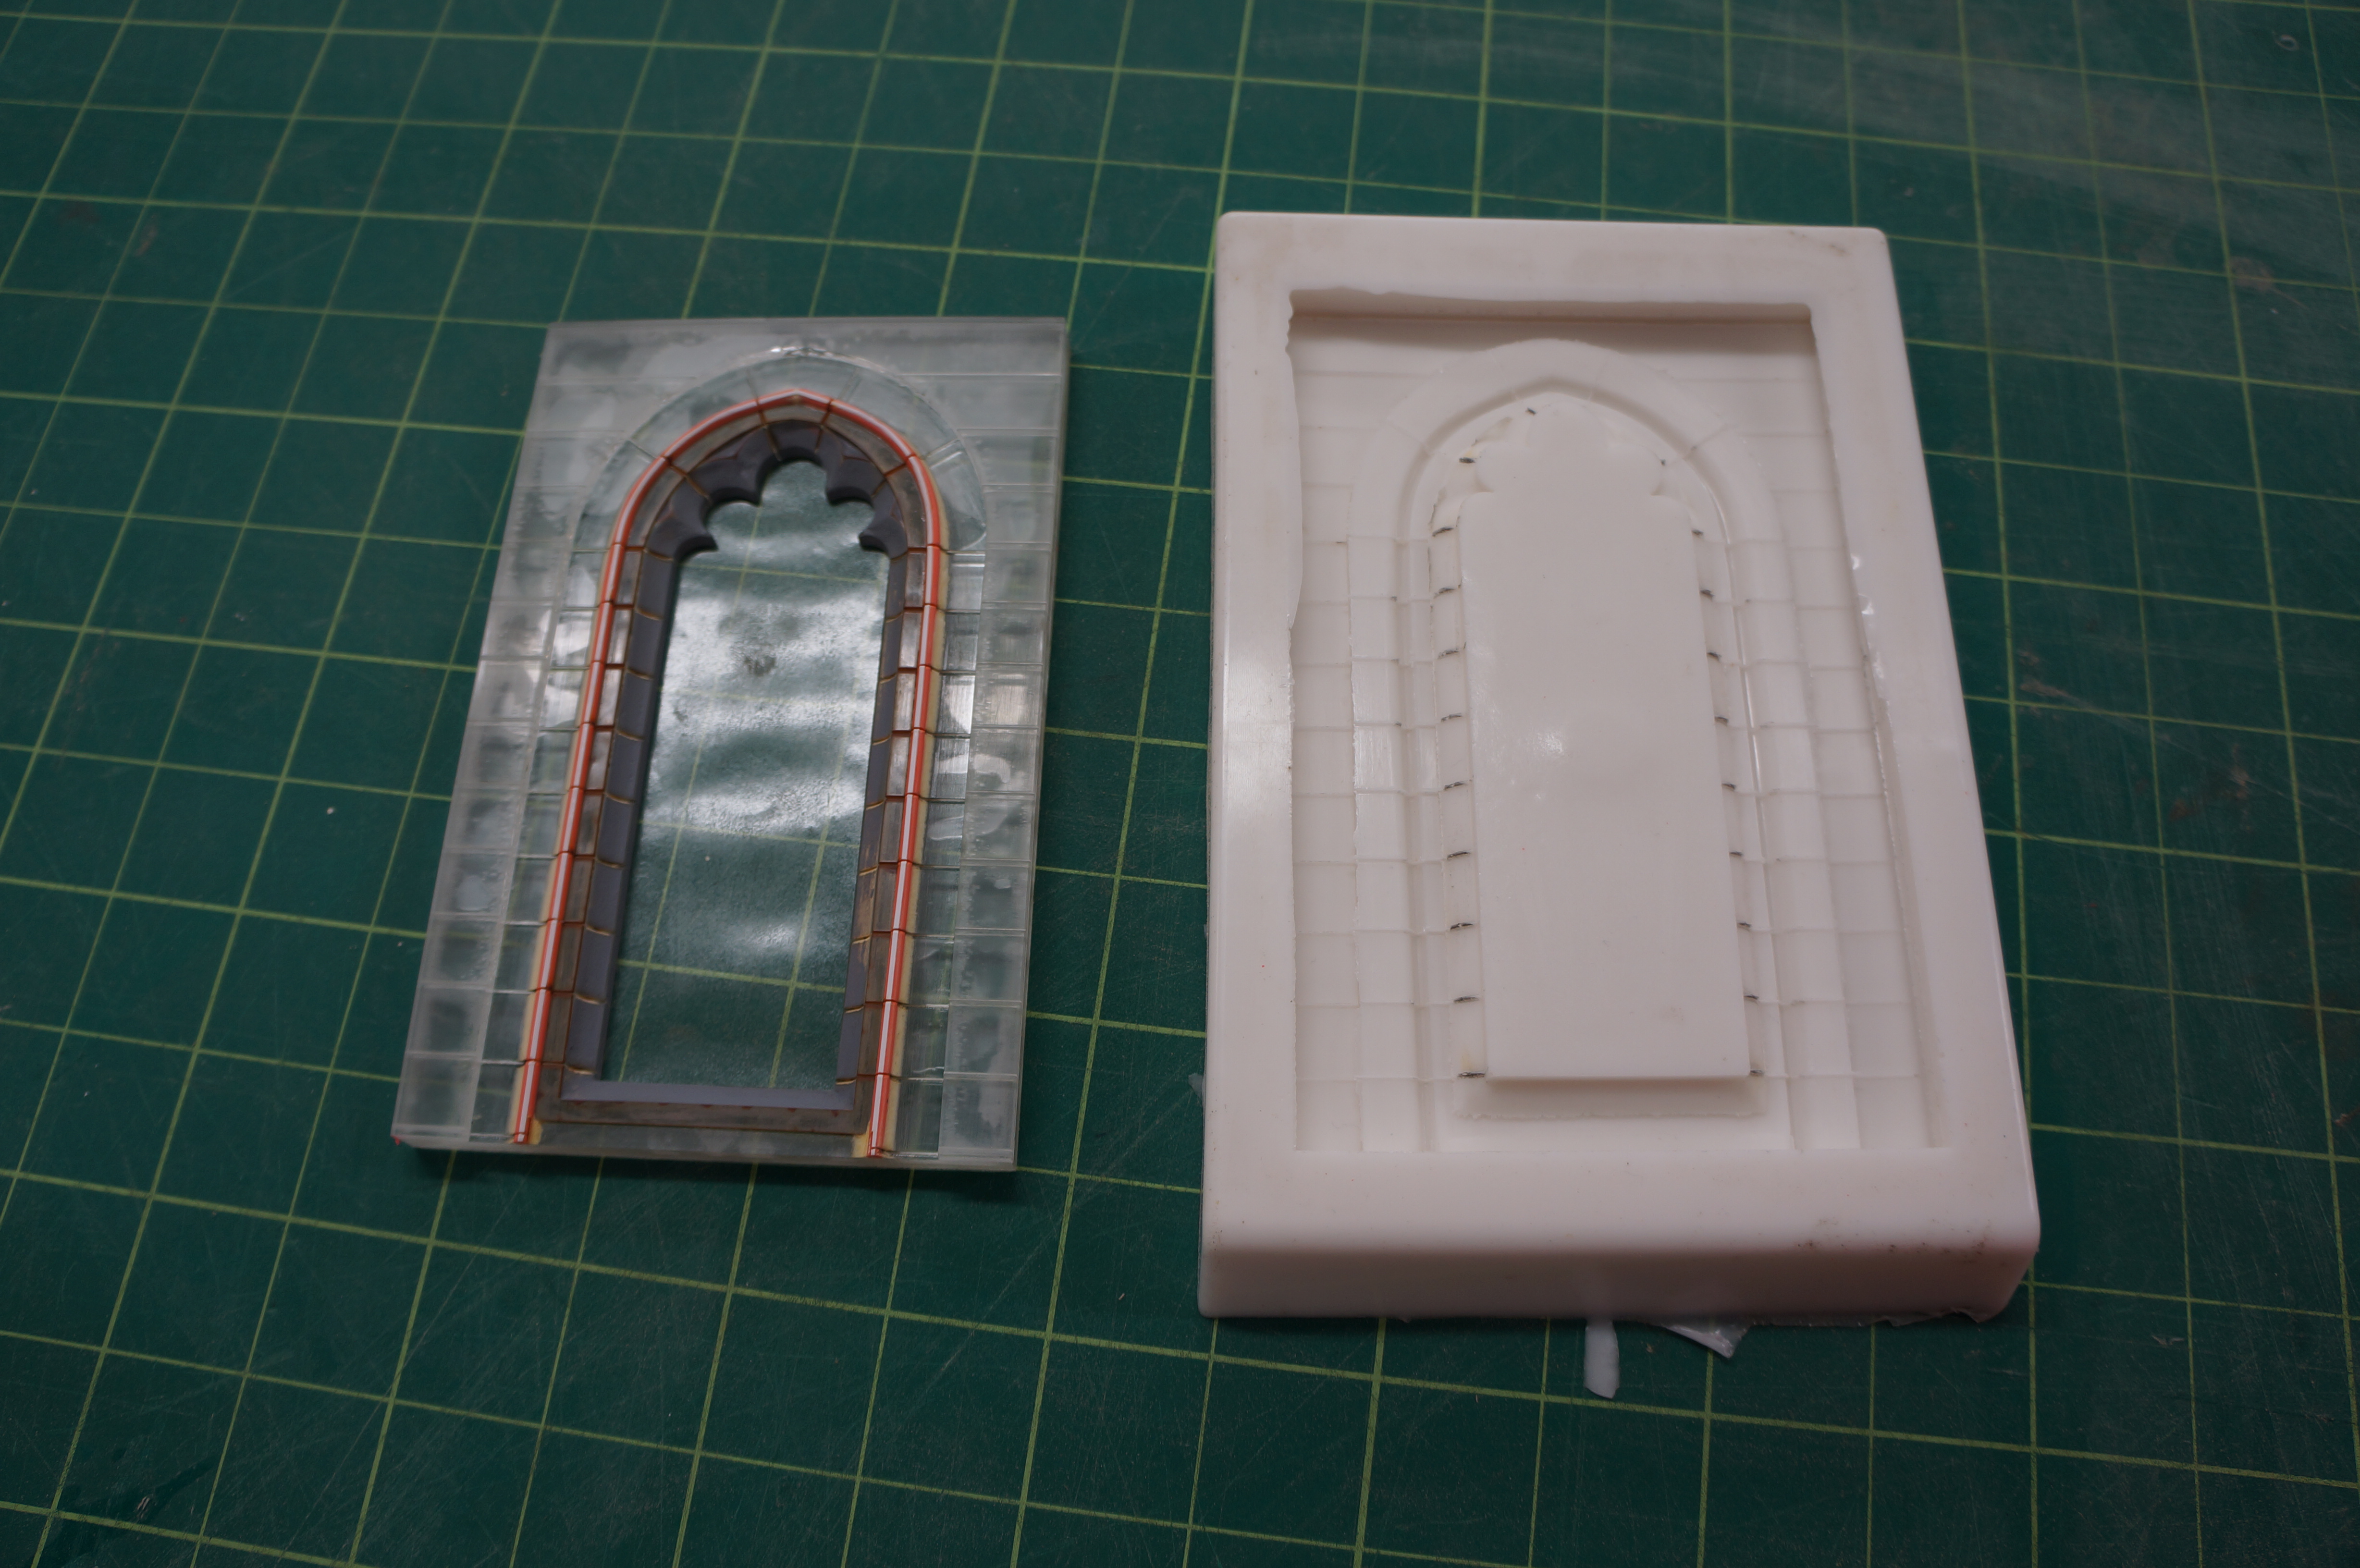
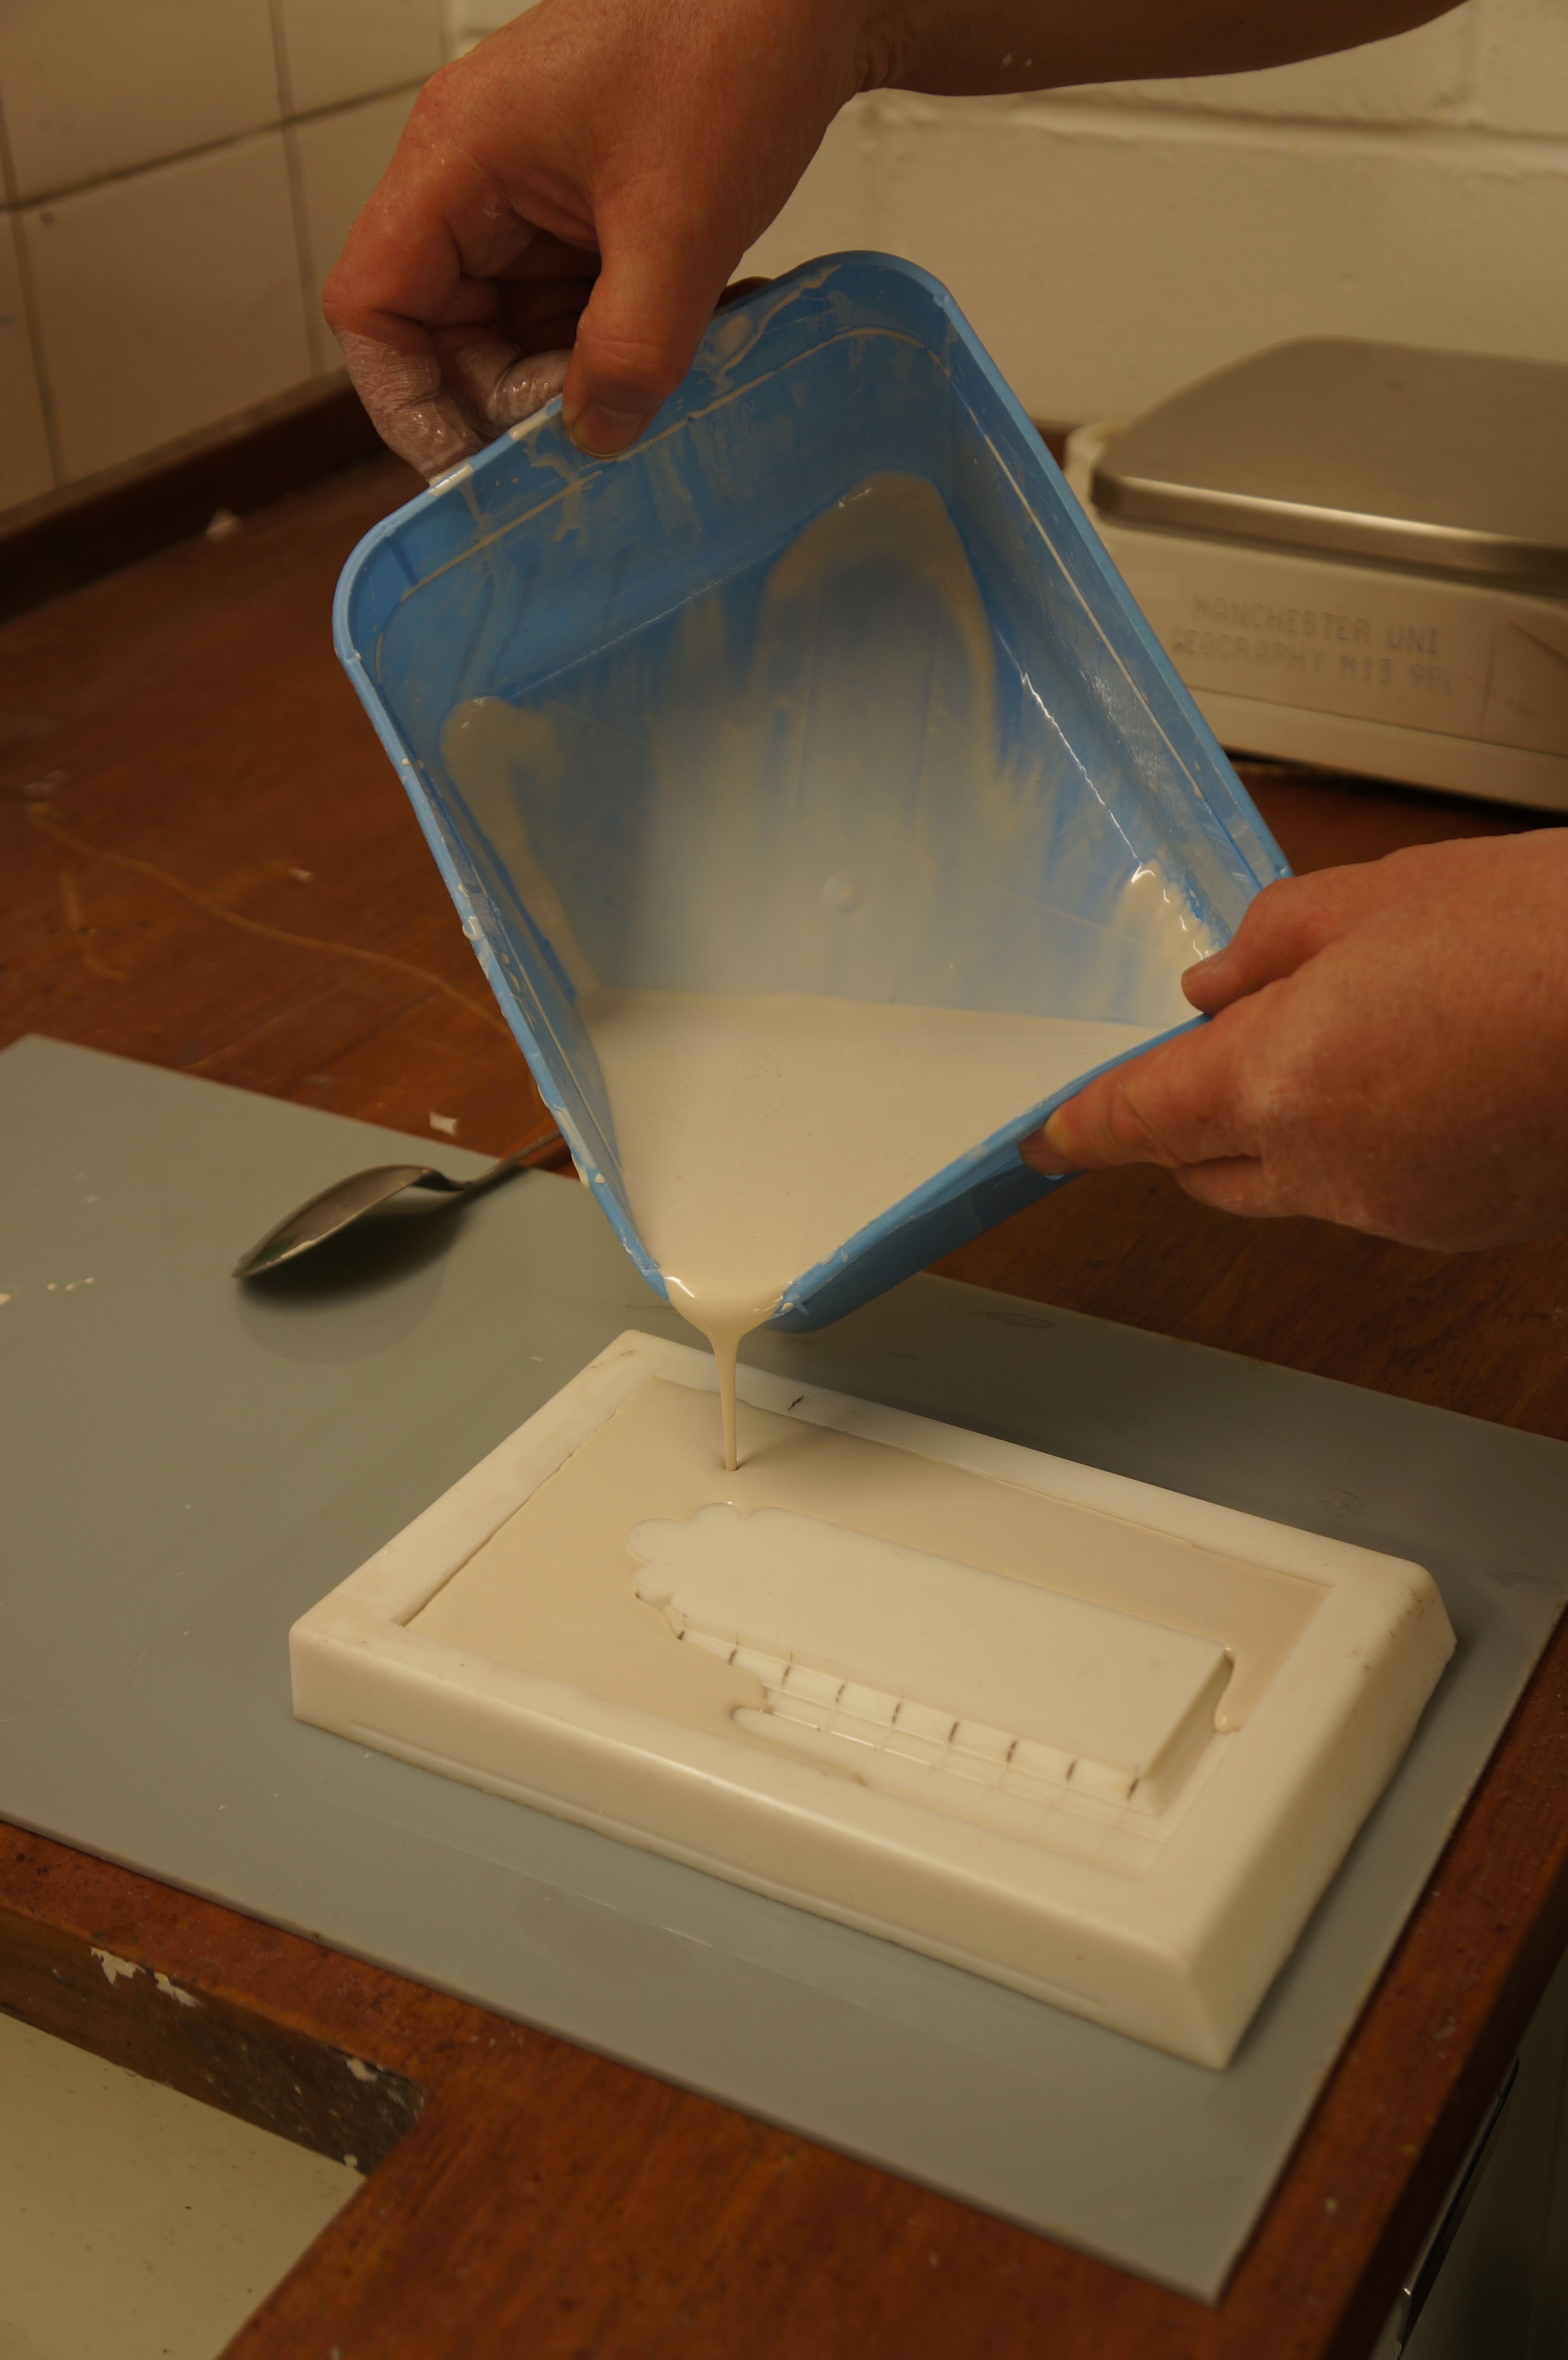
James Donegan was one of the lucky few who managed to get selected to take part in the Material Application workshop that took place at the start of 2016. The main aims for this workshop were to encourage the use of testing in order for each student to better understand the processes they were looking at. Put simply, the high value was placed in seeing the mistakes made and not just in the analysis of a finished piece. James aimed to cast a staircase detail in plaster. I asked James to recount the experience:

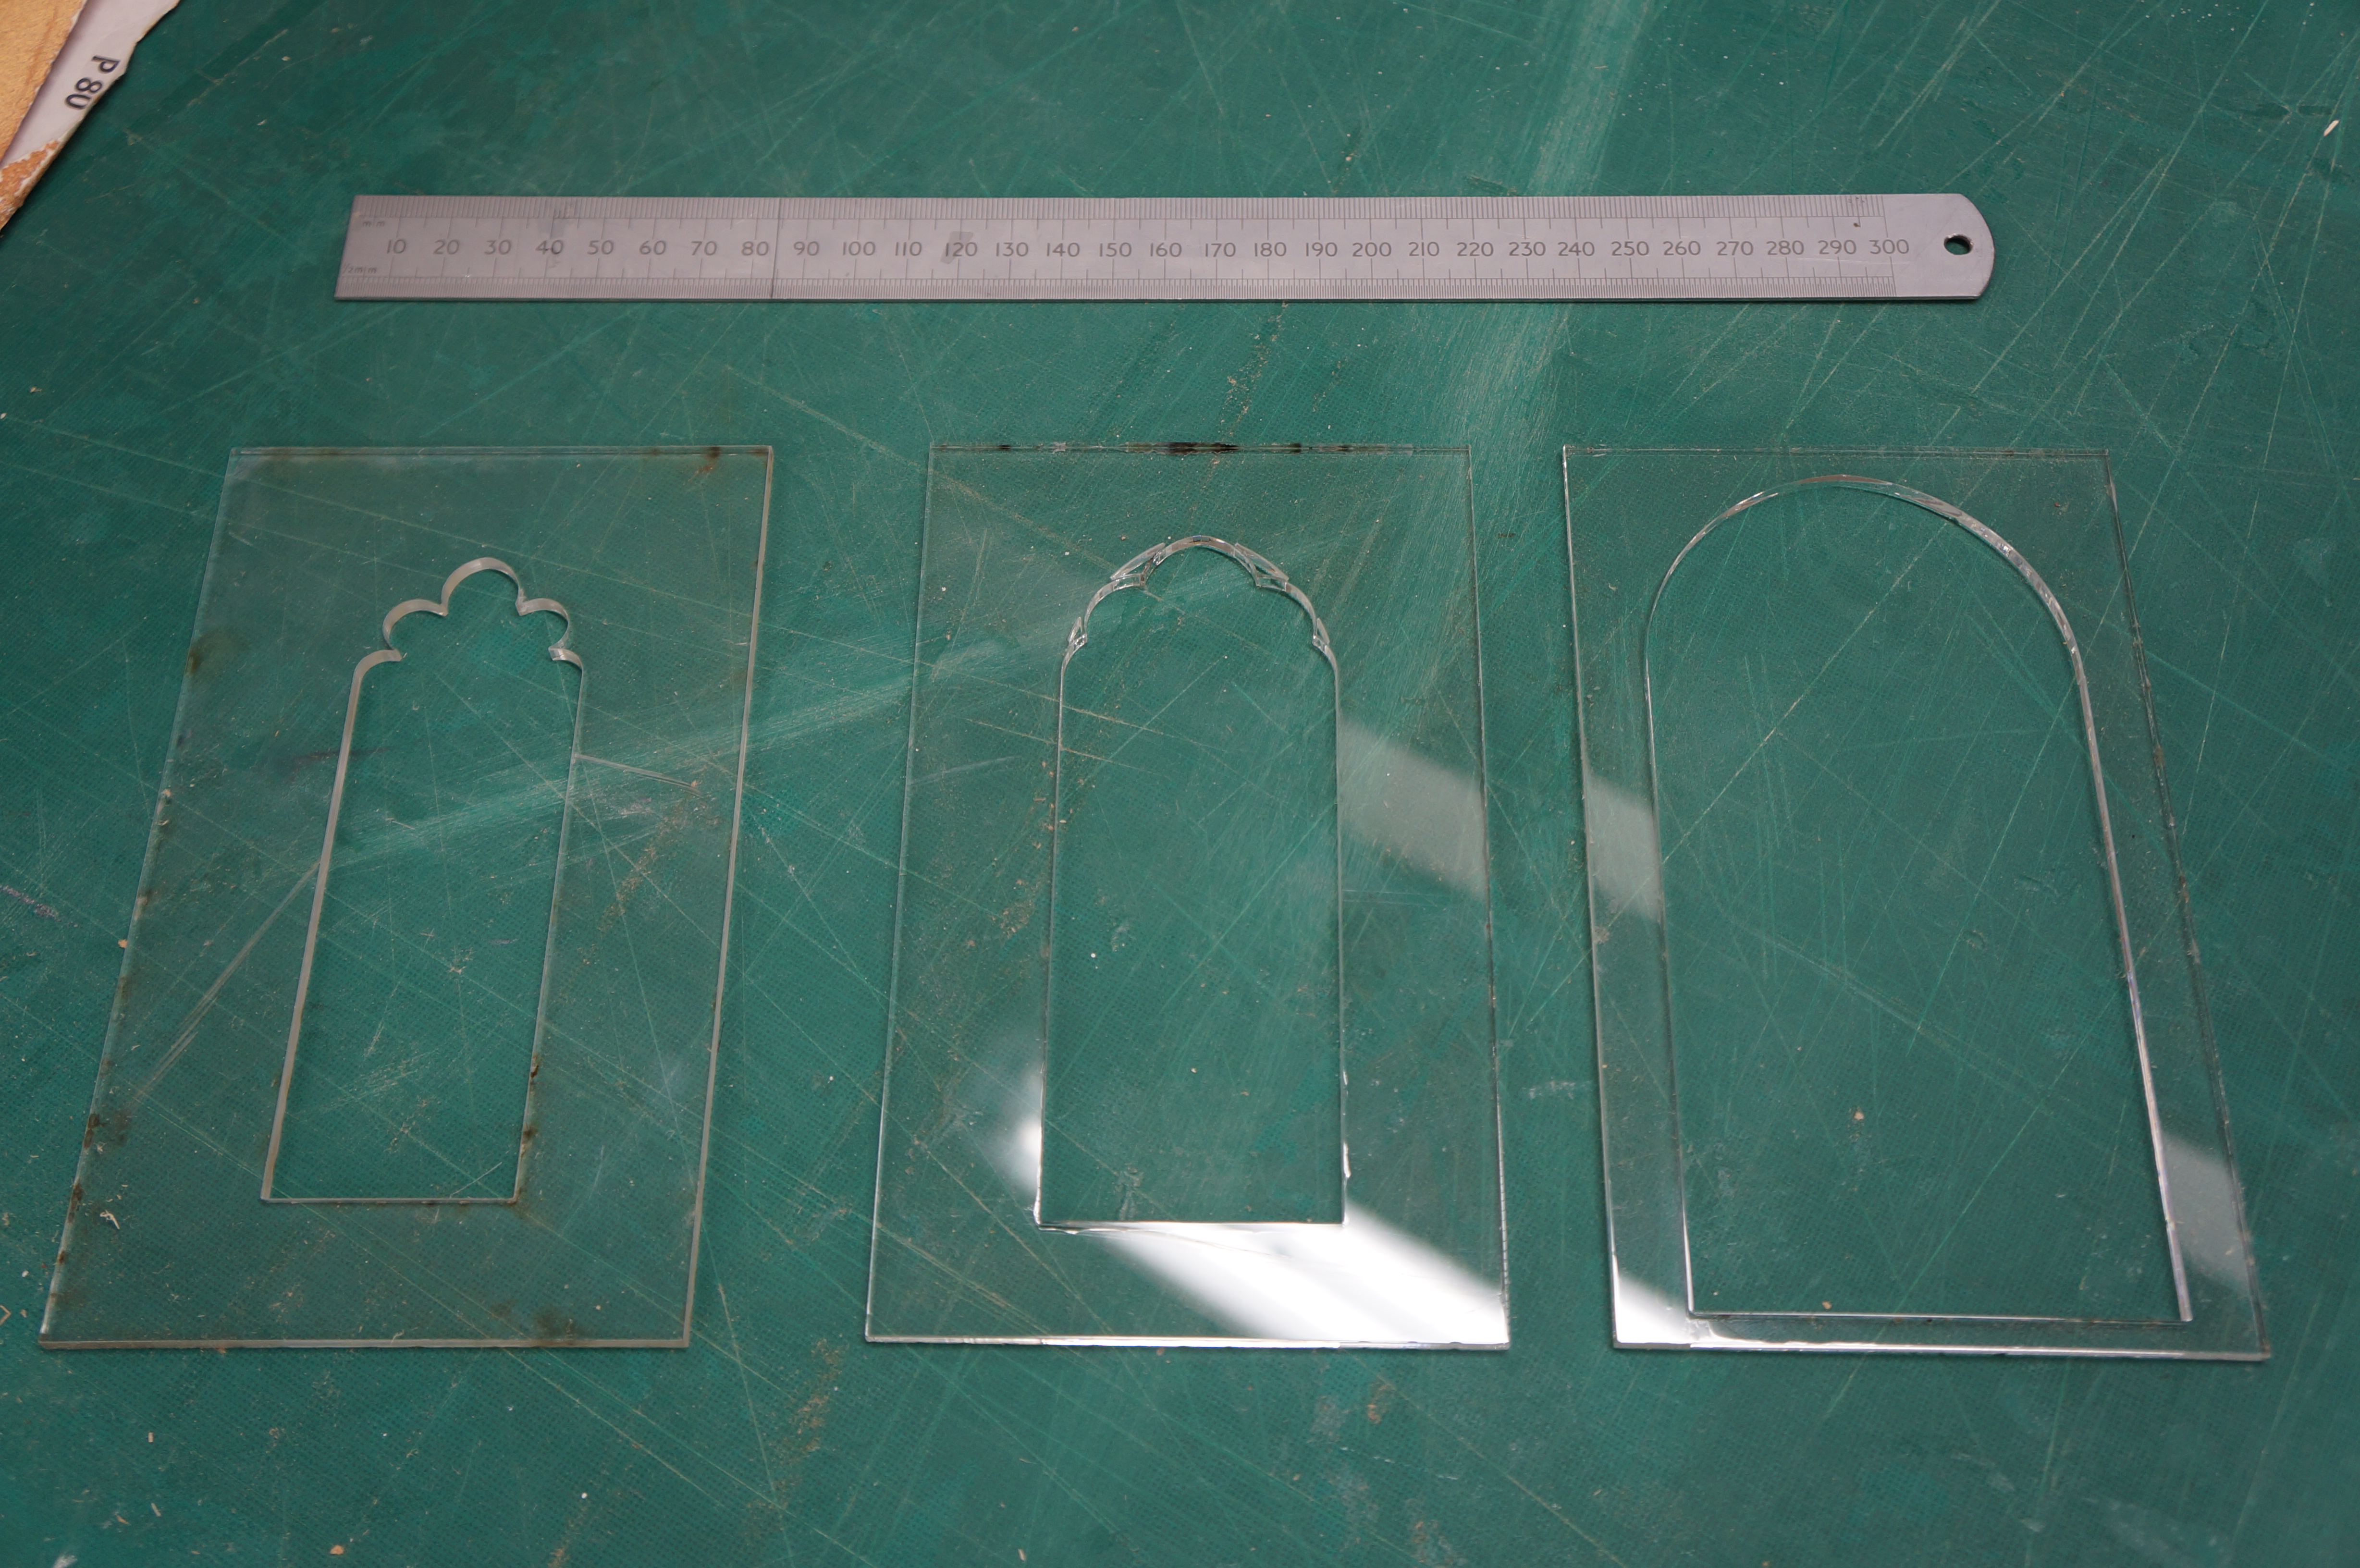
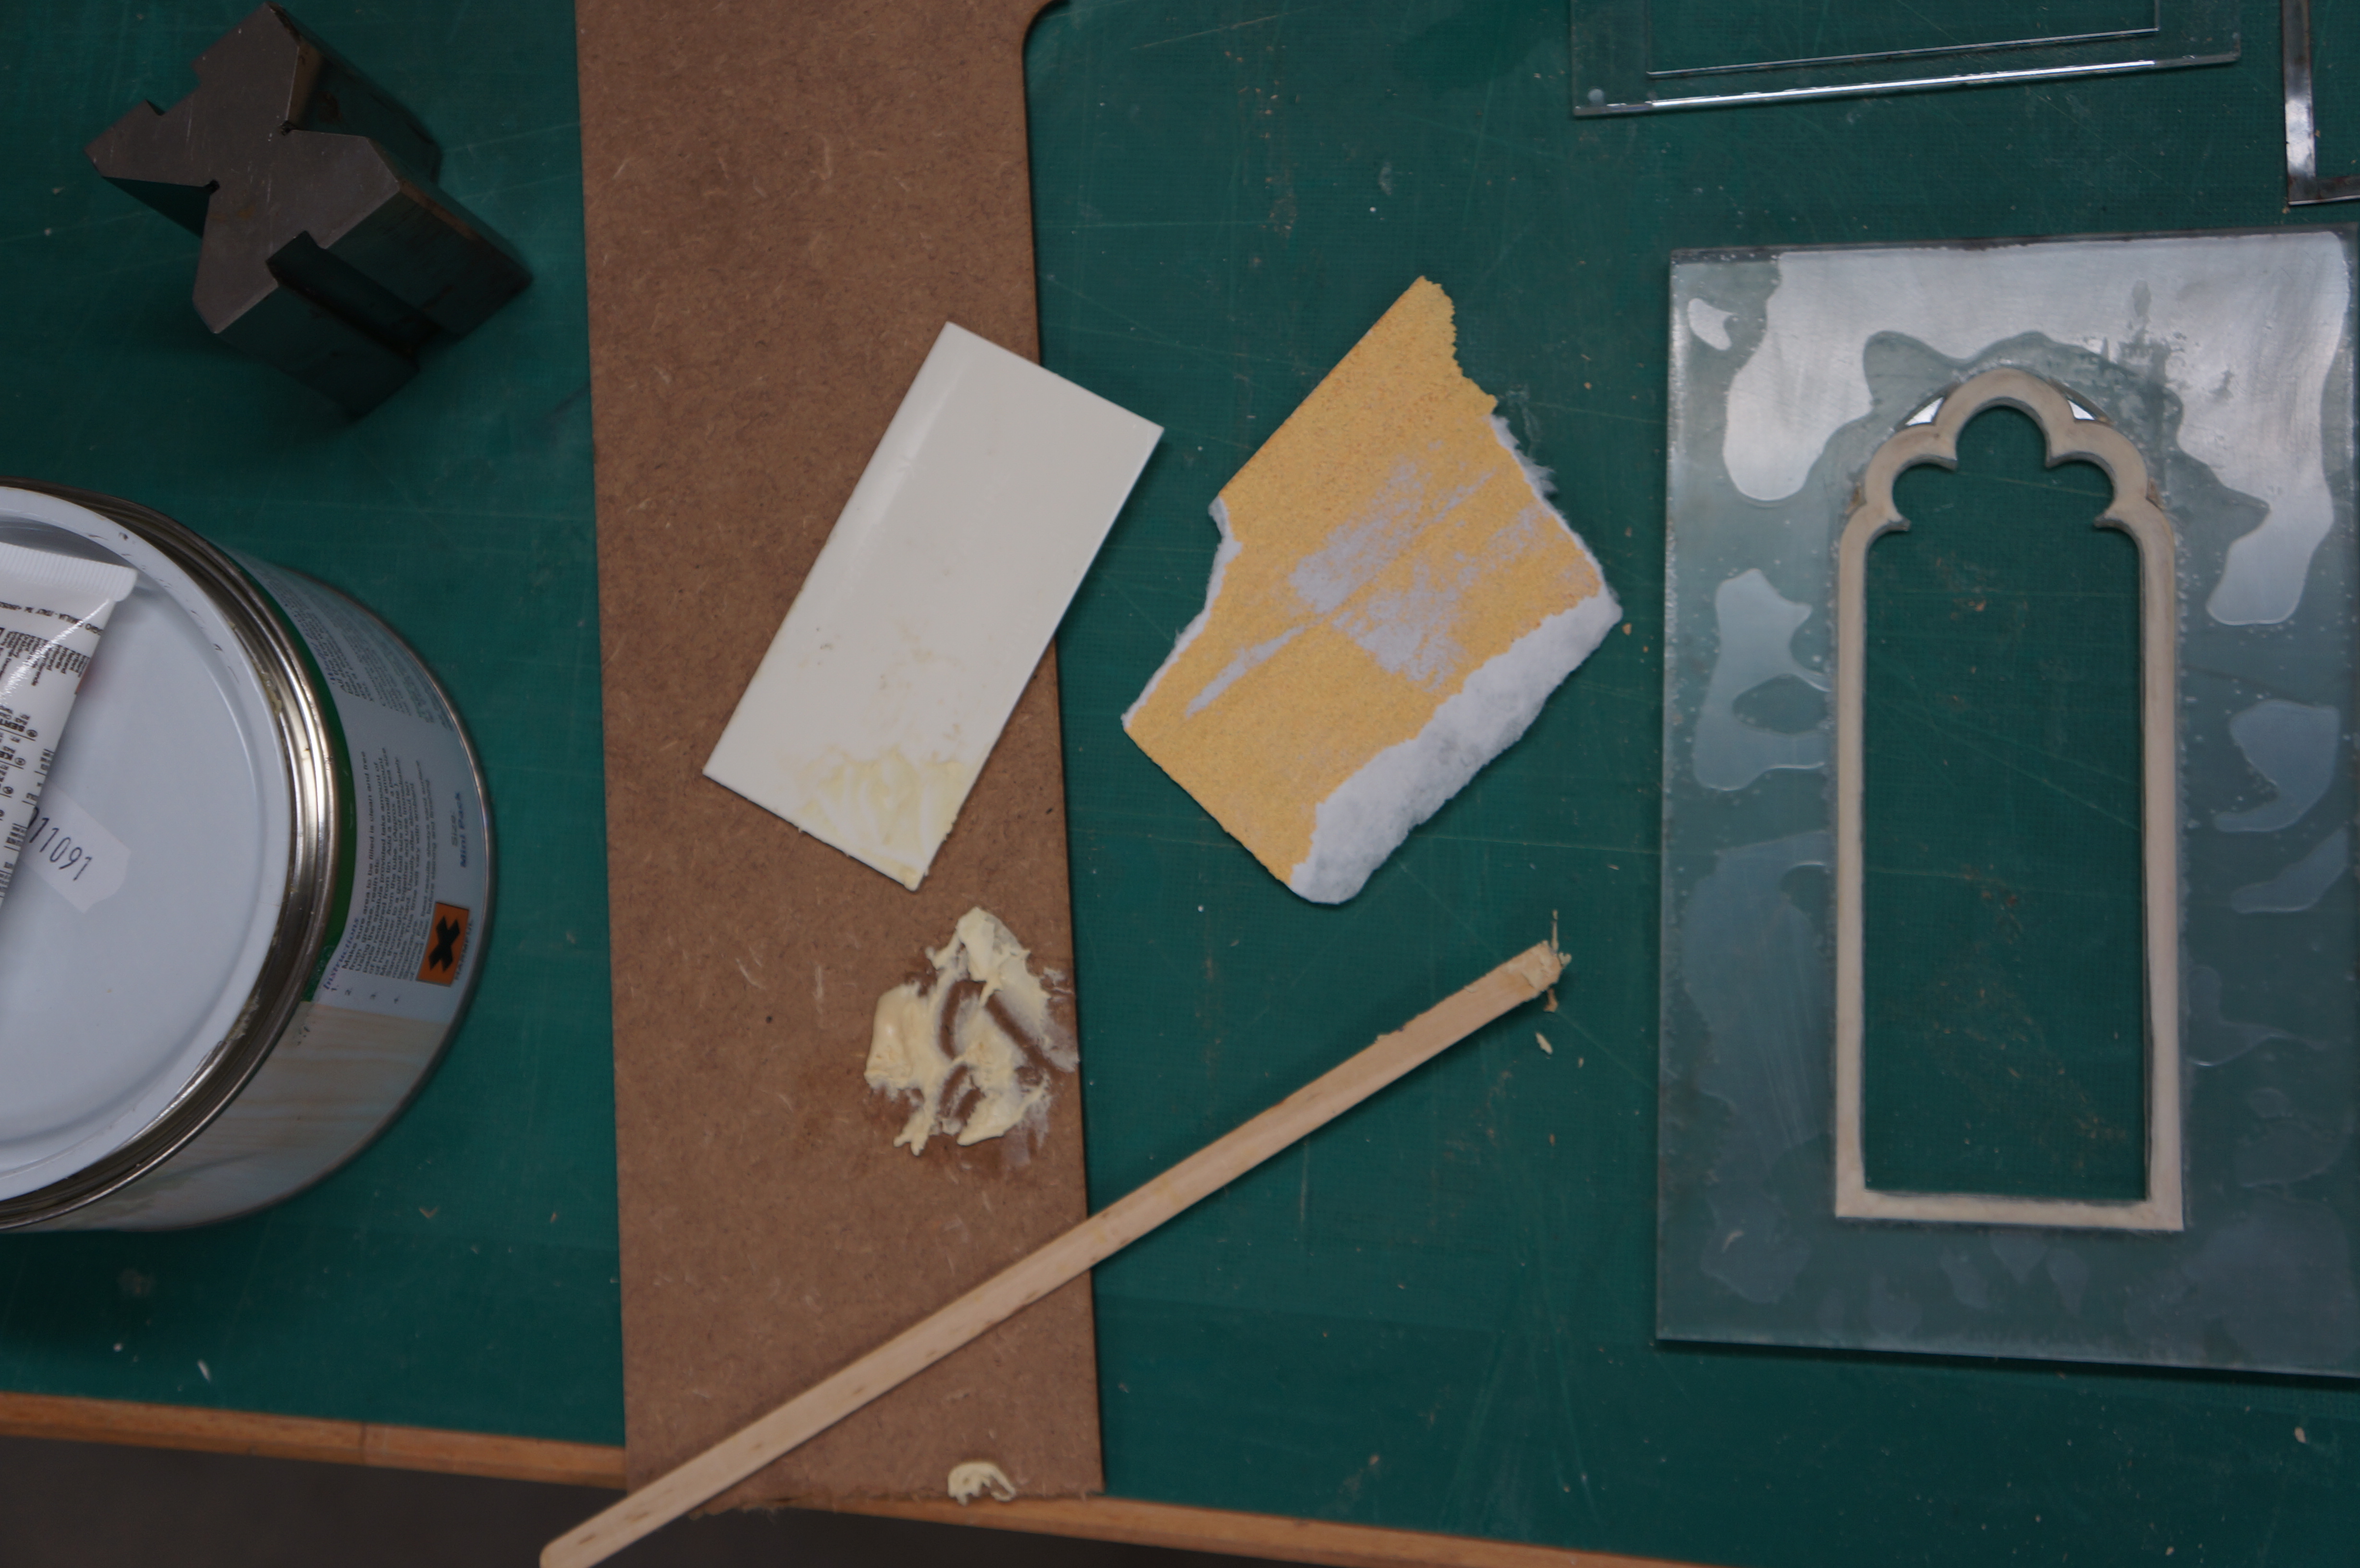
“I spent too much time working on the computer and setting up cut files without really doing any research into the casting process and consequently, I ran into many hurdles and had to abandon the process all together. Although the project ultimately failed, the experience taught me the value of testing and sampling before any commitment.”

Despite having initial struggles to get his models to flow smoothly within his project it was clear from the technicians perspective that something was shifting in James’ approach.

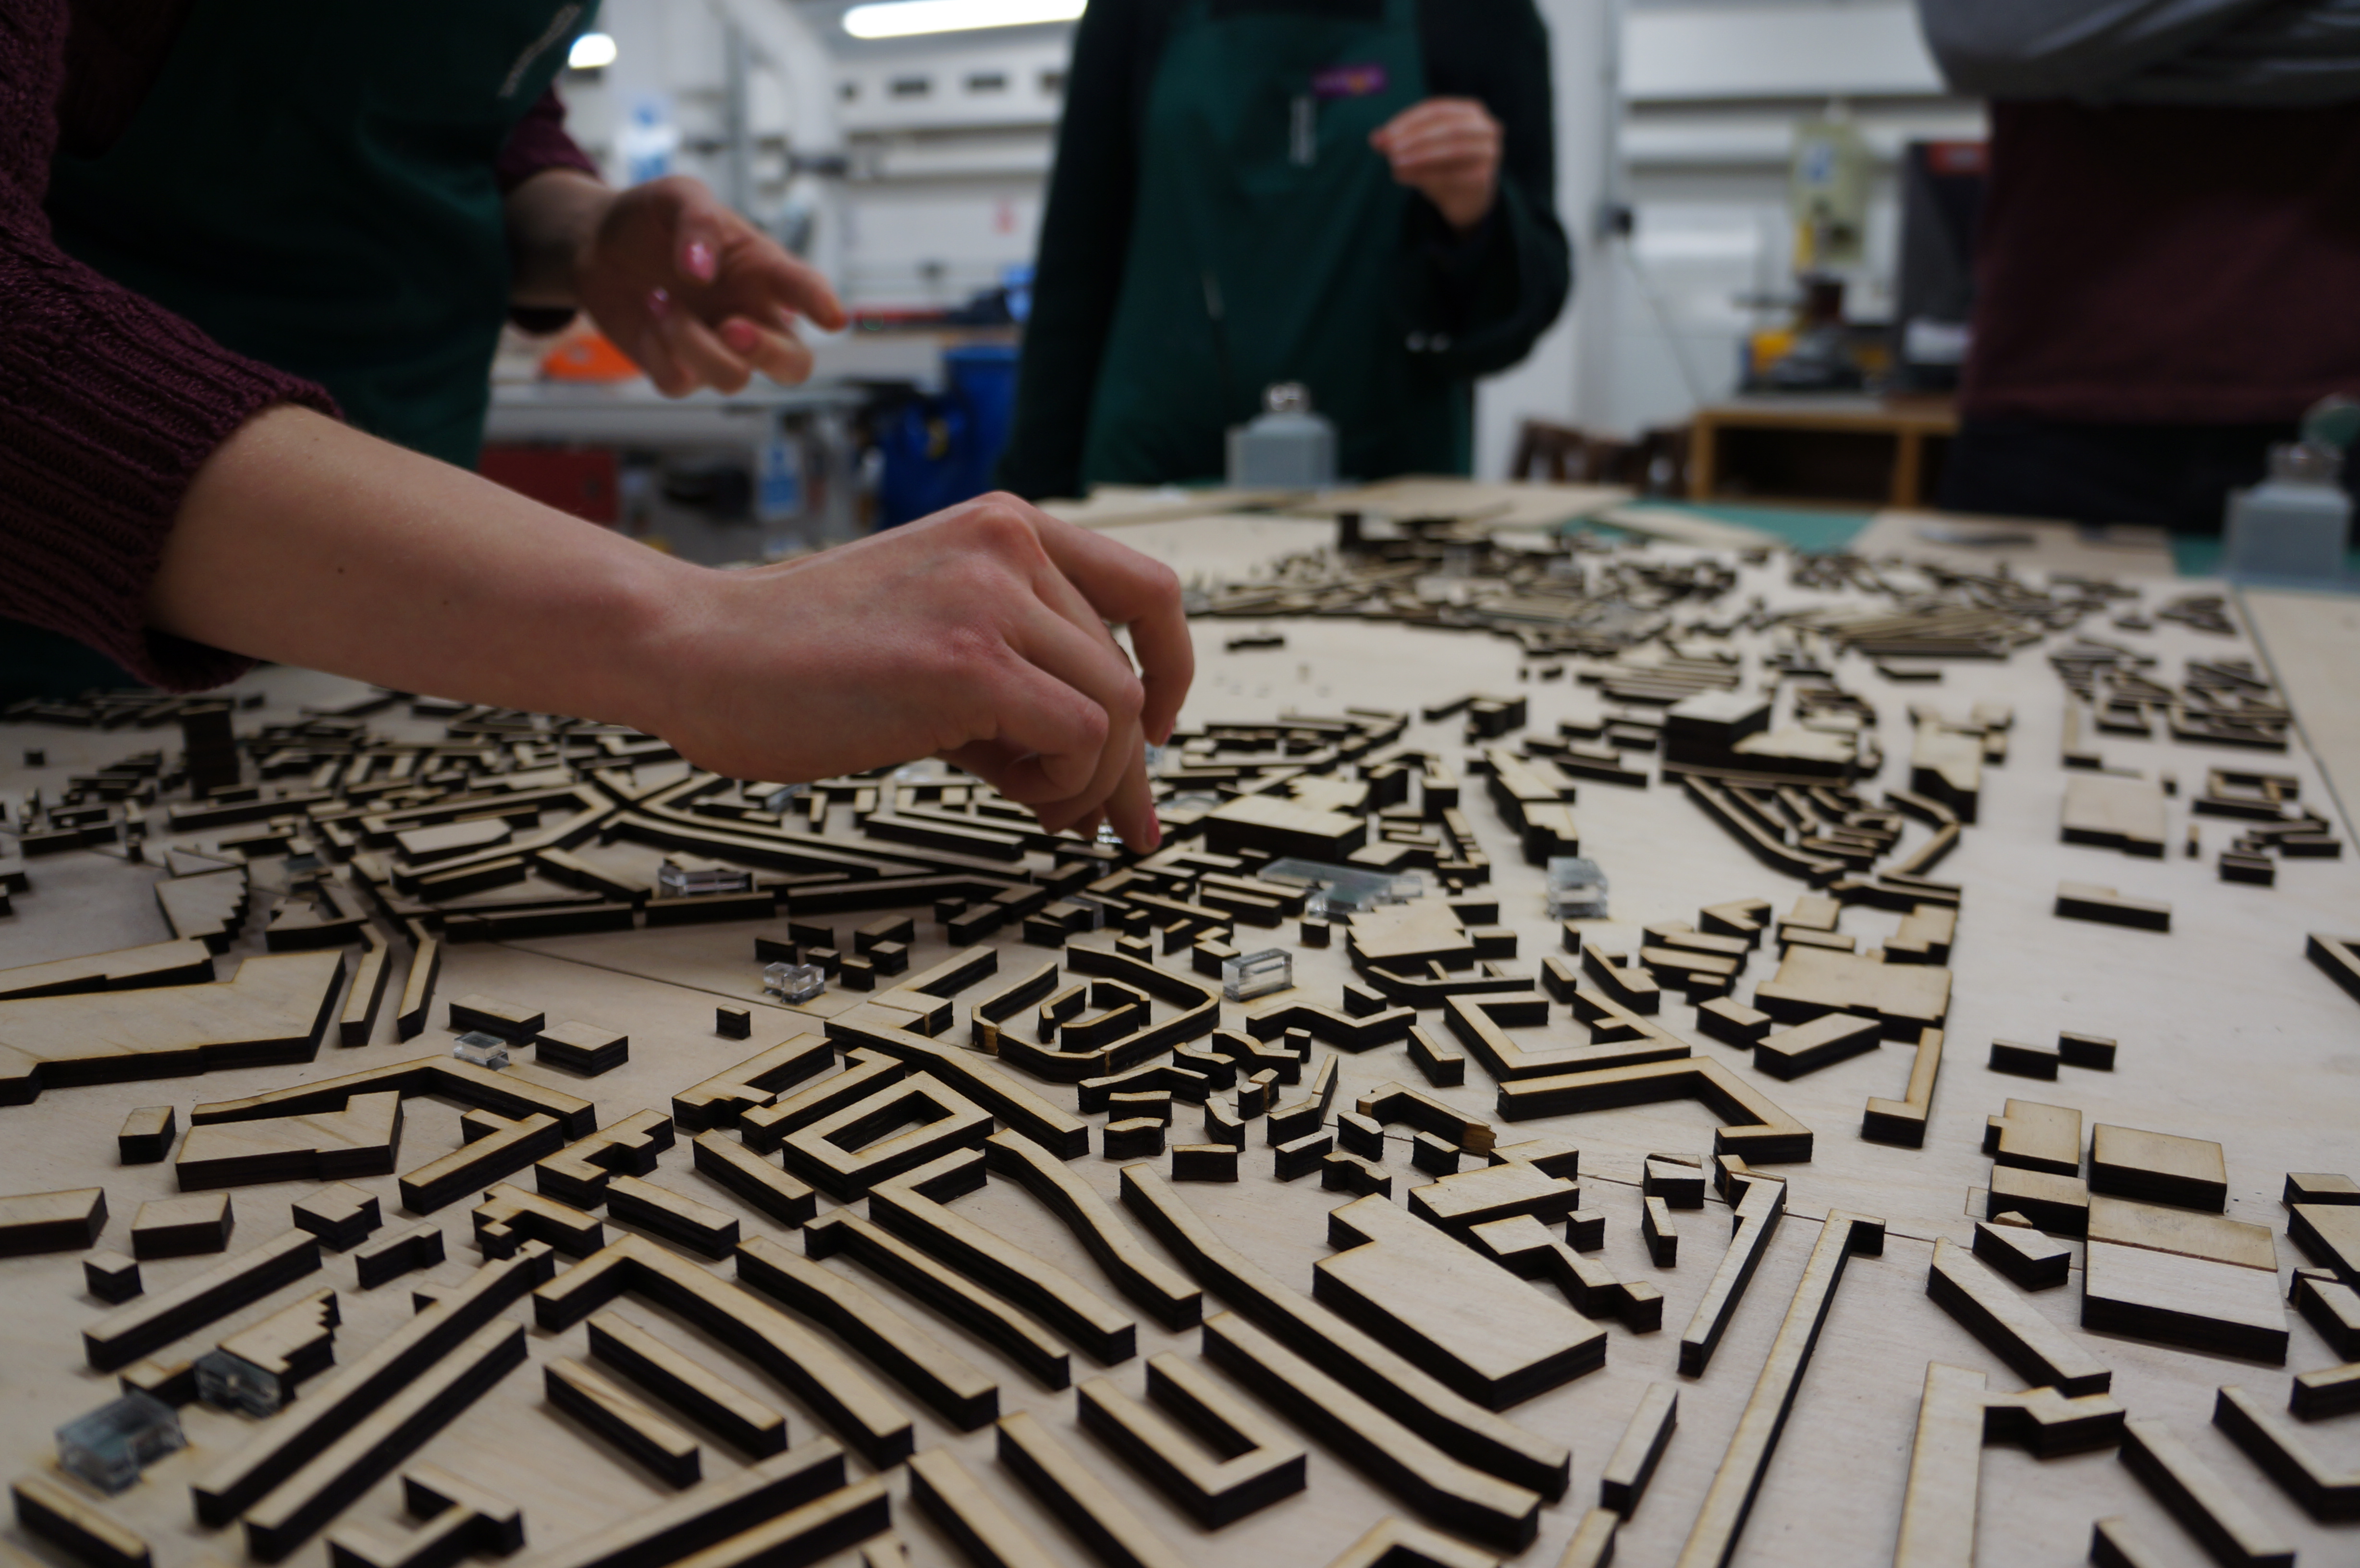
“I started to realise the process between translating a digital model into a physical one isn’t always easy, especially if you’re trying out something new. Even before I have a clear concept for a model, I would get into the workshop as early possible and start testing ideas which would feed back to inform my designs as well as the making process.”


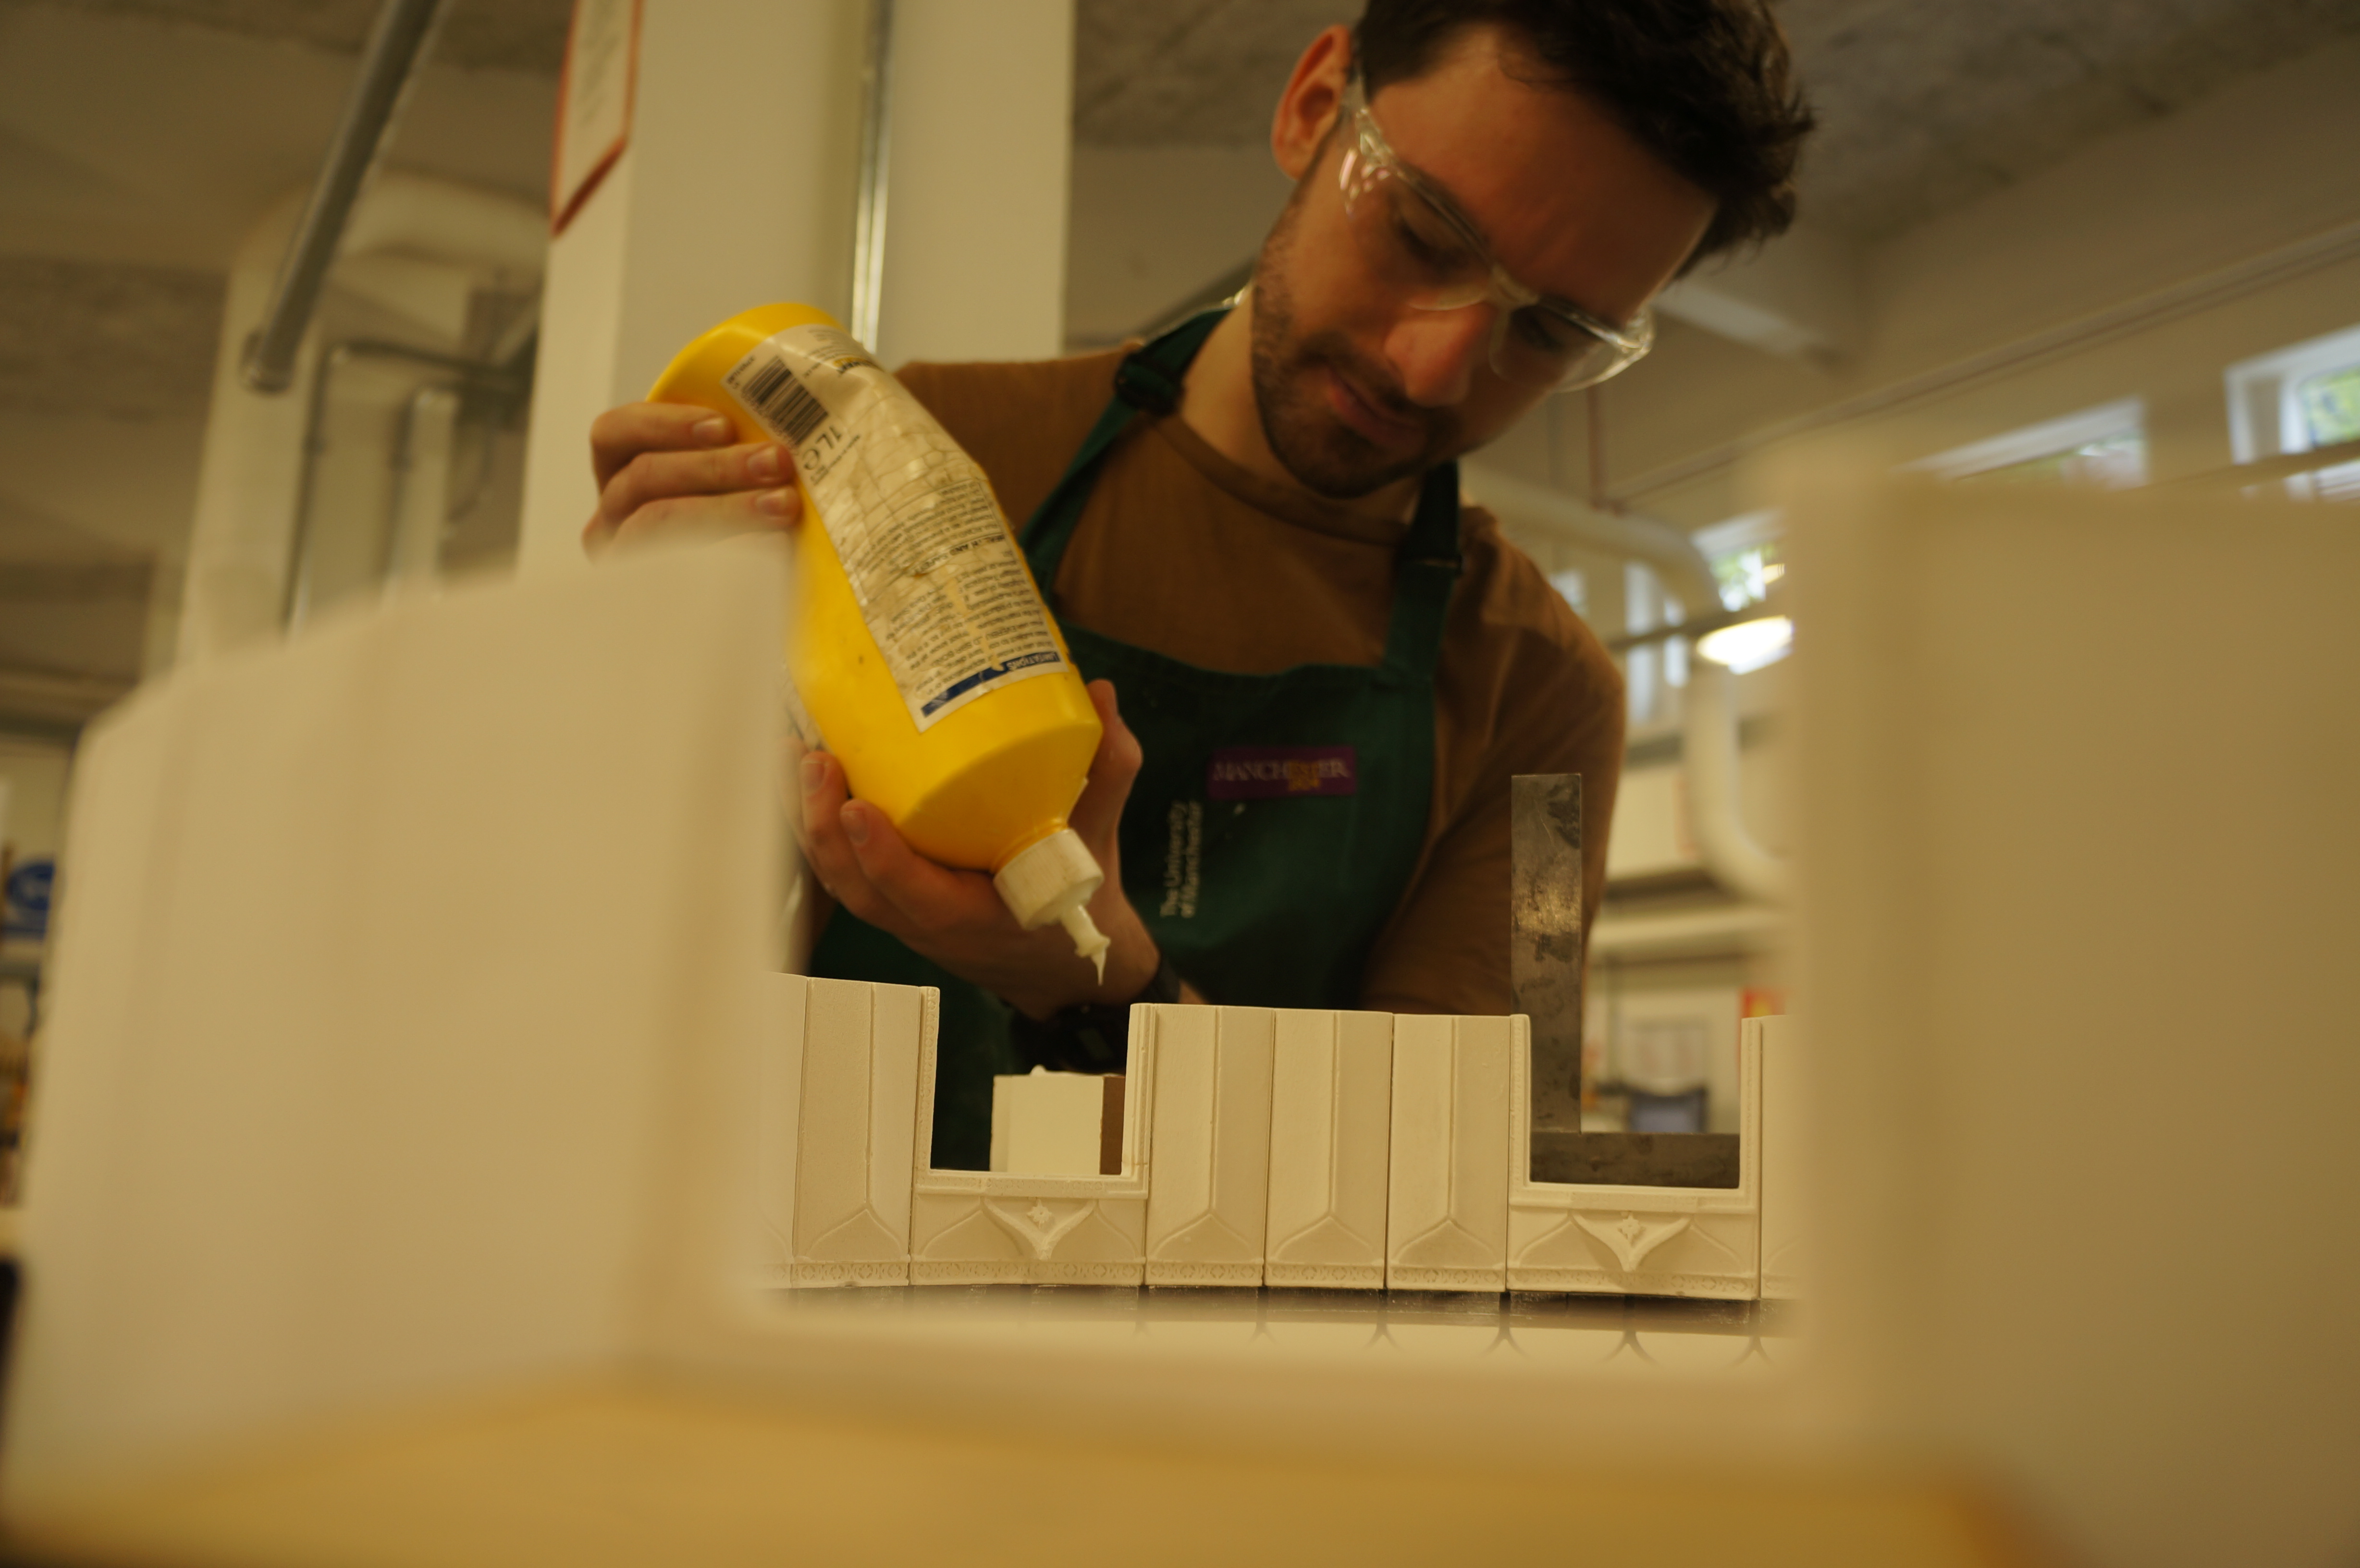
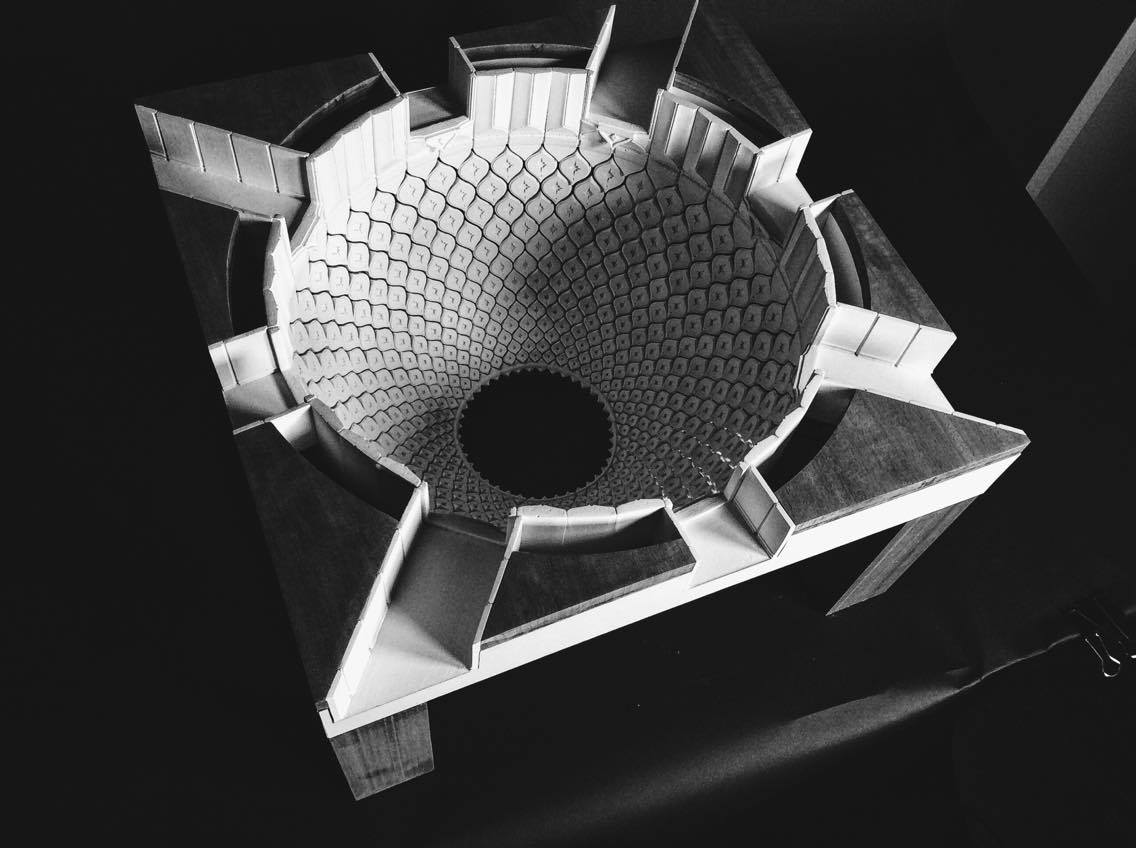
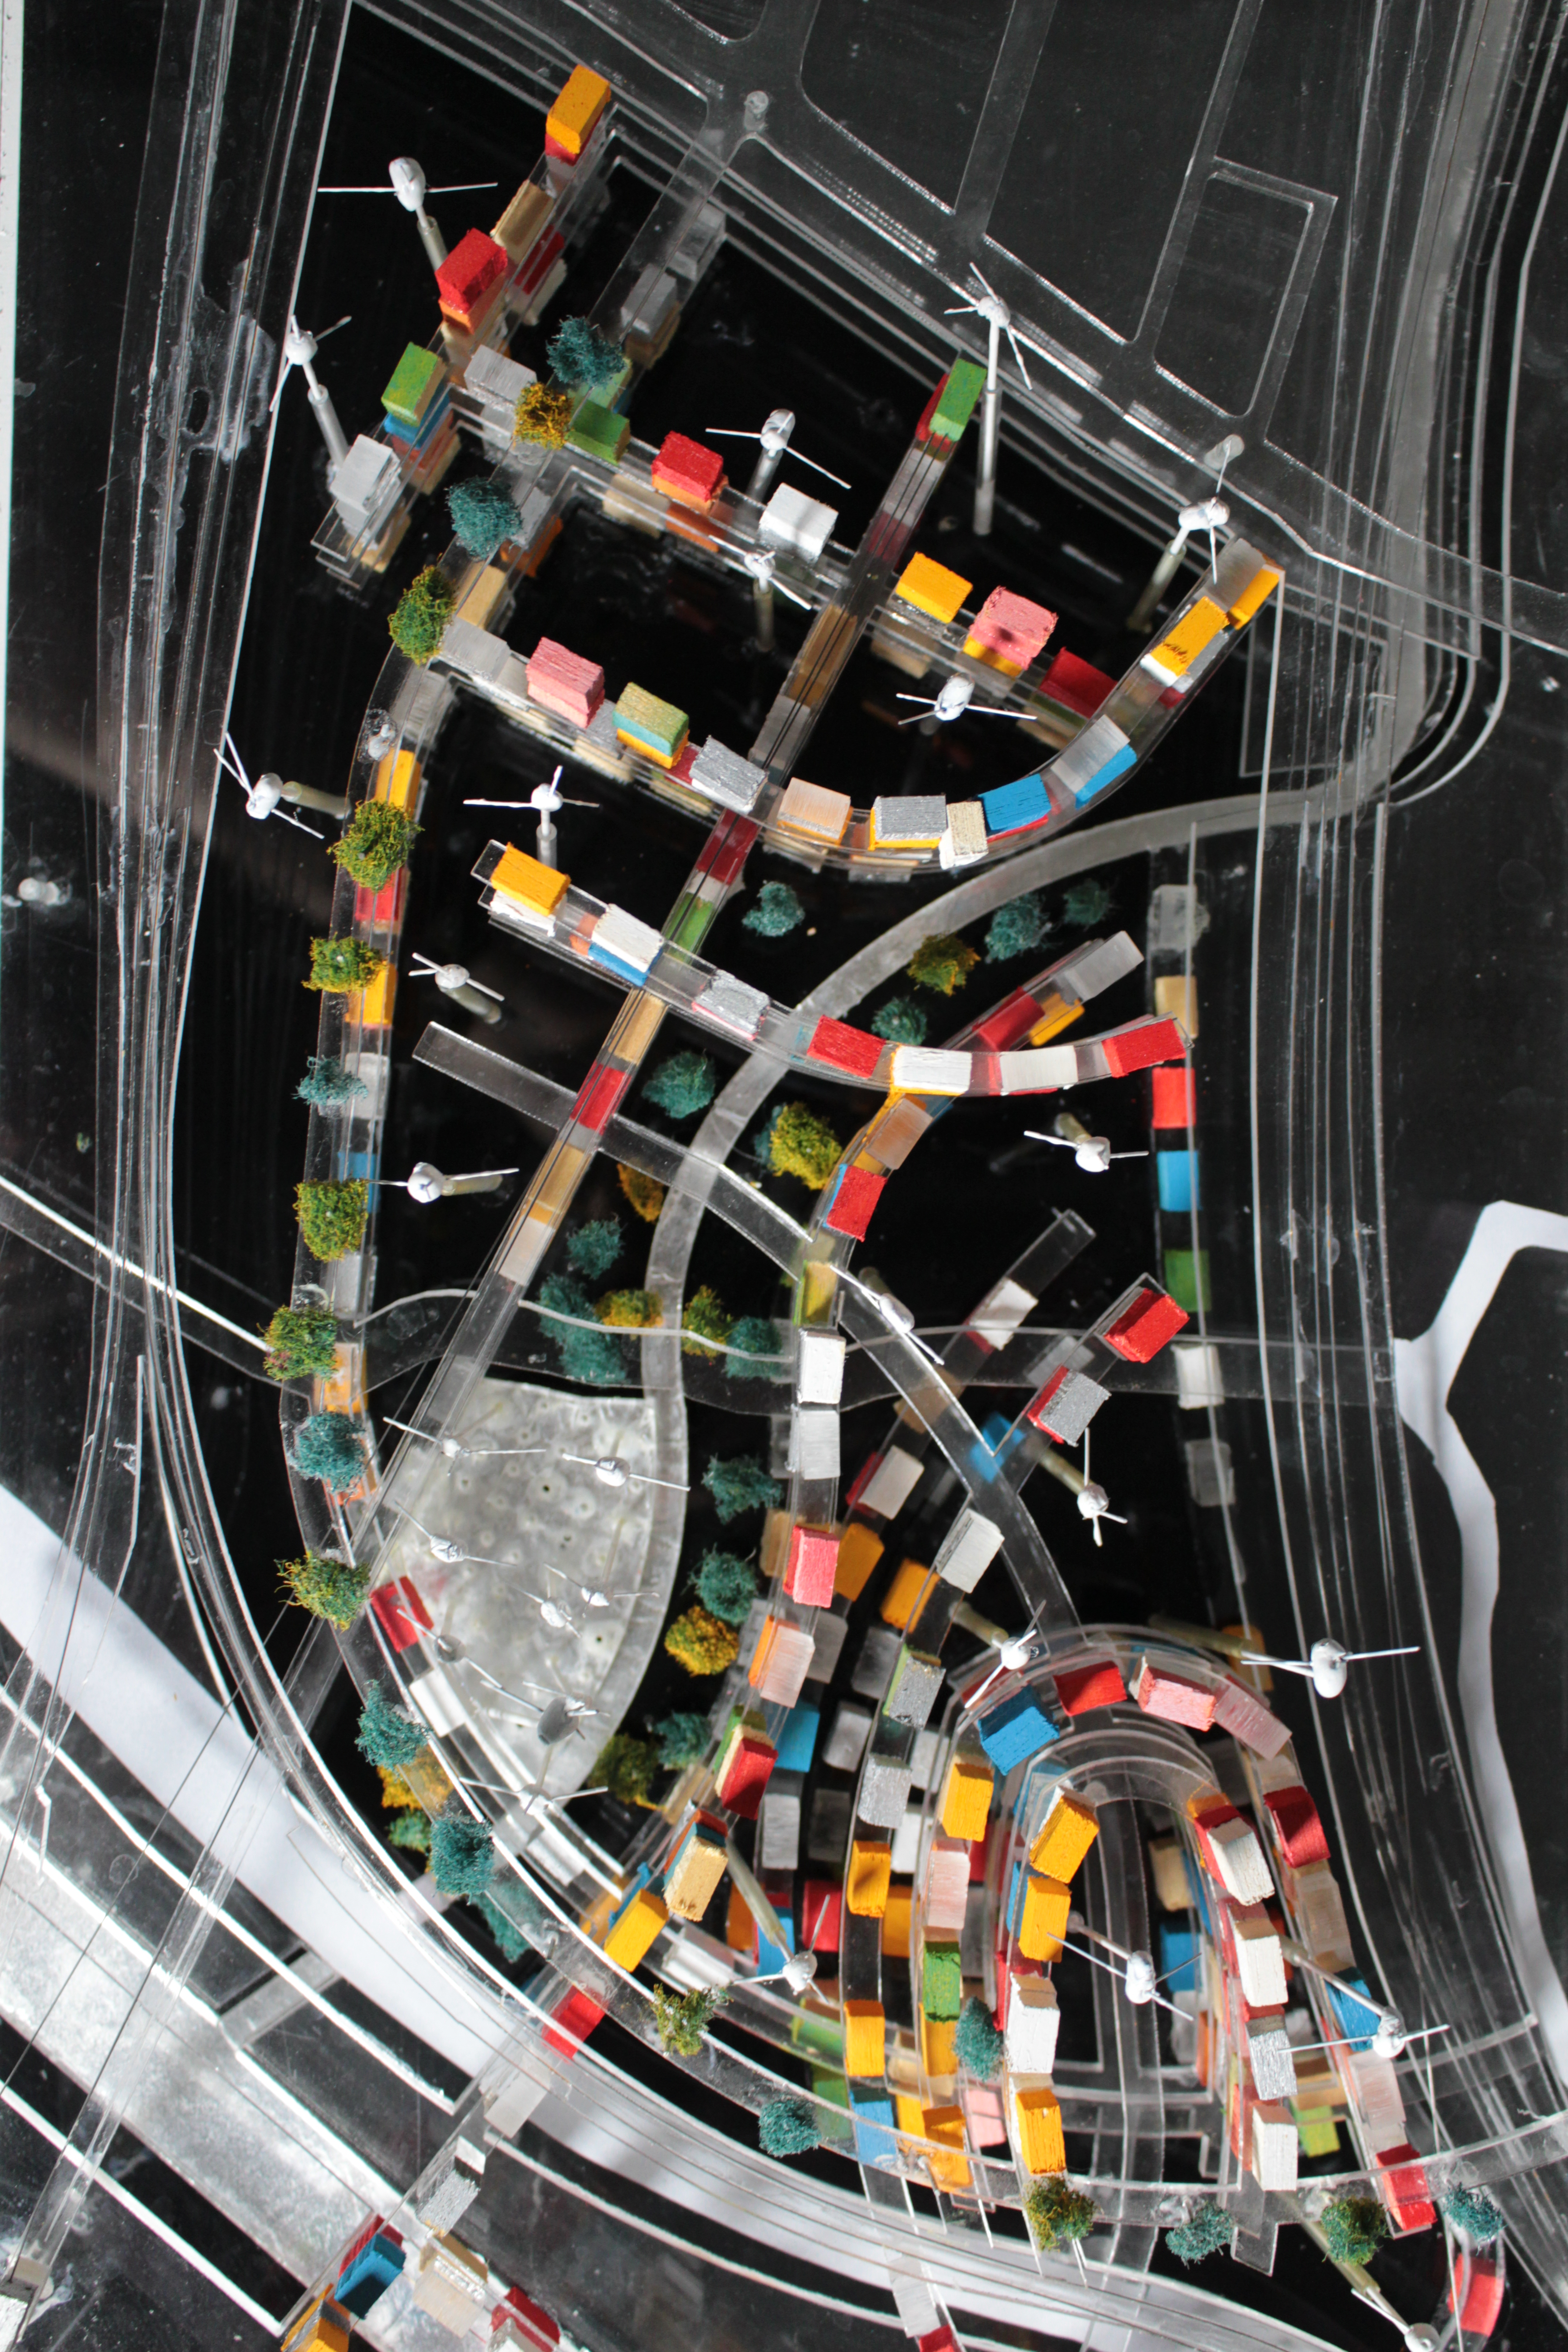
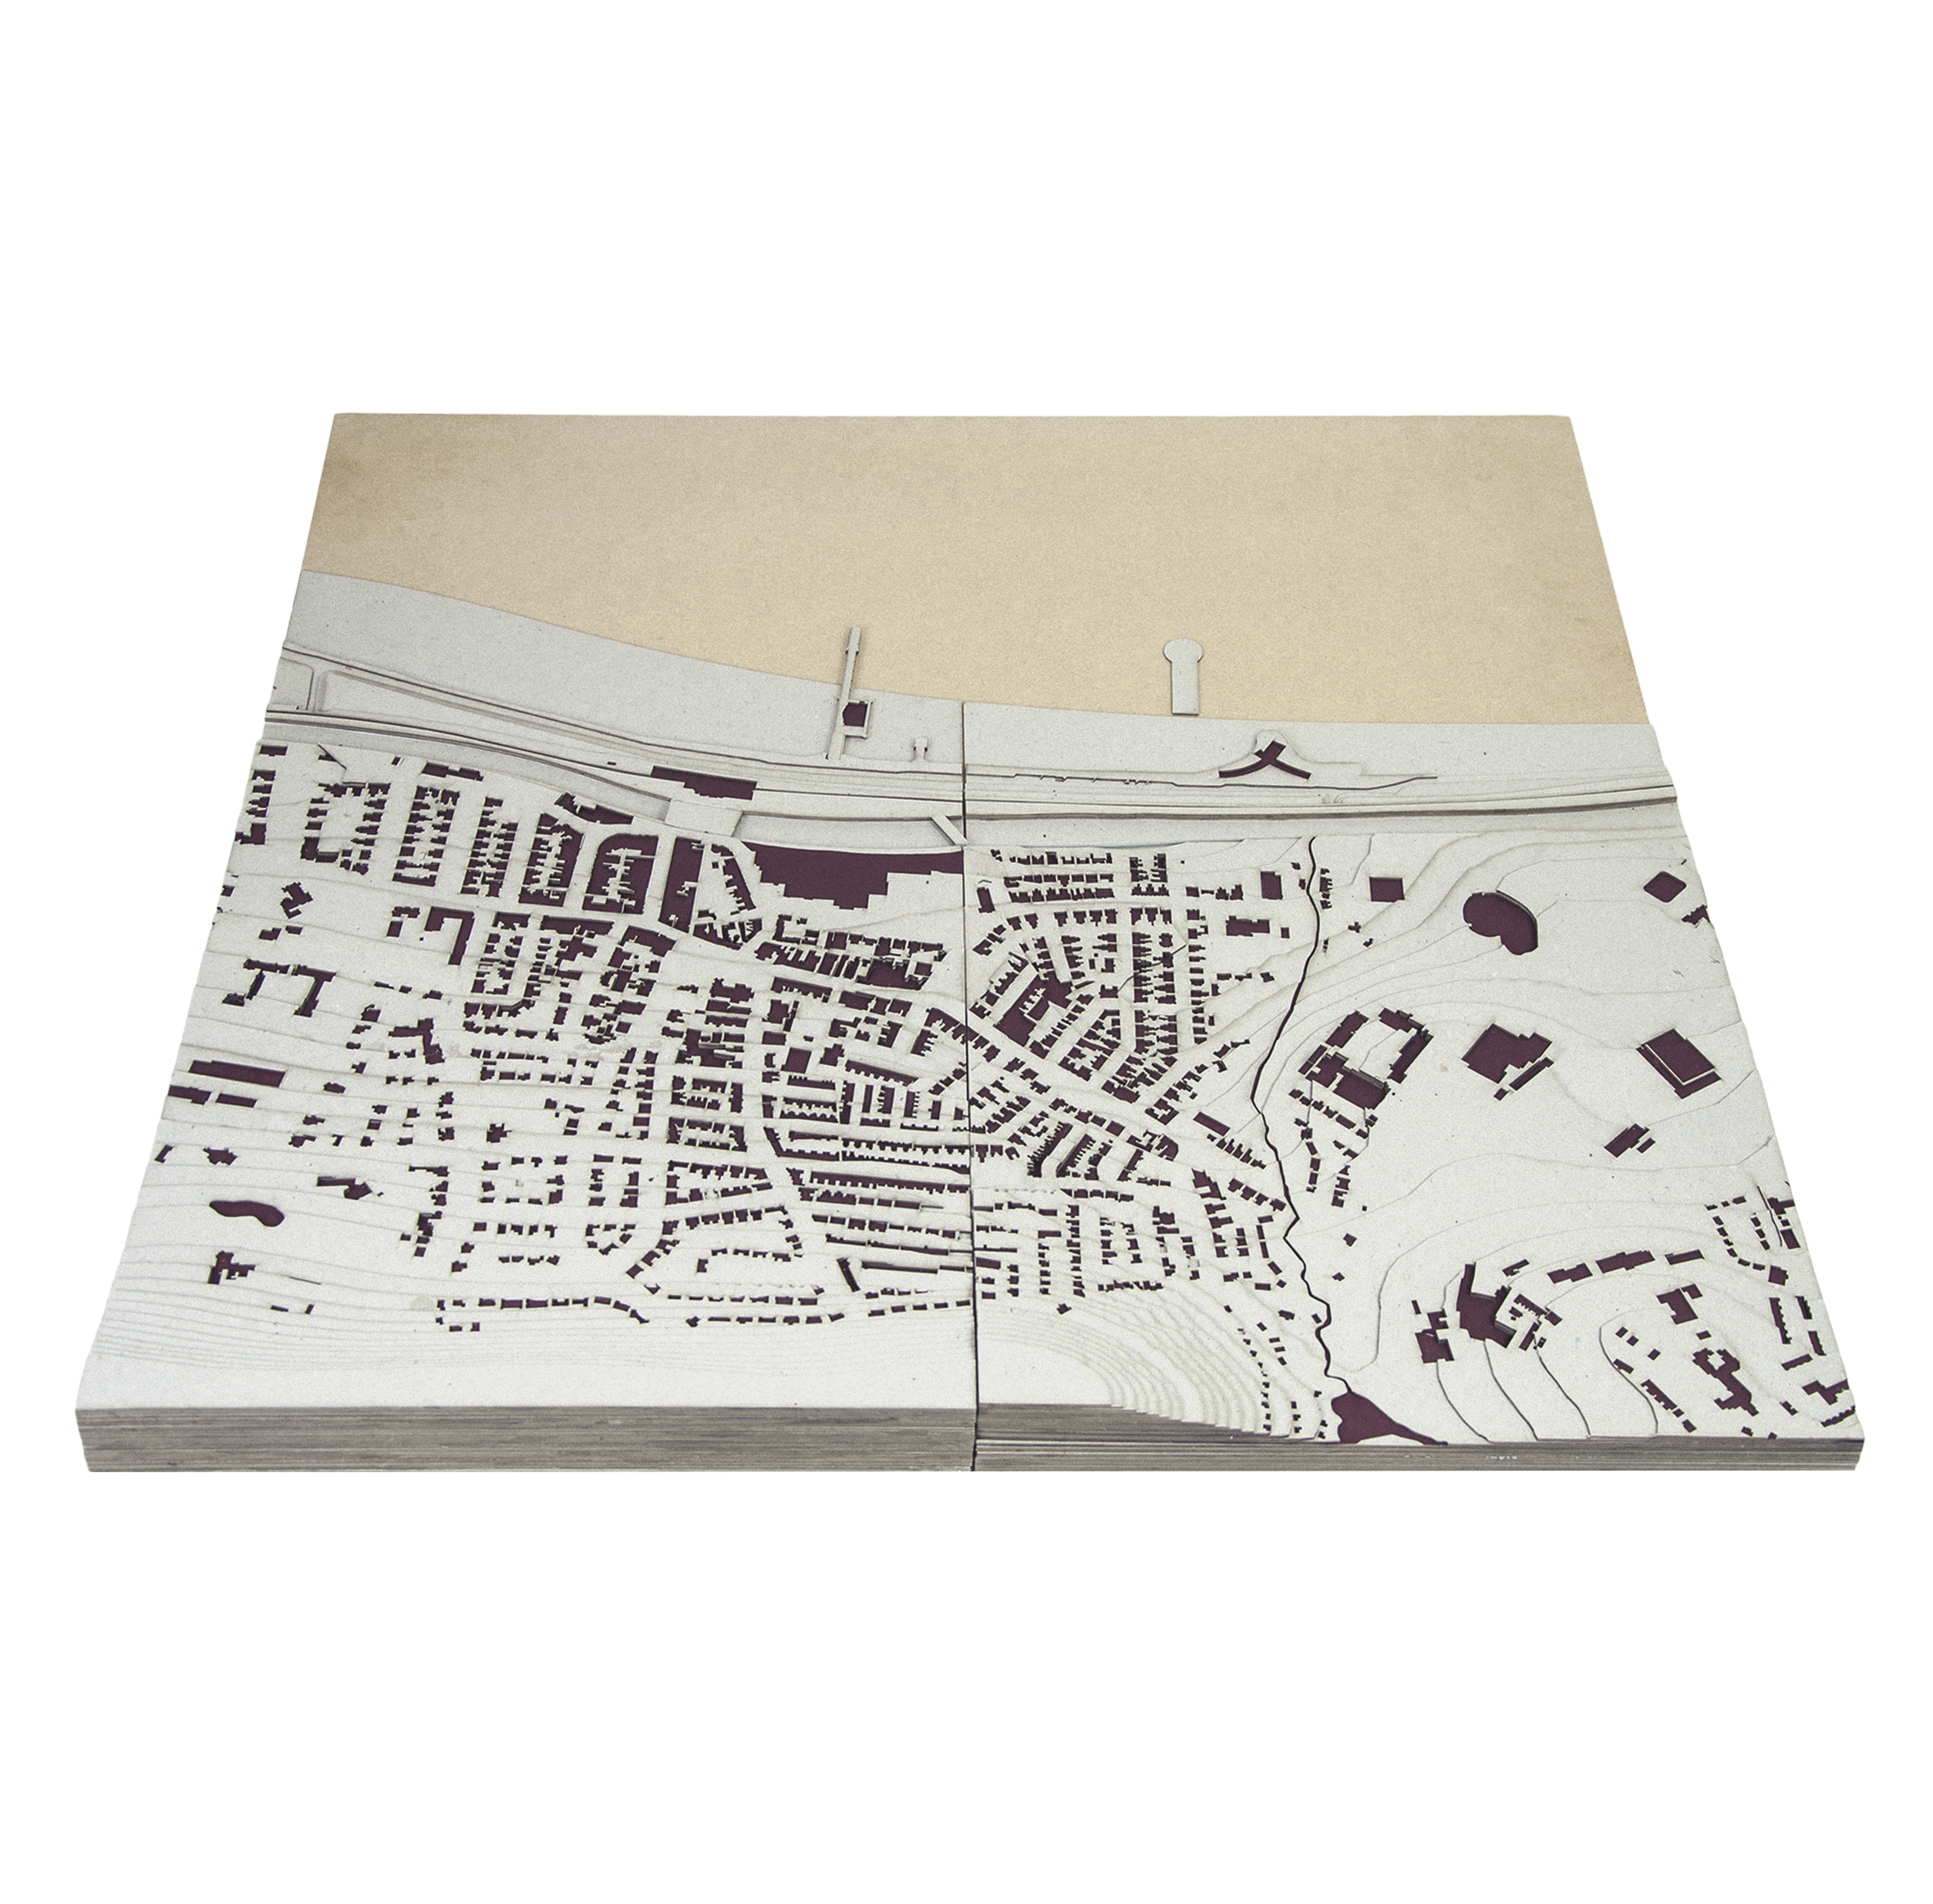
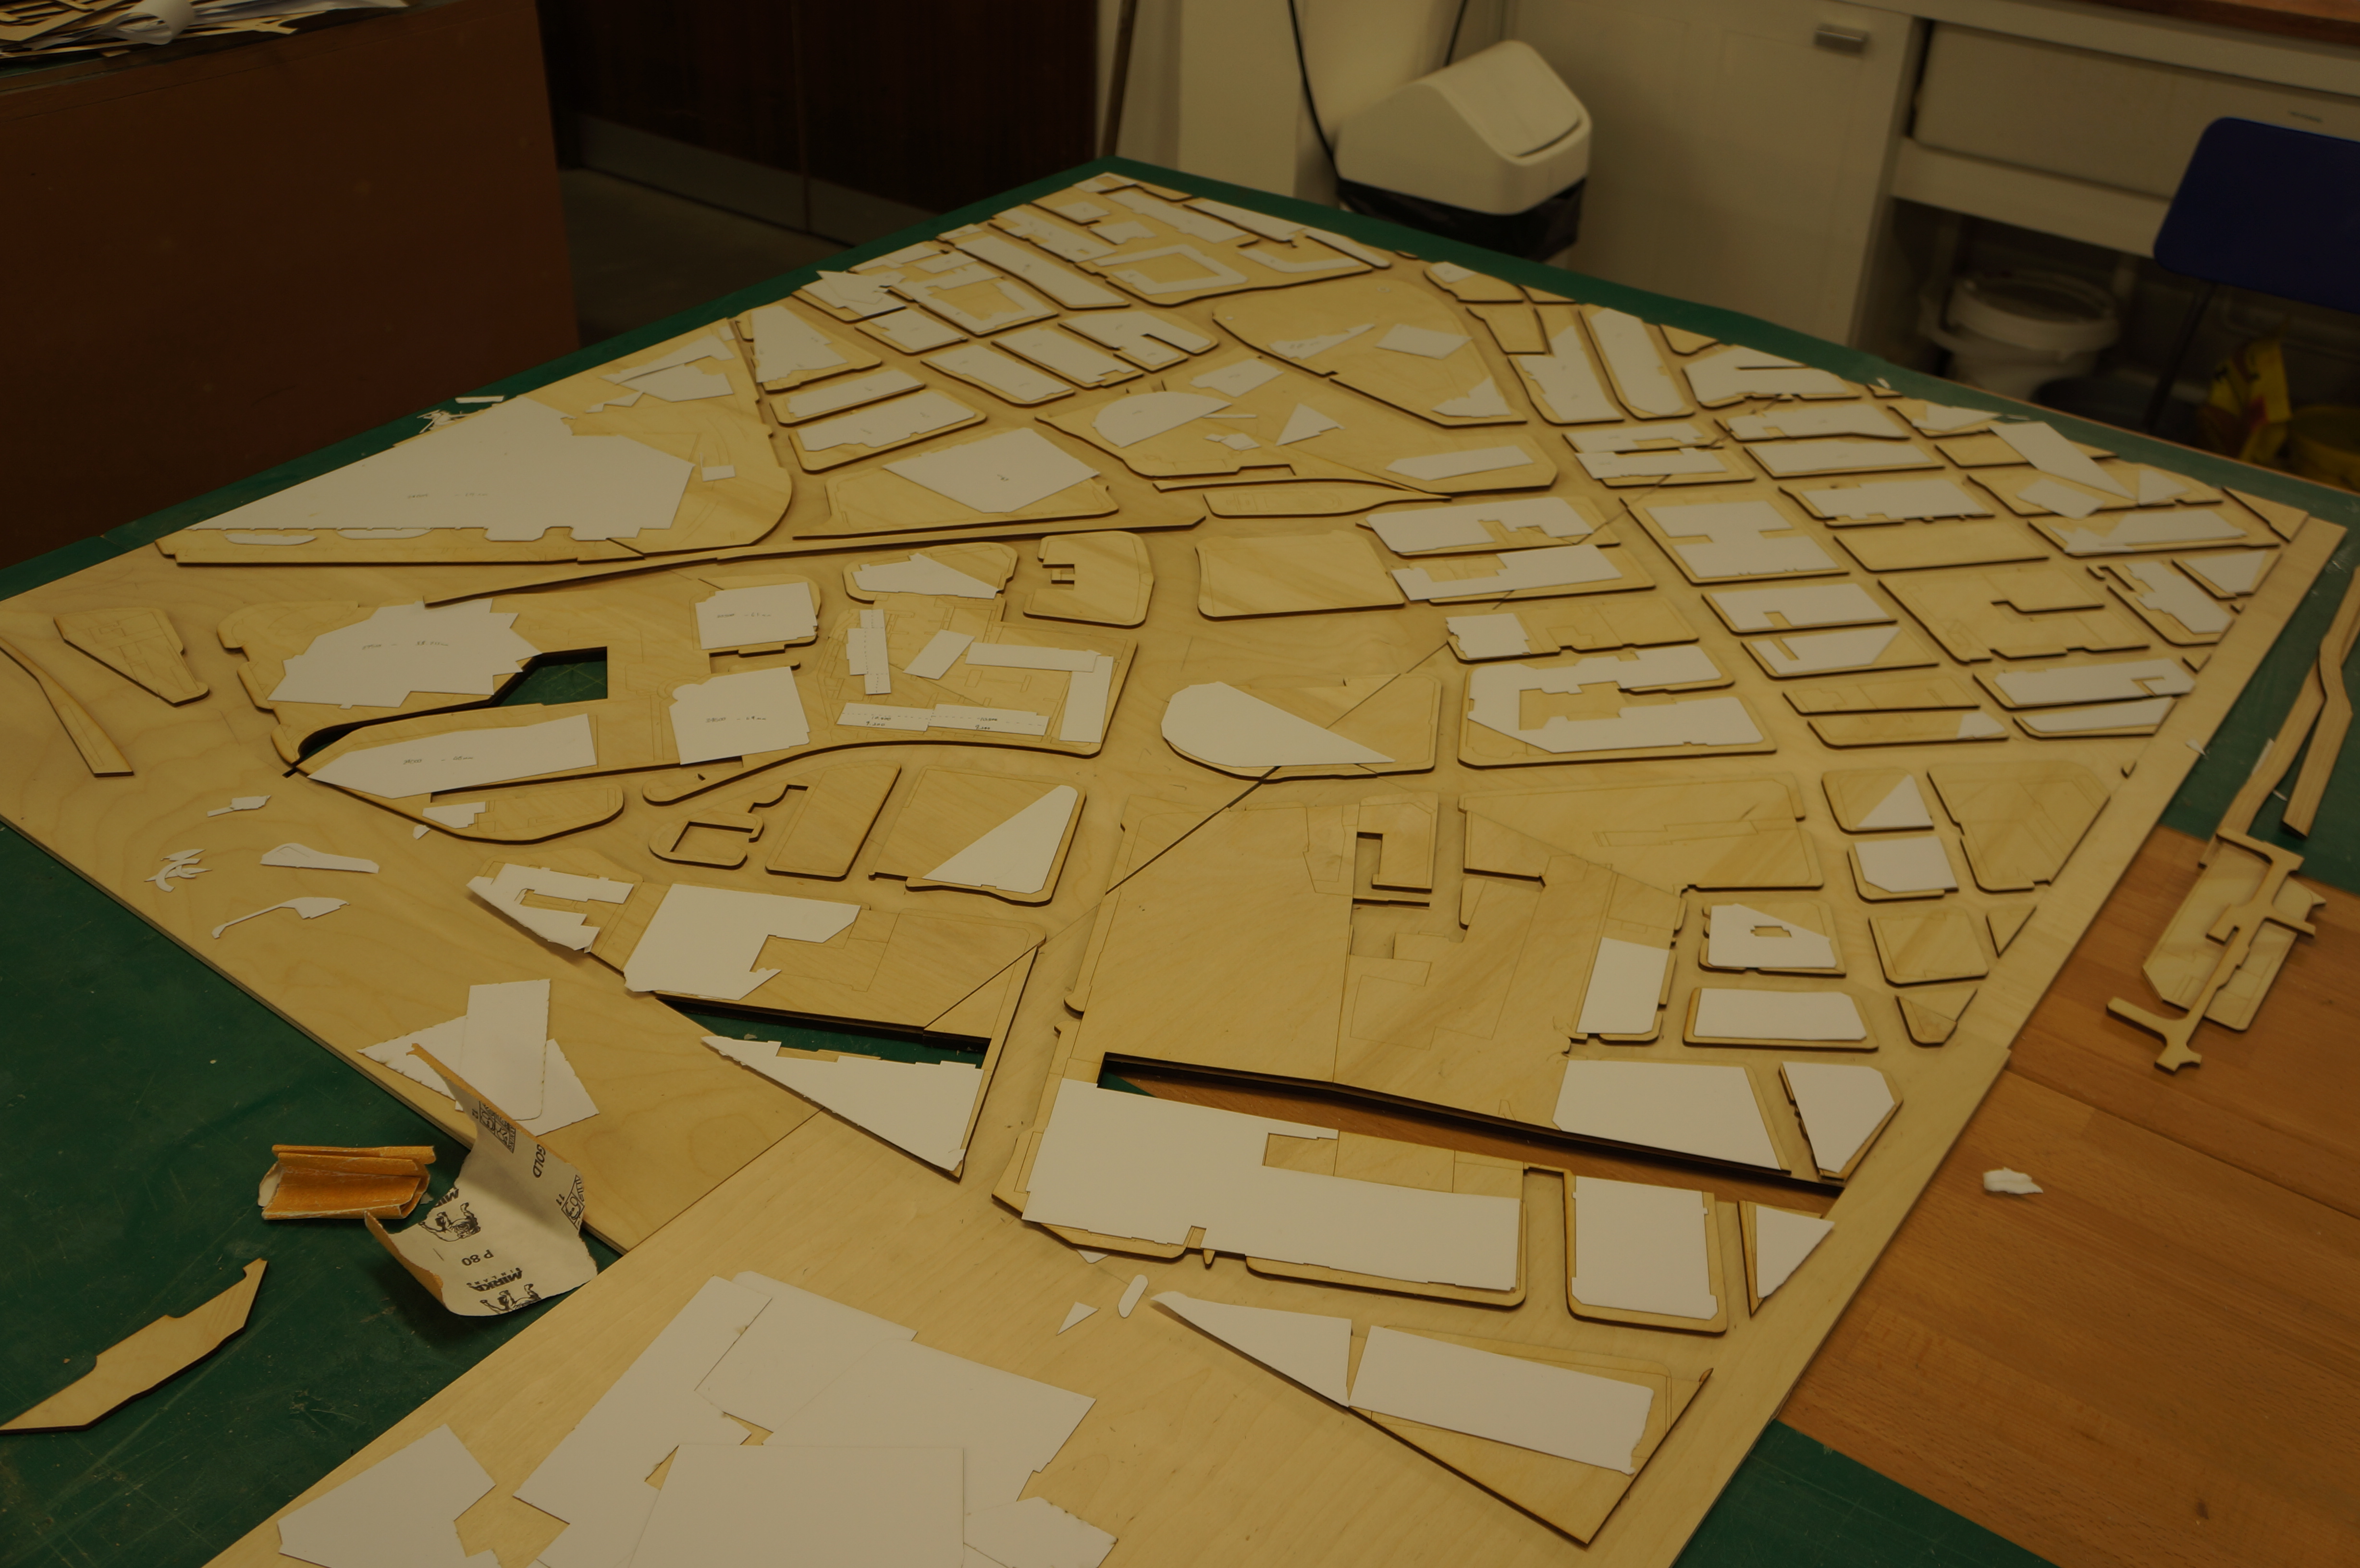
James’ outputs clearly grew and the content became much more varied and refined through constant testing. This was a notable change from his initial approaches which were driven entirely by computer manipulation.

So what tips would James offer to anyone wanting to make or improve the use of models within their design work?

“Always consult the technicians before starting on a process you’re not familiar with. It will save you a lot of time. If you can, get the basic modelmaking done at home – it’ll mean you can take full advantage of the facilities during the B.15 opening hours. Try to limit dependency on the popular machines like the laser cutter – a lot of the work people use it for can be done by hand and it usually looks better. Experiment and don’t let failure discourage you – its progress.”


James is now working locally at Tim Groom Architects. We wish him the best of luck for his future career.

Thanks to James Donegan for sharing this thoughts and recollections.

Scott

Masterplan Site Modelling

One of the most common projects students are asked to produce is a master plan model of a chosen site of study. These projects are predominantly but not exclusively set as group projects.

The model will include the extent of the chosen site and a variable amount of content depending on its purpose. Examples of purpose are:
  • Complete massing of each structure within the site
  • Selected features of a specific set of structures perhaps defined by purpose. 
  • Complete or partial topographic representation.
 
IMG_5277
Site Model Edit A
Coventry Master Plan (18)
Why do we make masterplan models?
 
Masterplans comprise a complete set of data on a site. The depth and scope of the data can vary from complete to selected types dependent on their purpose. In drawing form this data is often used as the ‘benchmark’ for subcontracted planning and eventual building of projects.
 
As a model the viewer is given a third dimension to the arrangement of a site. Building forms, types and positioning can be viewed from an instantaneous and variable perspective chosen by the viewers. For this reason the master plan is chosen as the centre piece of many projects and when used to full advantage can be modified by design as projects develop. This in turn provides a constant point of context reference in group discussions and individual presentations about the site.
 
Medical School (4)
city master plans (13)
Tips for Masterplan Modelling
 
APPROPRIATE SCALE. As with all Modelmaking tasks the first major consideration should be the required scale for your model. This may be defined by your brief but can also be left to your discretion. Ensuring the scale is appropriate for your project is critical for both the time concerned and potential expense of the model so take time to think about what needs to be shown. Consider existing map scales you have access to such as 1:1000 or 1:1250.
 
CONSTRUCTION METHOD. A common solution for the representation of contouring is with material that is layered up using survey topography lines. Deciding on an appropriate method for such elements is a key consideration. A previous article covers the ‘stepping’ method when using thick or large amounts of material and can save on cost and waste. Please take the time to read the post here.
 
STANDARD LEVEL OF DETAIL. Group projects need to consider this point especially in order to identify a standard to be attained by all participating members.
One of the main reasons master plan models can come across as messy or rushed is due to an inconsistent level of detail. The rule for detail is circumstantial and really up to the maker but production time for fine details should always be considered alongside what is required to make the model an effective tool. Consistency makes for the best presentation.
 DIVISION OF LABOUR. On projects consisting of tens to hundreds of individual building representations it is crucial to split the site into areas so that sub groups or individuals can work on specified sections.  This helps to work through the project systematically, with time efficiency and avoids any unnecessary duplicates being made by other group members.
 
Continuity Site Context model (16)We hope these pointers help to get you started with your projects but as always feel free to come and consult with us in person if you are unsure.
Scott


Plaster Casting guide inspired by Timothy Richards Models

Earlier this year myself and Jim went on a visit to Timothy Richards workshop in Bath. Read more about that visit here.

In response to what we saw there we decided to have a go at casting some facade tests of our own to demonstrate to you the potential when using this method for modelmaking. Starting with some reference images of the University of Manchester Archway we decided to focus on one of the Gothic style windows as our subject.

Making a ‘Master’

Initially recreating the form of this stone work in miniature may seem time consuming but as you will see the end results are fantastic and the intricate detail featured is easily replicated by casting.

A good way of creating details like this is by layering sheet material, in this case acrylic. Planning the layers on CAD will allow you to break down the details into manageable  stages (Above). When combined, the layers of laser cut acrylic form the recesses and steps in the winder with the radius in the stone work being replicated using a filler and hand sanding (Below).

Spraying a coat of primer paint on hand finished areas can help to identify any imperfections in the surface (Below). This primer can then be sanded back

The extra details of the window can be formed using styrene and or abs strip with any further radius being creating again with filler. Once complete the master model is ready to be moulded. 

 Pouring a Silicone Mould 

The are a wide range of silicone’s available for mould making so it is always advisable to check the specification of individual products before committing to use them on your master model. Firstly ensure the master is secured to a mould former – in this case we used a storage try which suited but bespoke formers are usually required.

Ensure the silicone is mixed to the manufacturers instructions and pour in a thin stream to avoid any air bubbles forming against the master mould. Ensure the master is sufficiently covered and allow to cure for the recommended time.

Once cured carefully remove the silicone mould preserving the master mould to be reused if any problems occur. The benefit of using silicone is that the flex allows the master and eventually cast items to be easily removed without much stain on the items themselves.  Some minor trimming of silicone overlap may be required before the mould is ready to be used for plaster casting.Plaster Casting

As with the silicone there are many types of plaster available so always check to see if the specification suits your needs. In this case we simply used stone plaster mixed to the correct consistency and poured directly into the silicone mould – no release agent required.

Once the plaster has set it can be carefully removed from the mould giving a completed cast. These sections can be used as tests or replicated to create a more detailed facade. 

One area we have touched on is adding pigments to the plaster mix to give varied results in terms of finished cast colouring. We will revisit this area when we have time to experiment some more and let you know how it goes. If you have any ideas that could make use of this method of making be sure to get in touch either via email or in person at the workshop. We are more than happy to help! Scott & Jim