Earlier this year myself and Jim went on a visit to Timothy Richards workshop in Bath. Read more about that visit here.
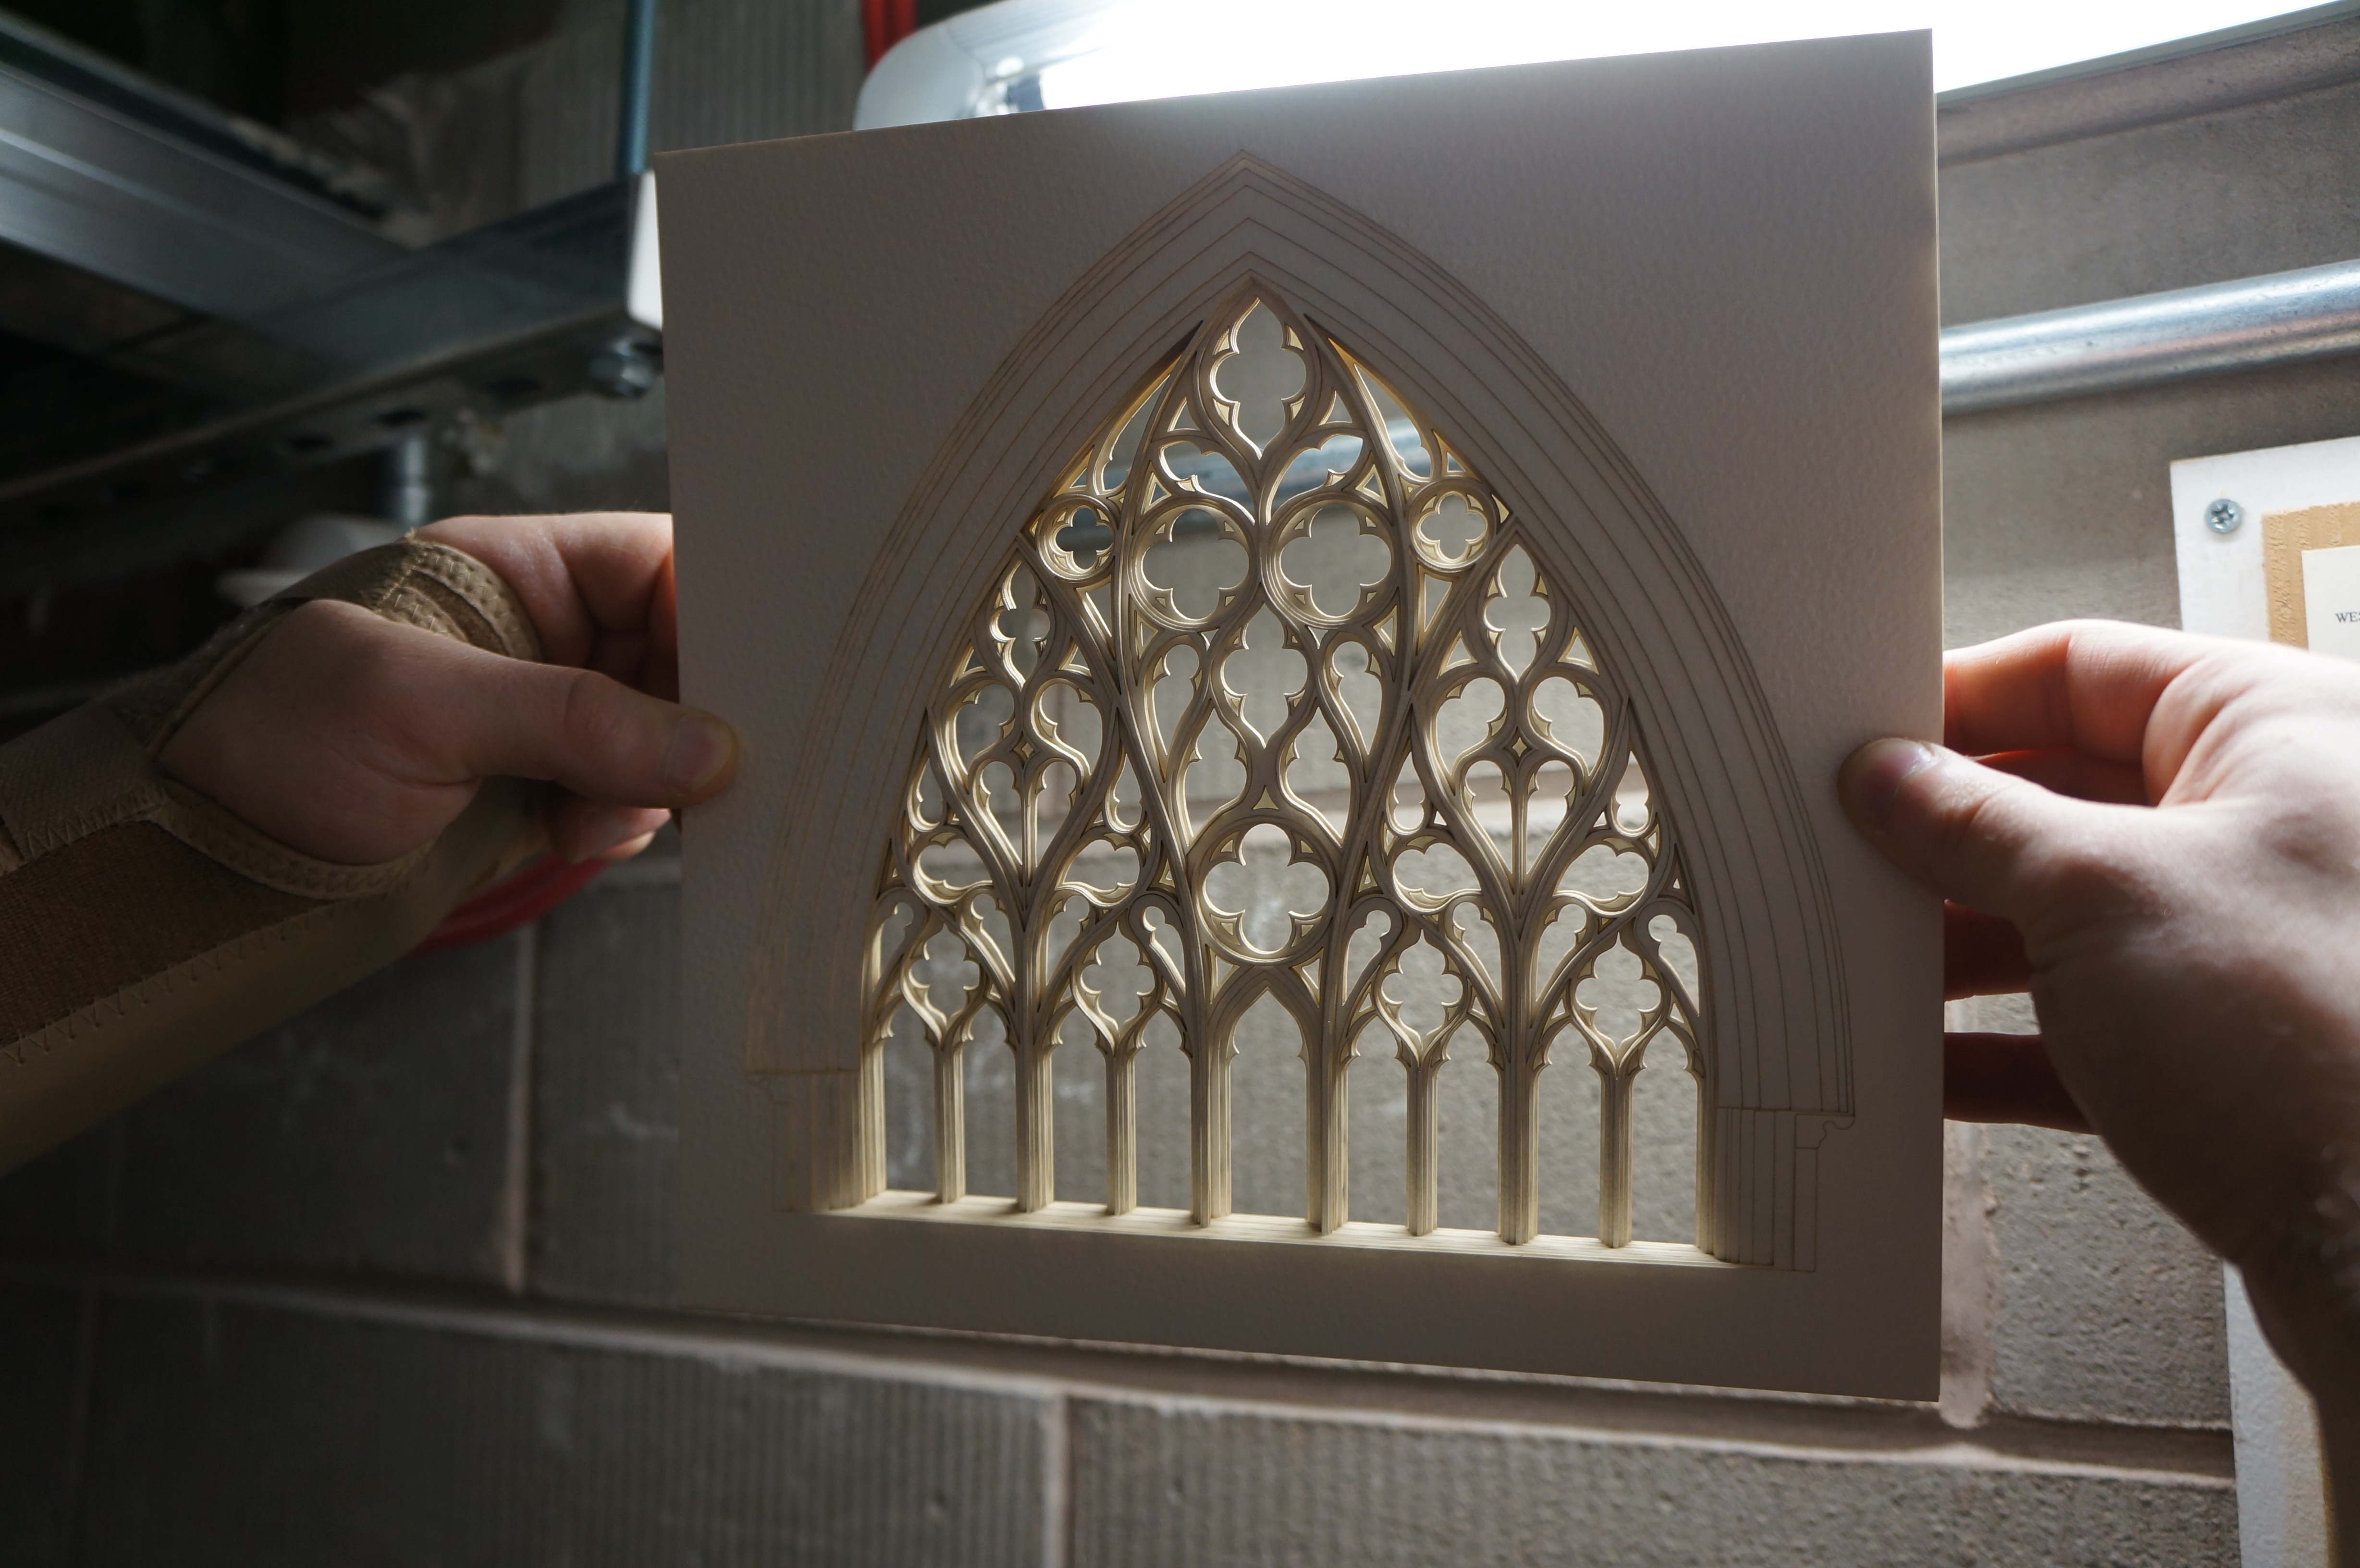
In response to what we saw there we decided to have a go at casting some facade tests of our own to demonstrate to you the potential when using this method for modelmaking. Starting with some reference images of the University of Manchester Archway we decided to focus on one of the Gothic style windows as our subject.
Making a ‘Master’
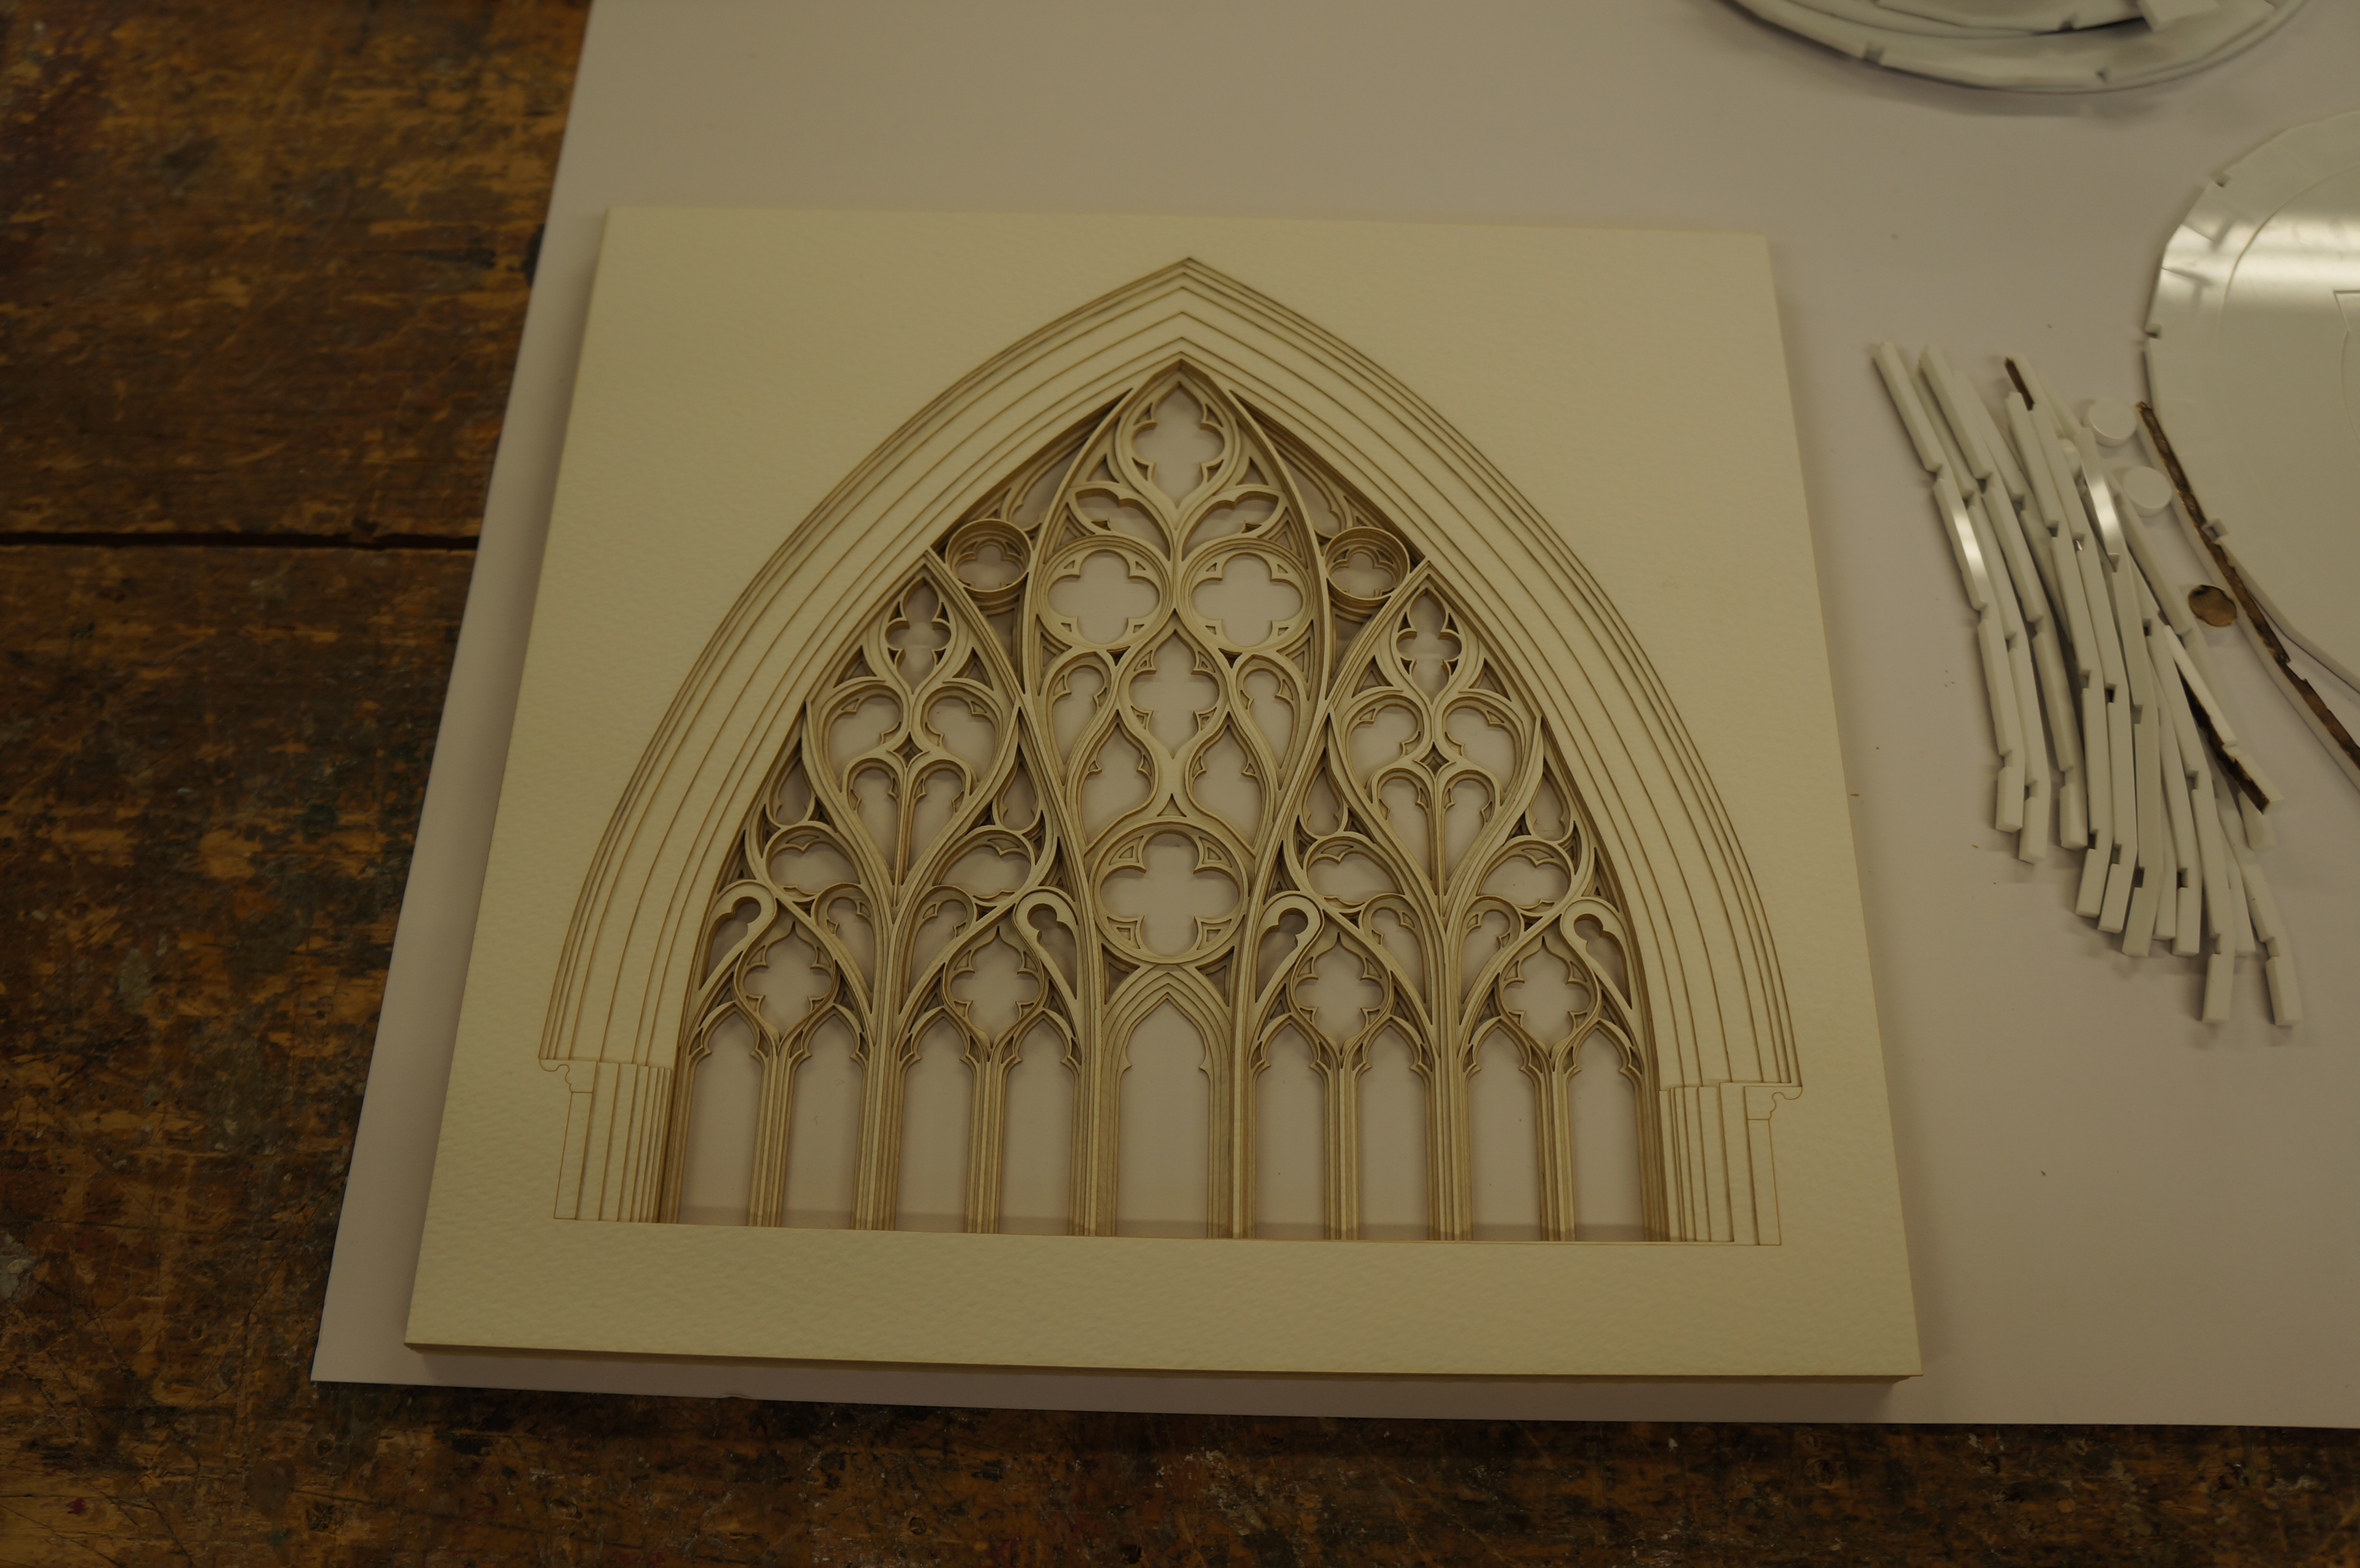
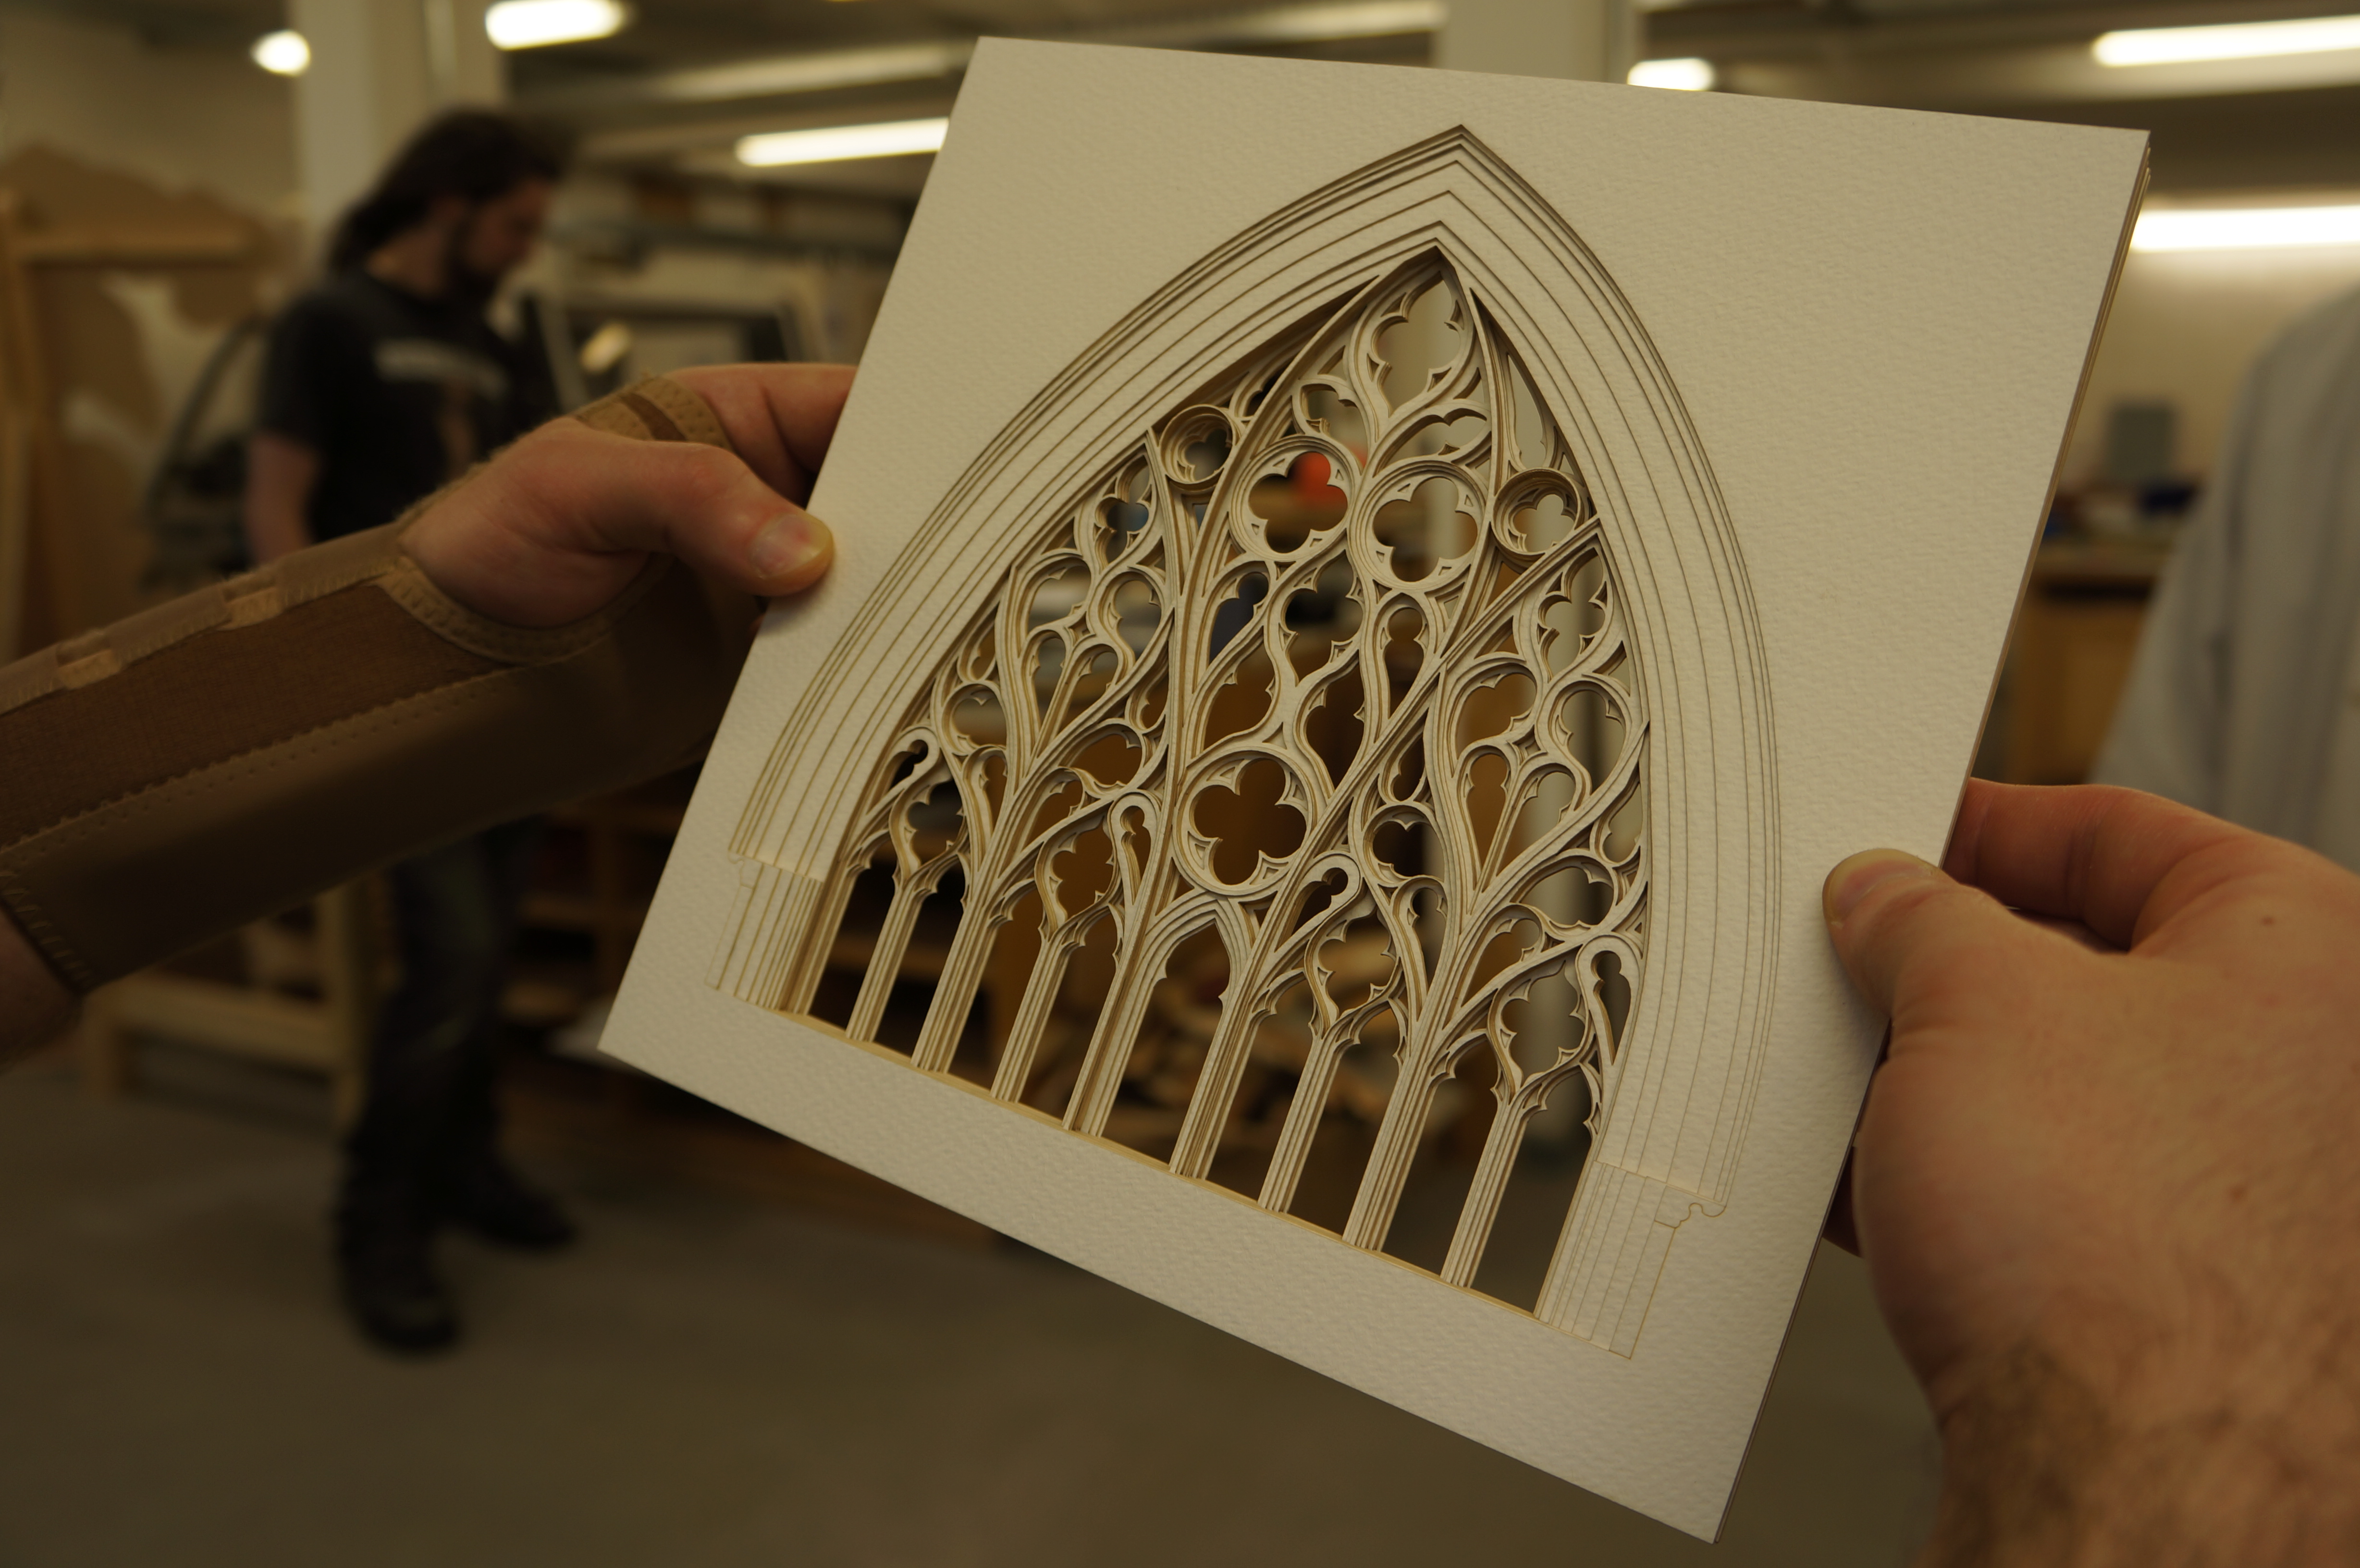
Initially recreating the form of this stone work in miniature may seem time consuming but as you will see the end results are fantastic and the intricate detail featured is easily replicated by casting.
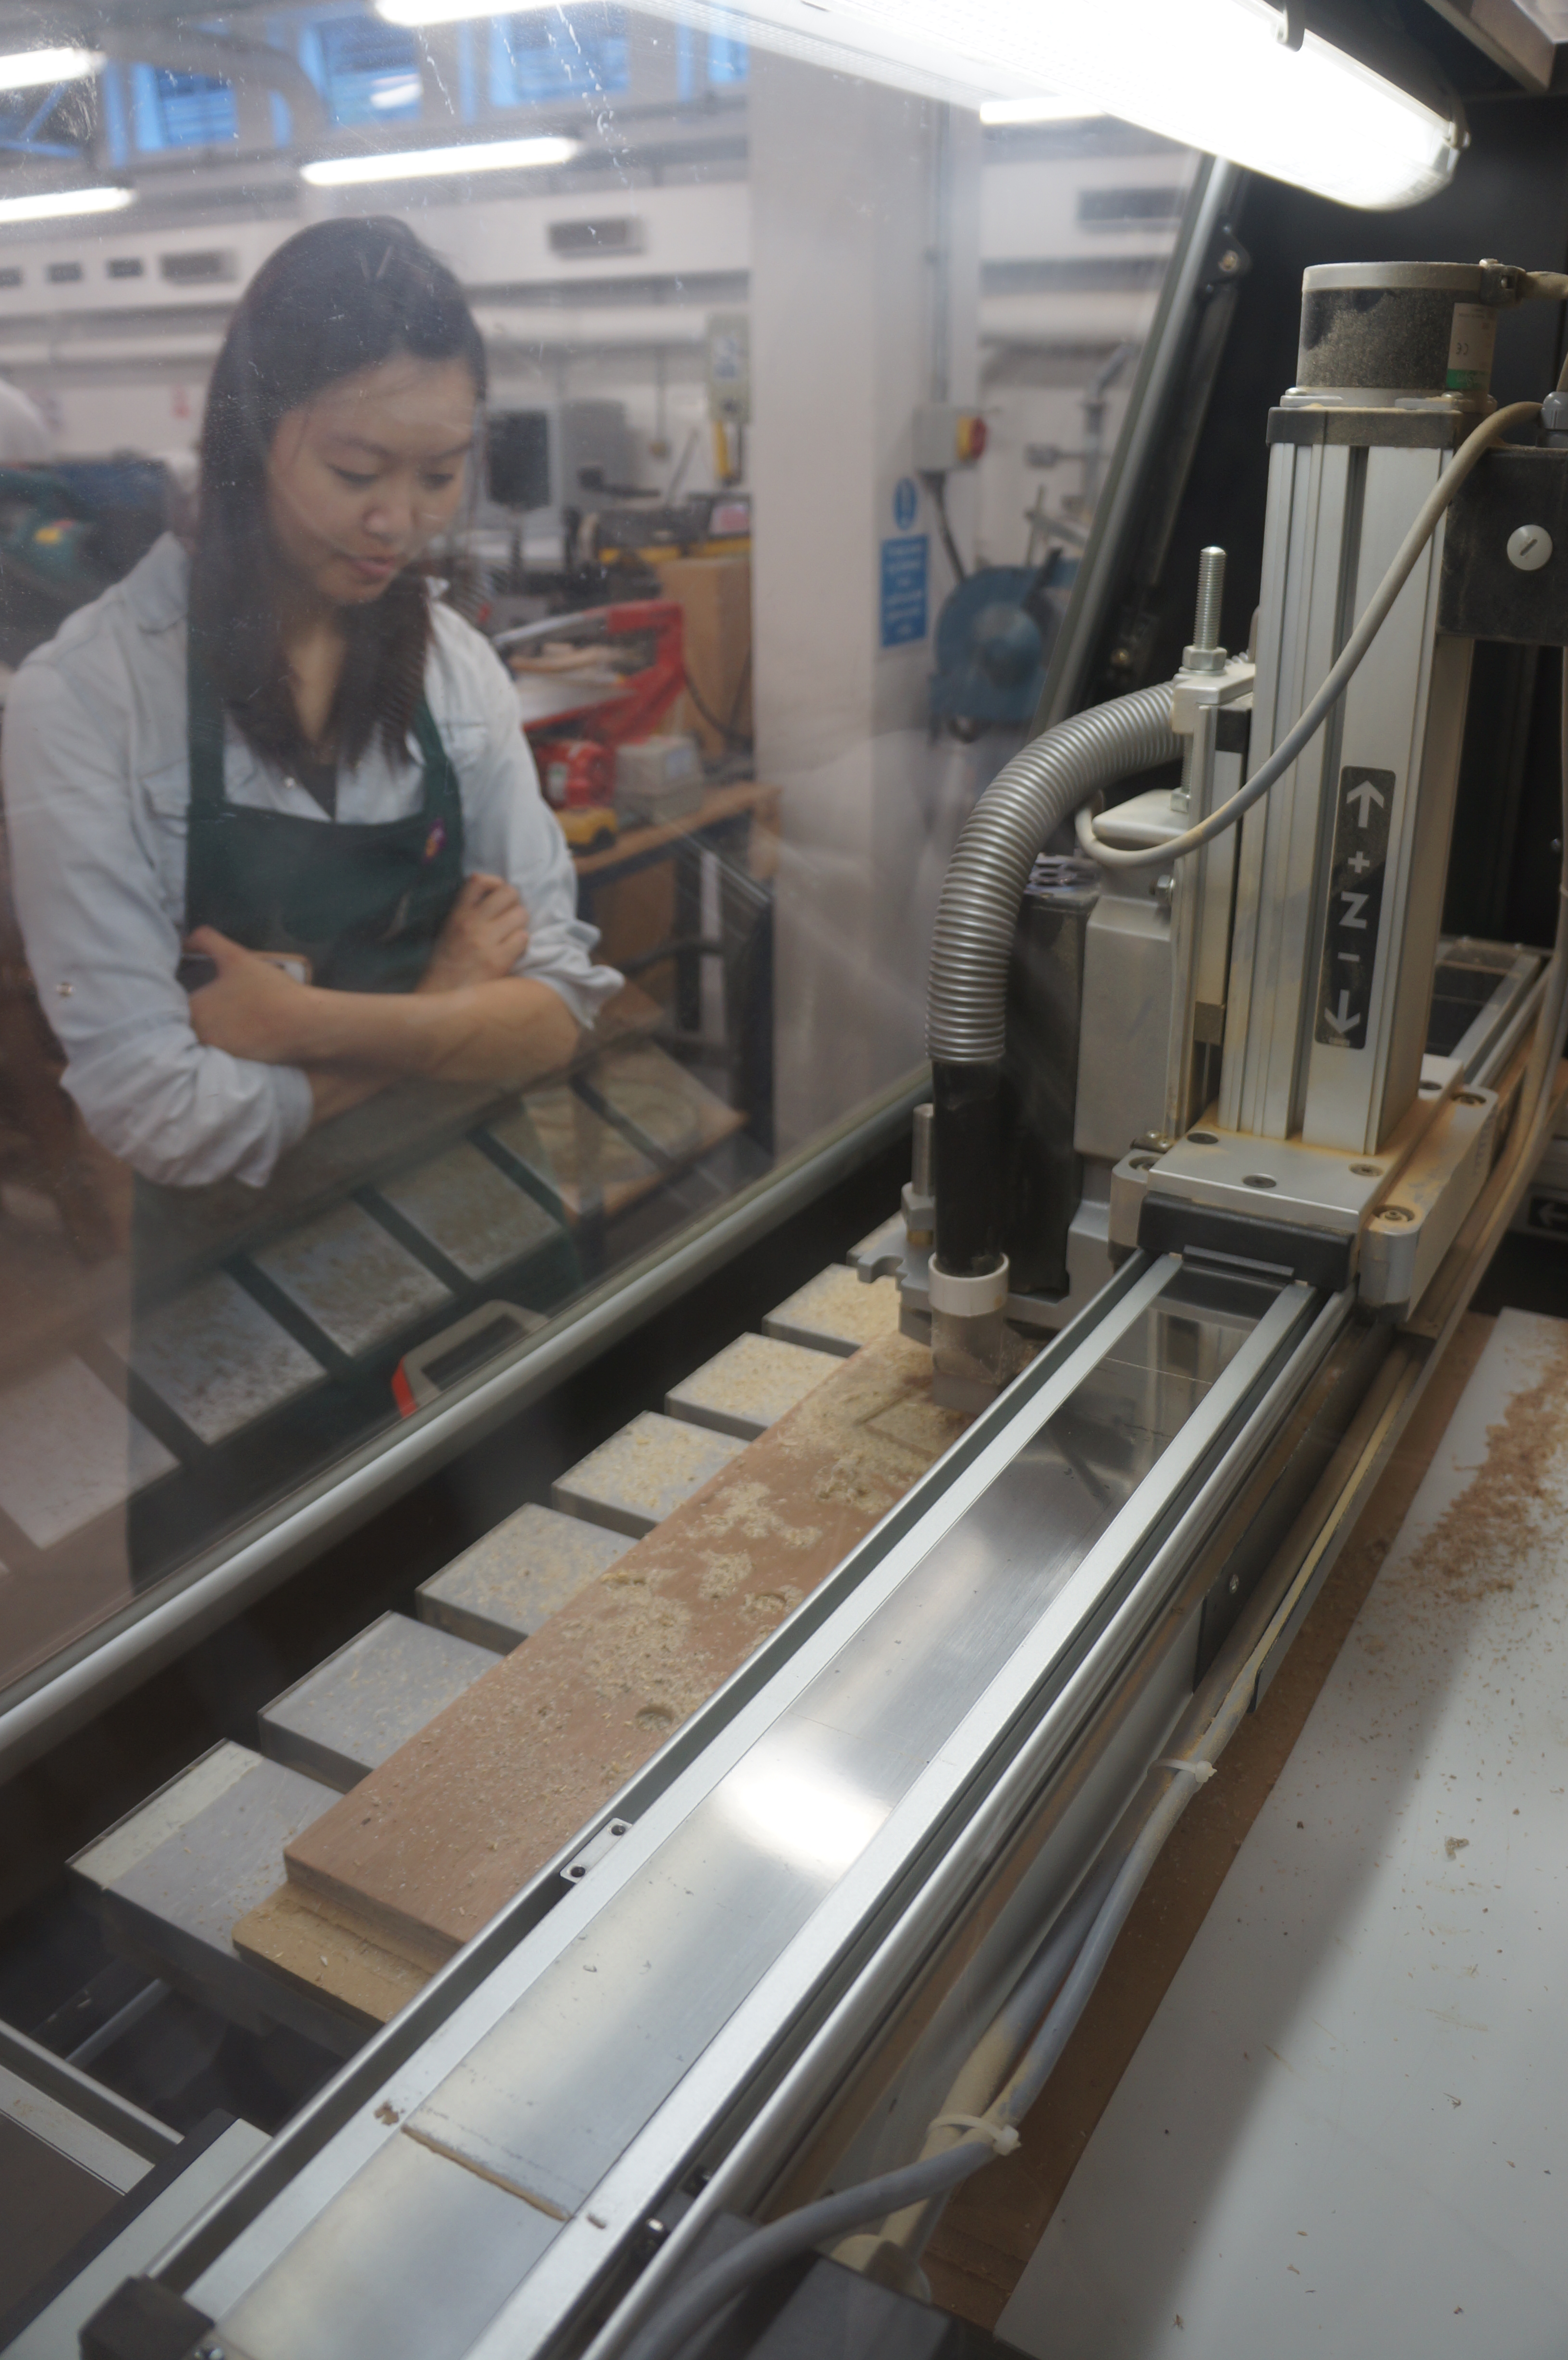
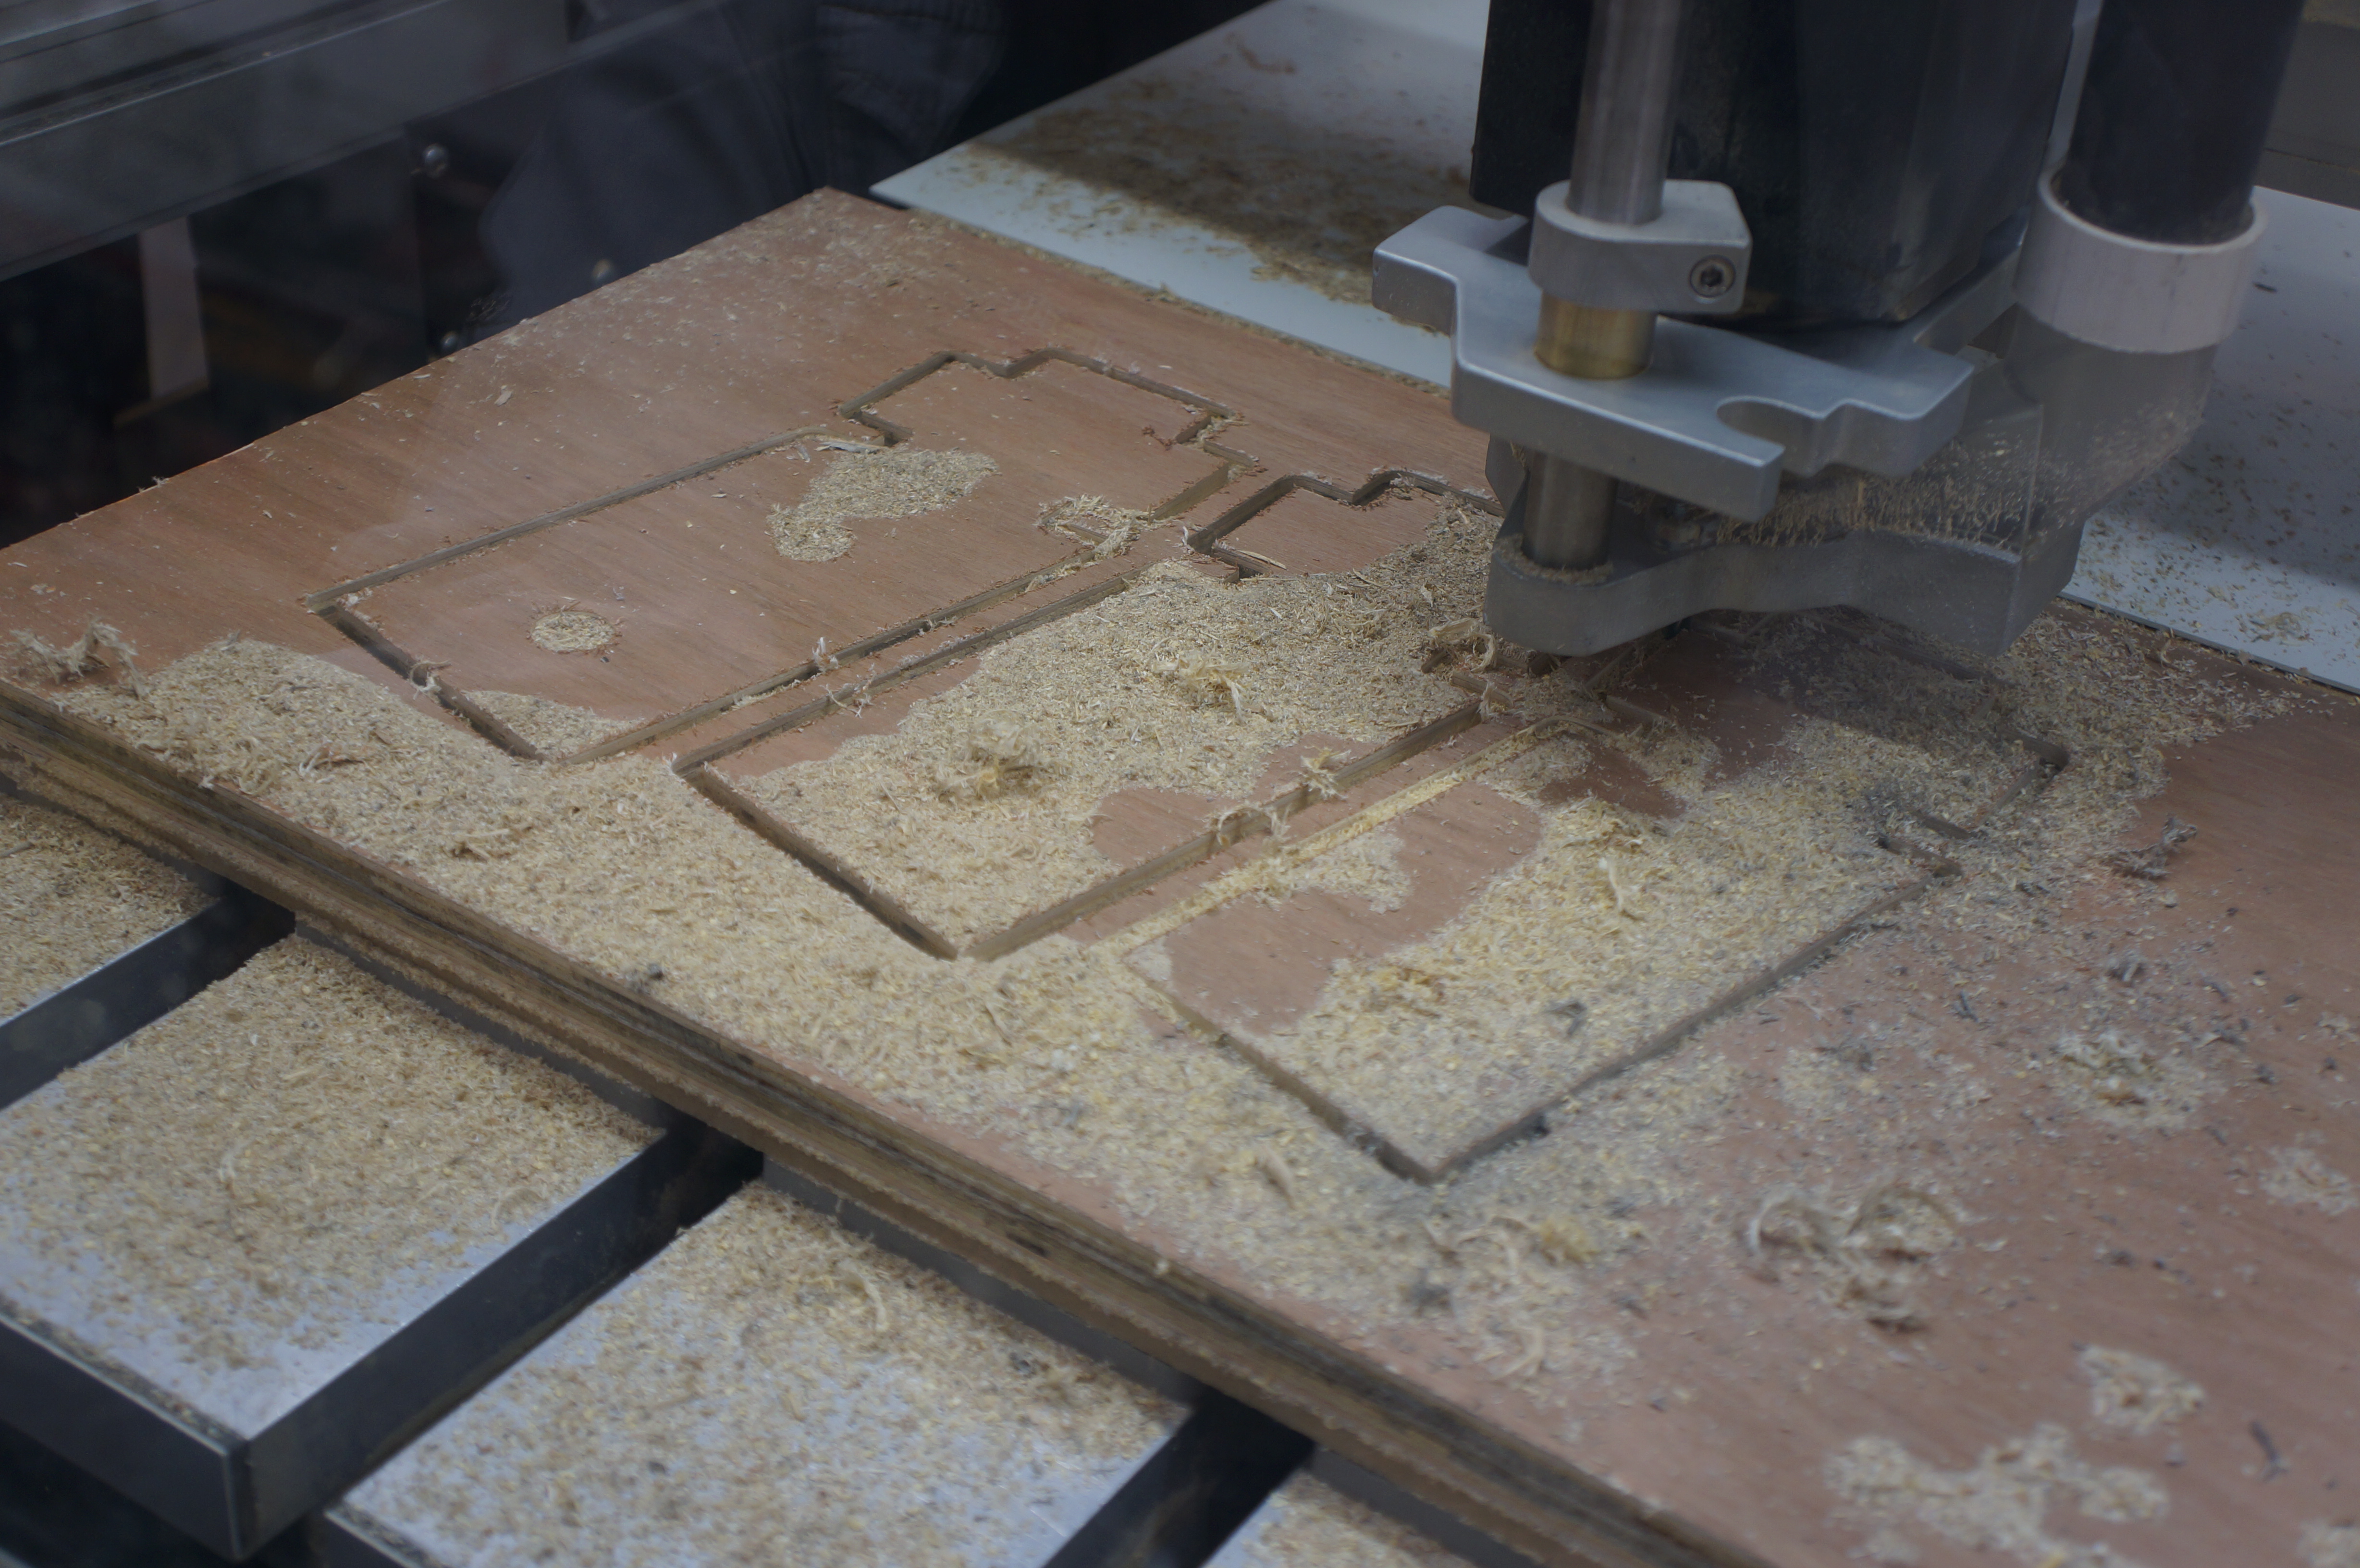
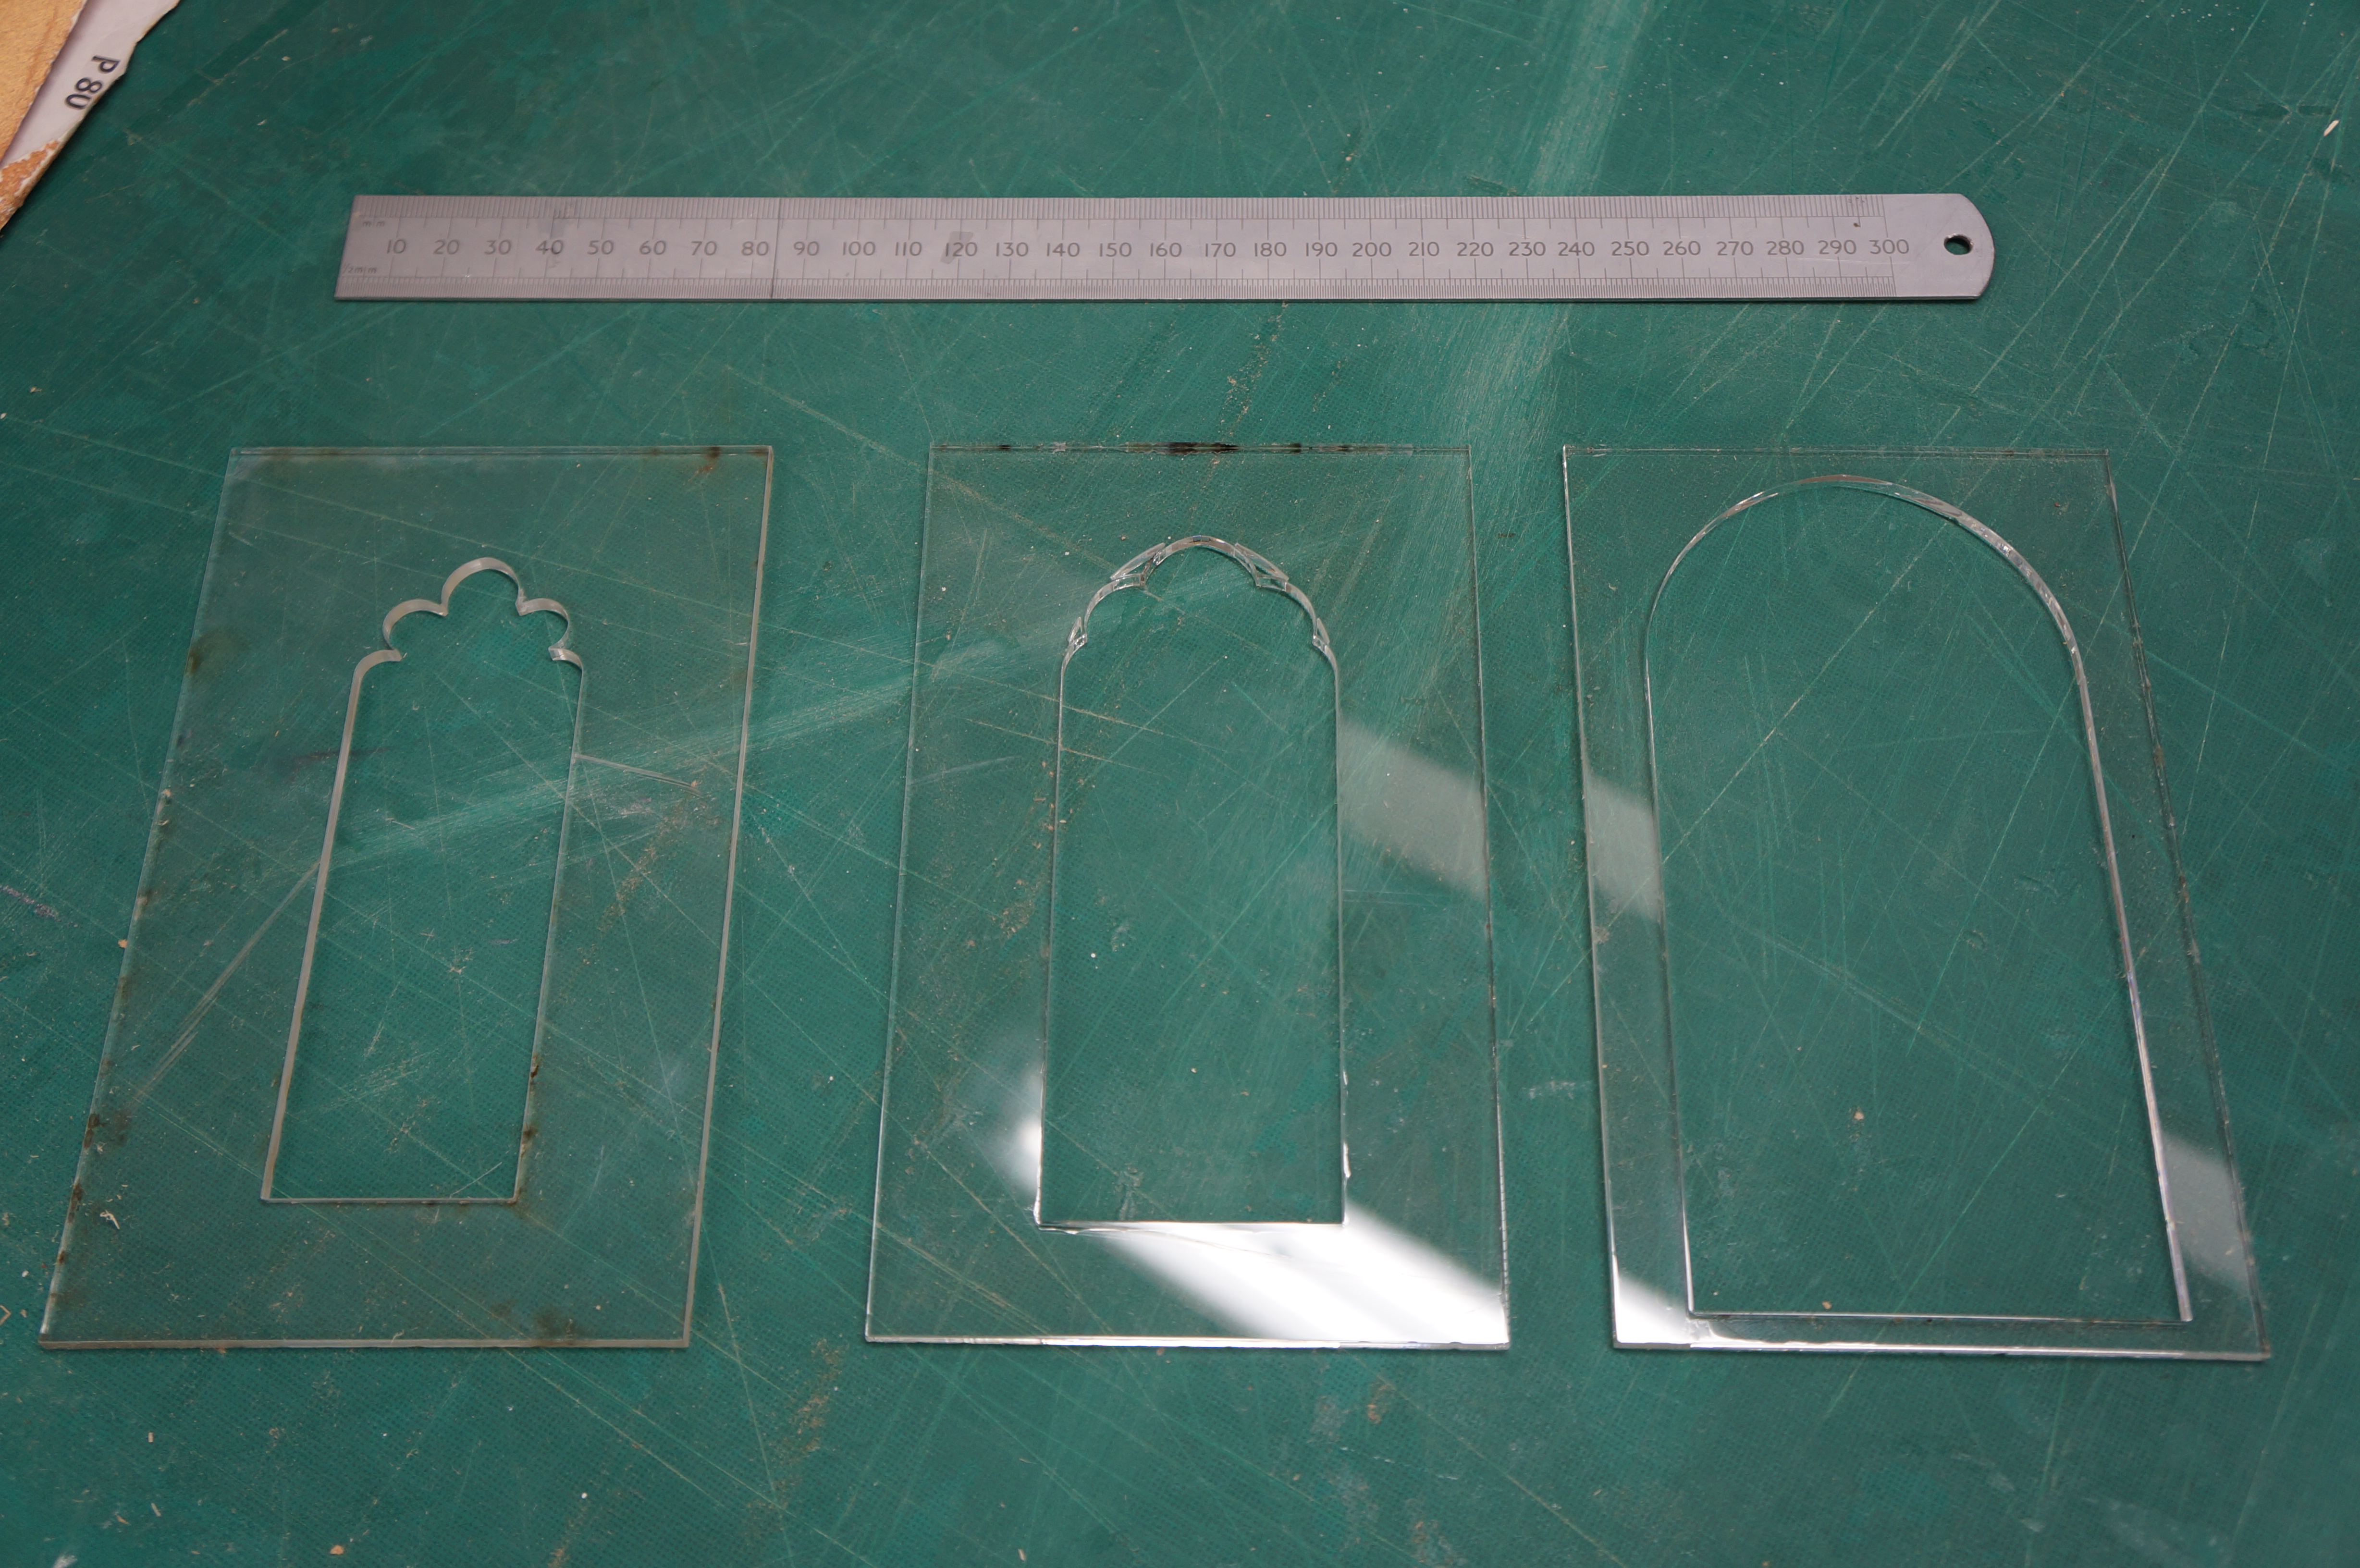
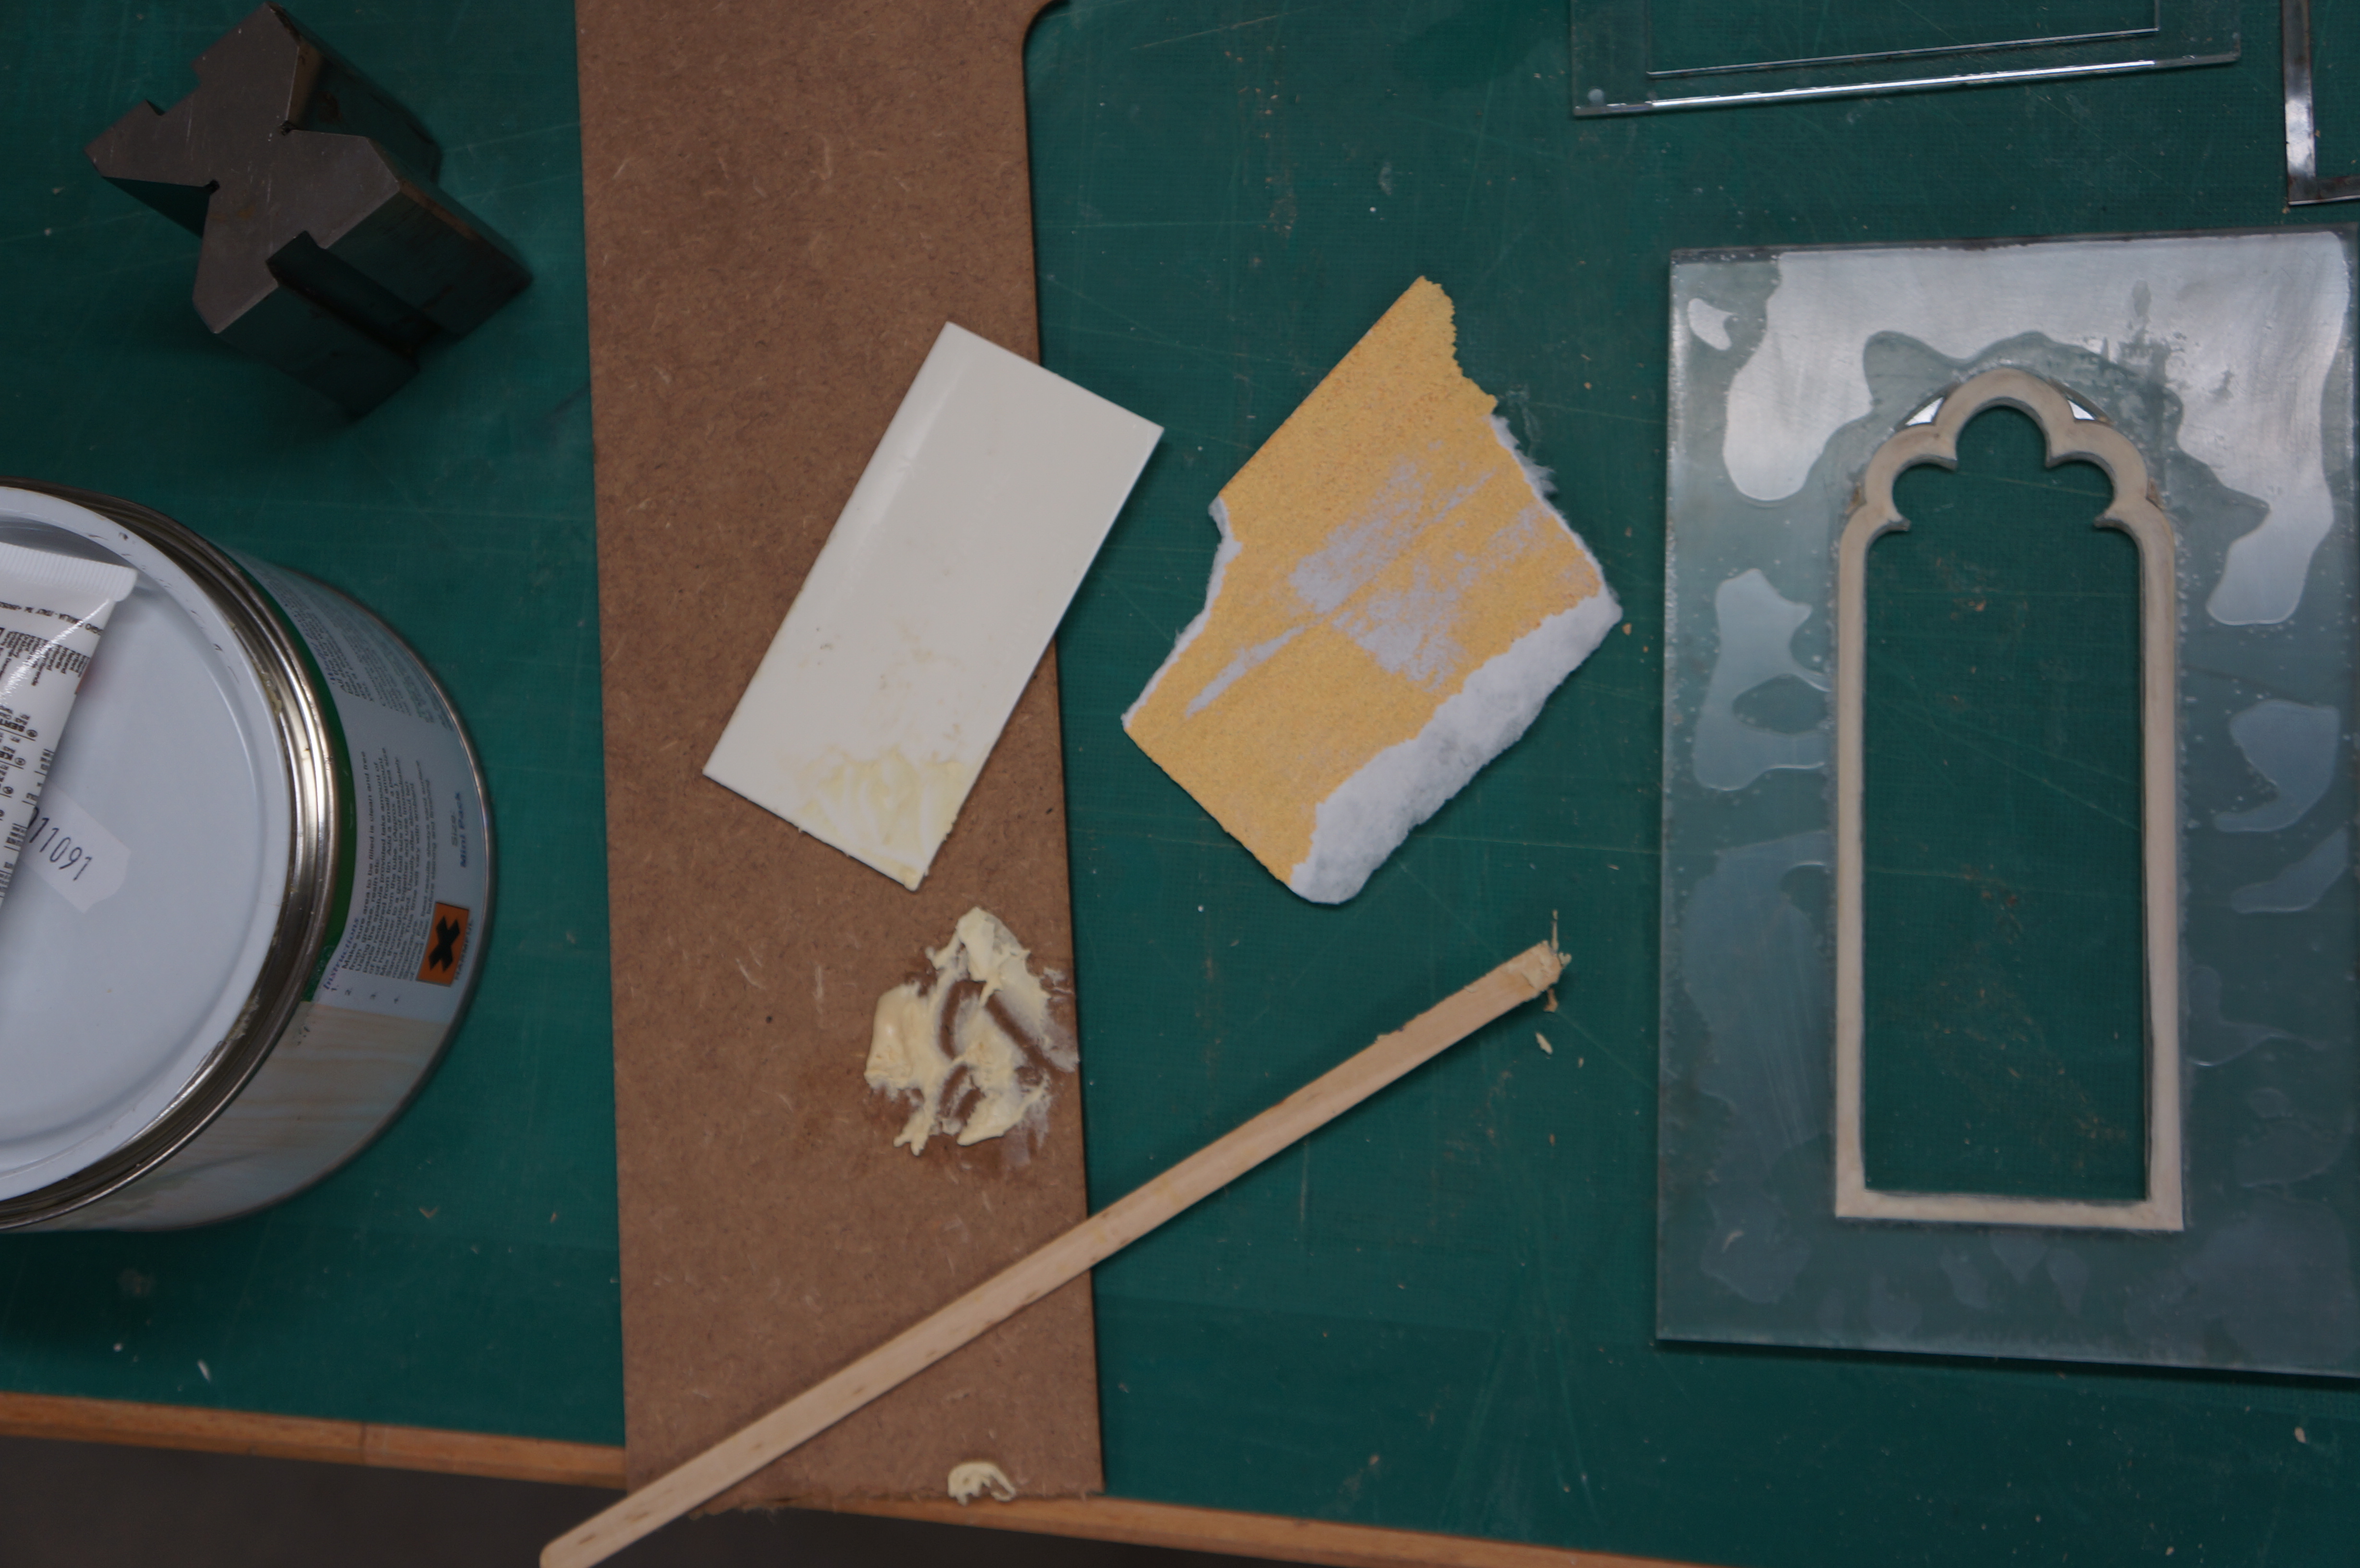
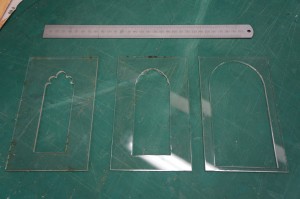 A good way of creating details like this is by layering sheet material, in this case acrylic. Planning the layers on CAD will allow you to break down the details into manageable  stages (Above). When combined, the layers of laser cut acrylic form the recesses and steps in the winder with the radius in the stone work being replicated using a filler and hand sanding (Below).
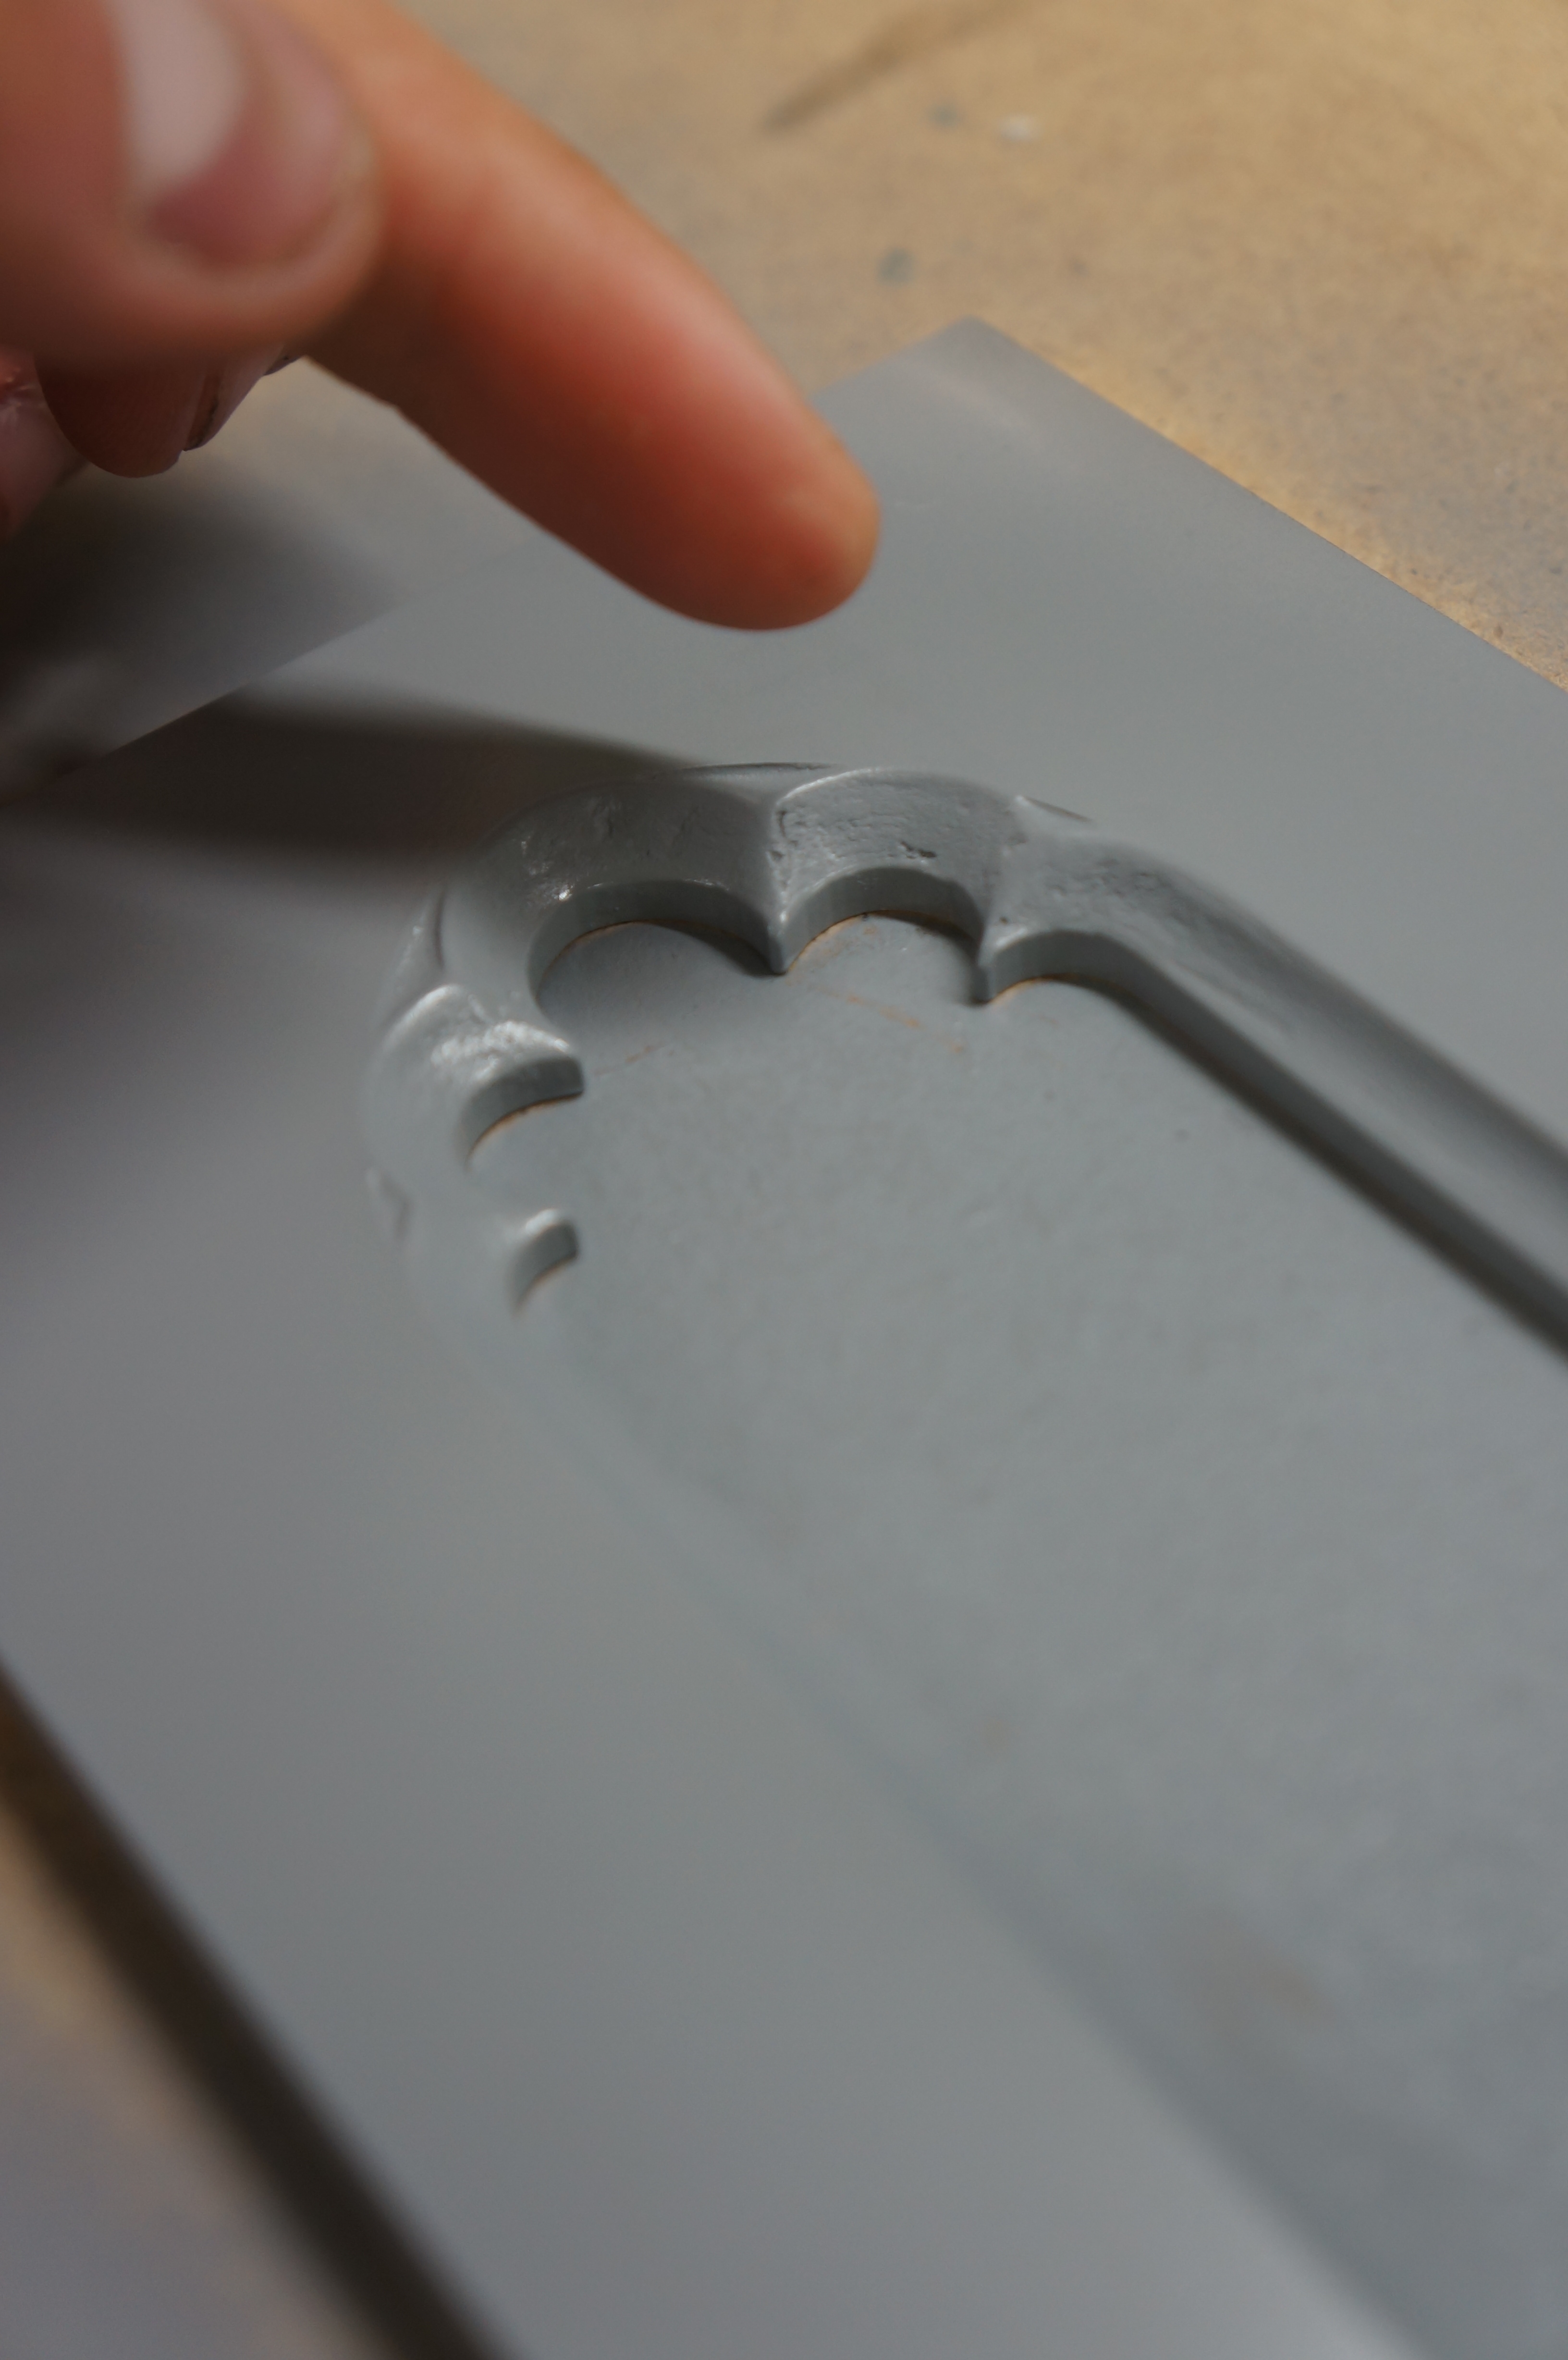
Spraying a coat of primer paint on hand finished areas can help to identify any imperfections in the surface (Below). This primer can then be sanded back

The extra details of the window can be formed using styrene and or abs strip with any further radius being creating again with filler. Once complete the master model is ready to be moulded. 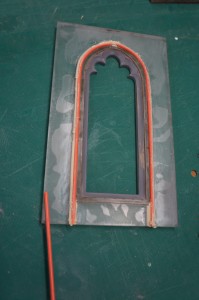
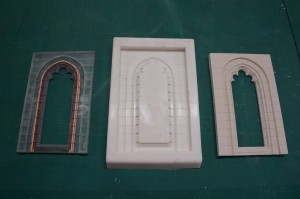
 Pouring a Silicone MouldÂ
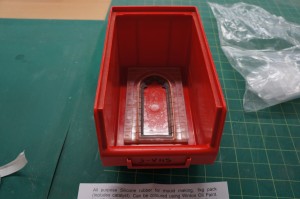
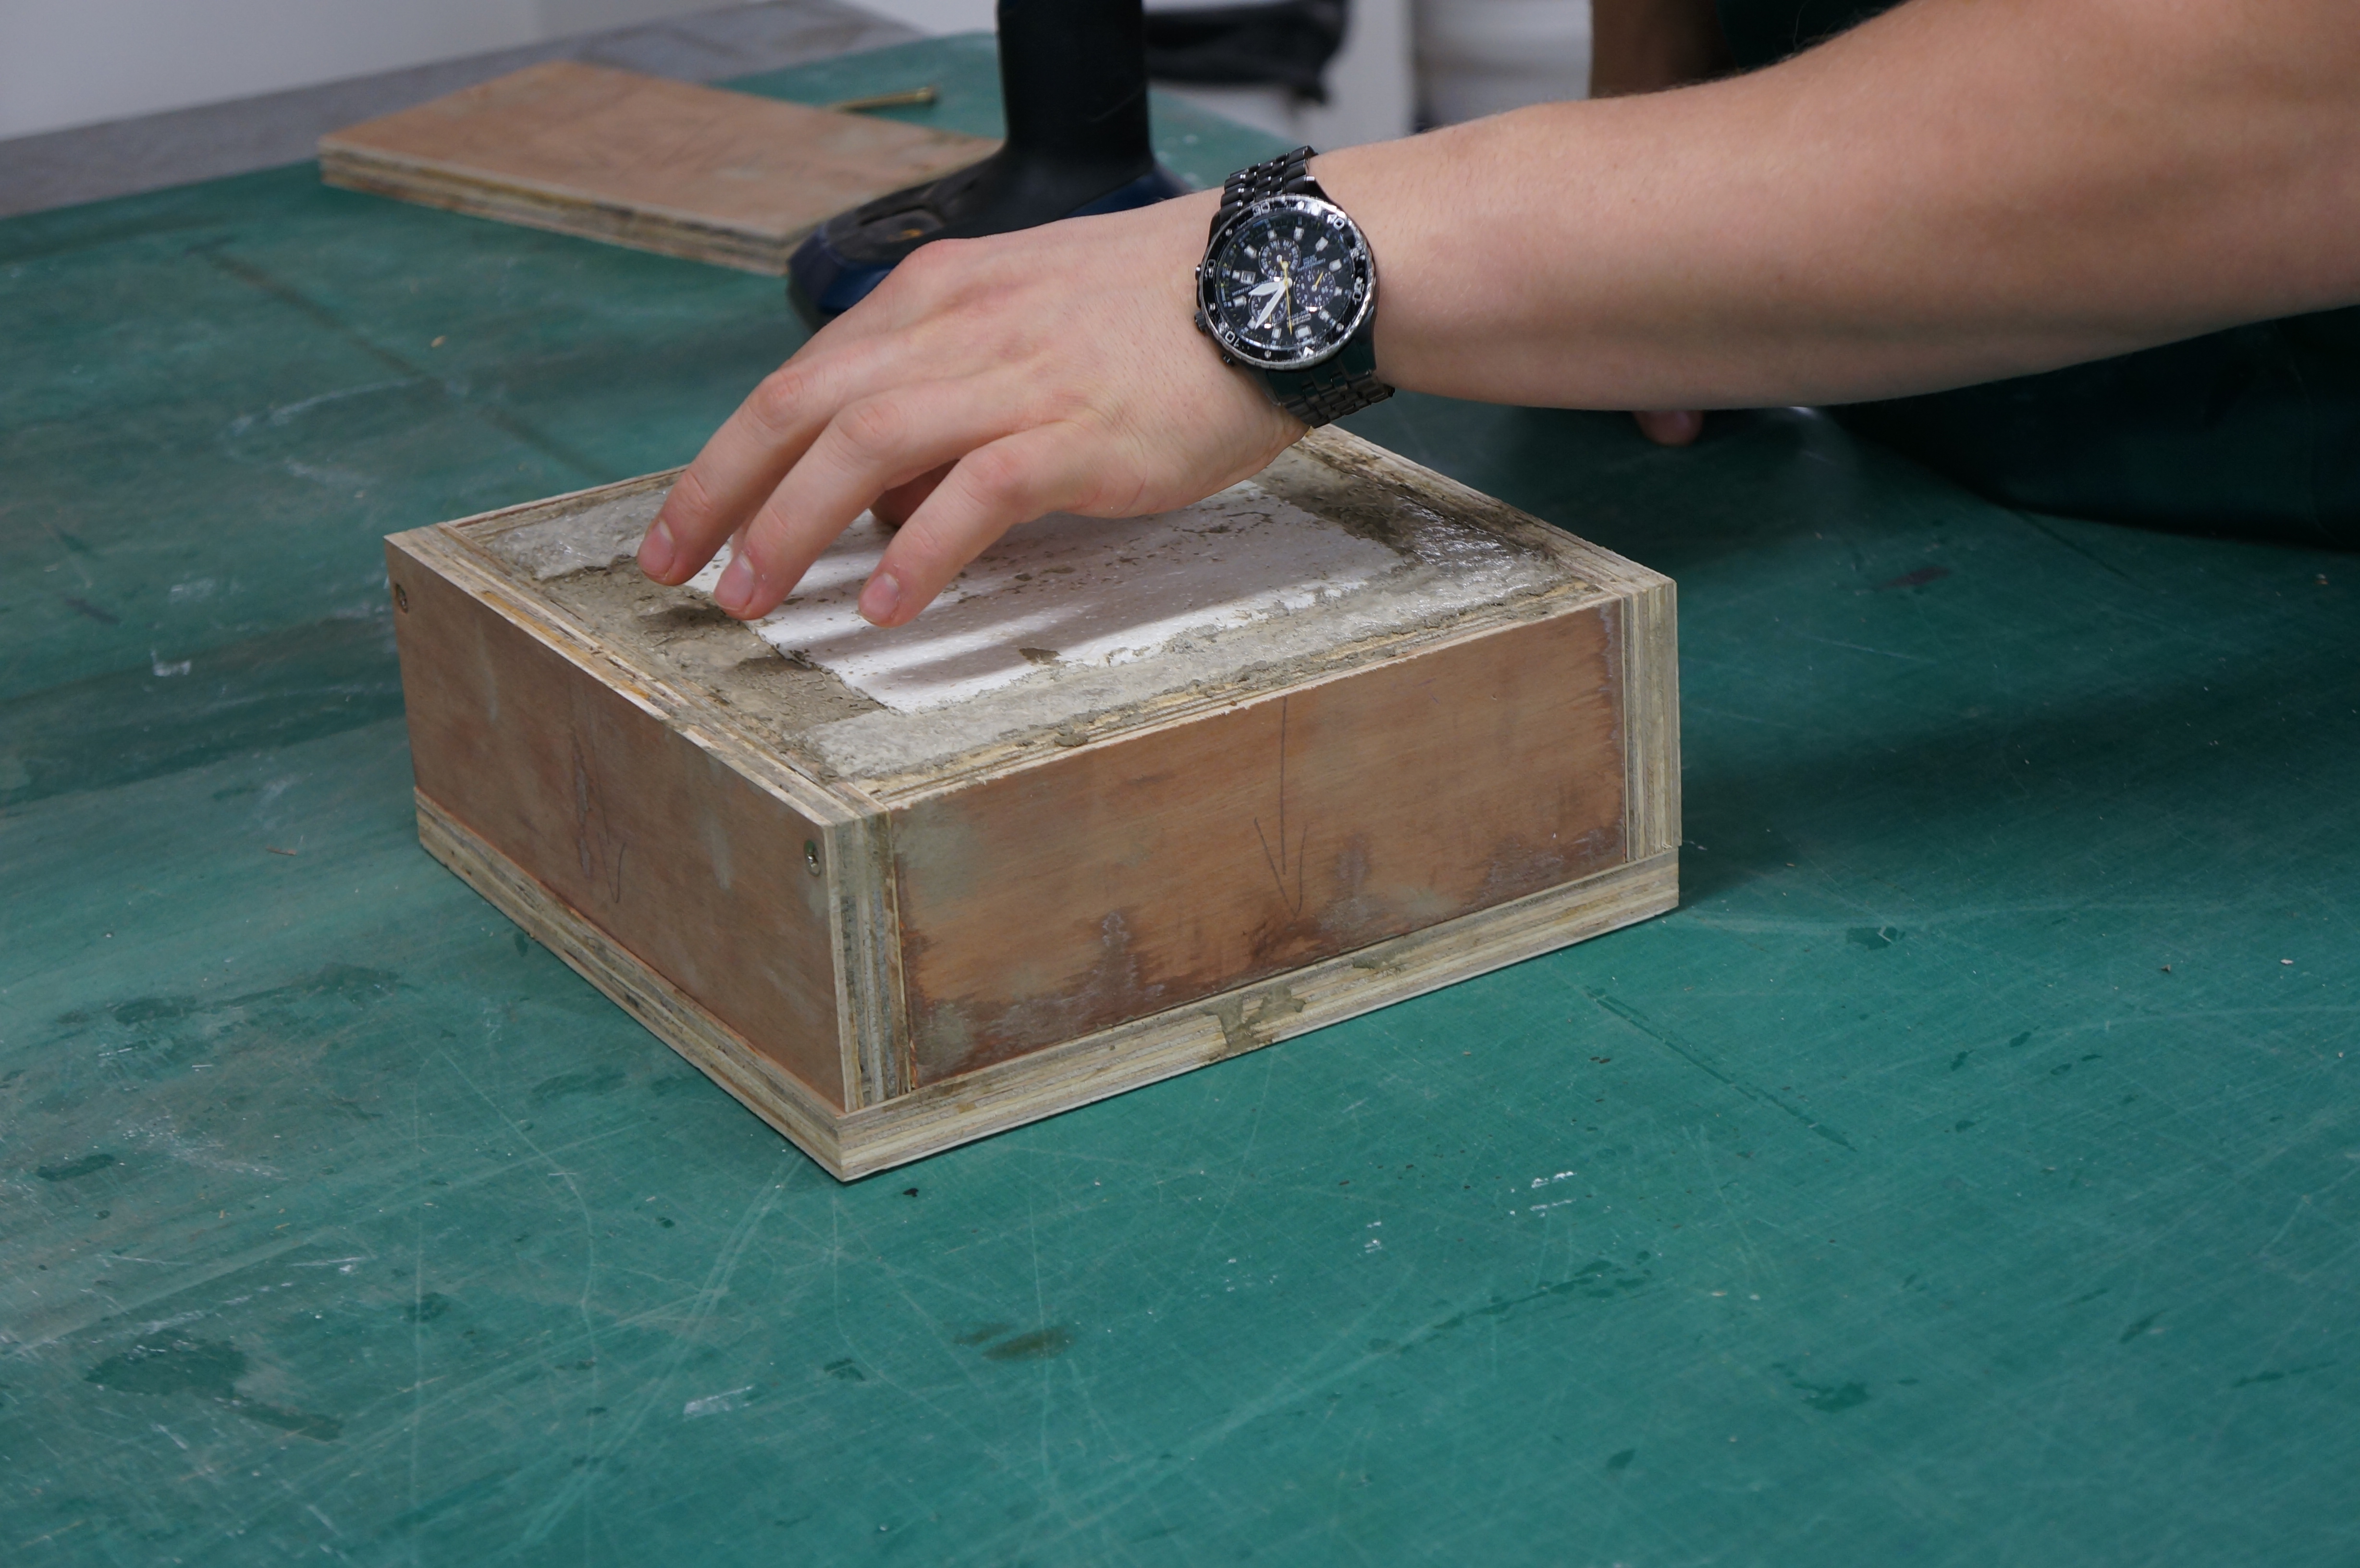
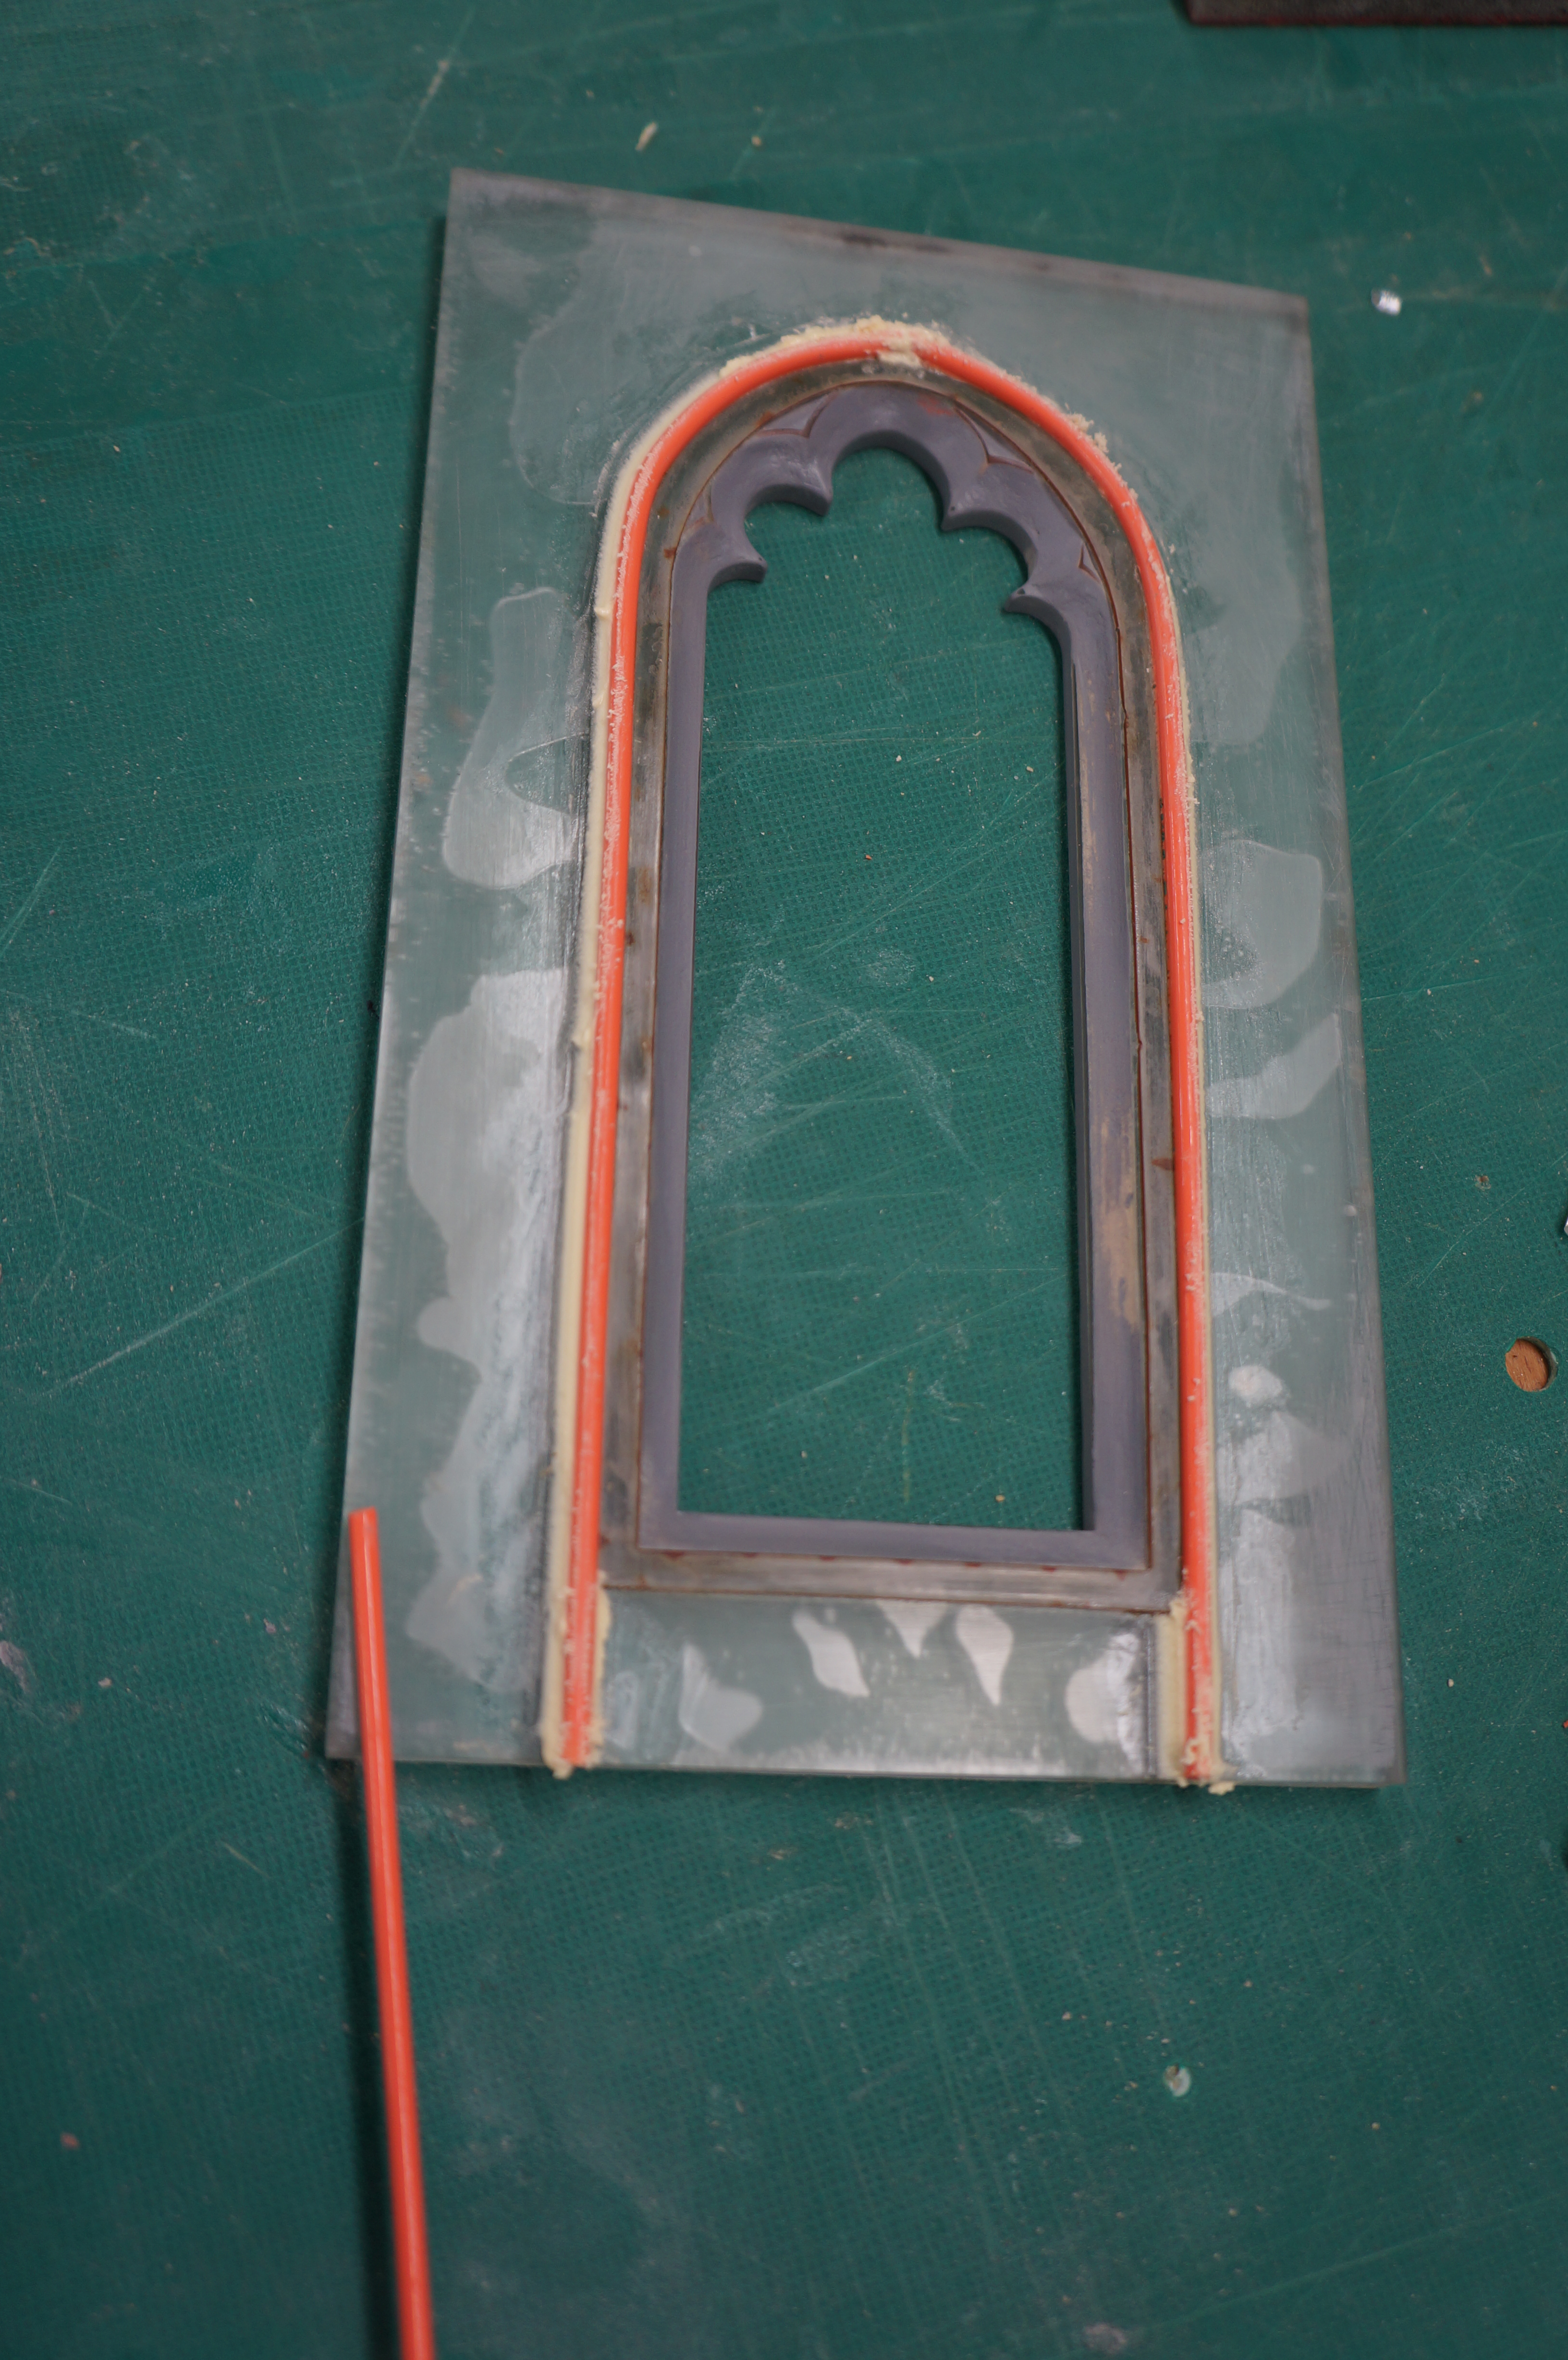
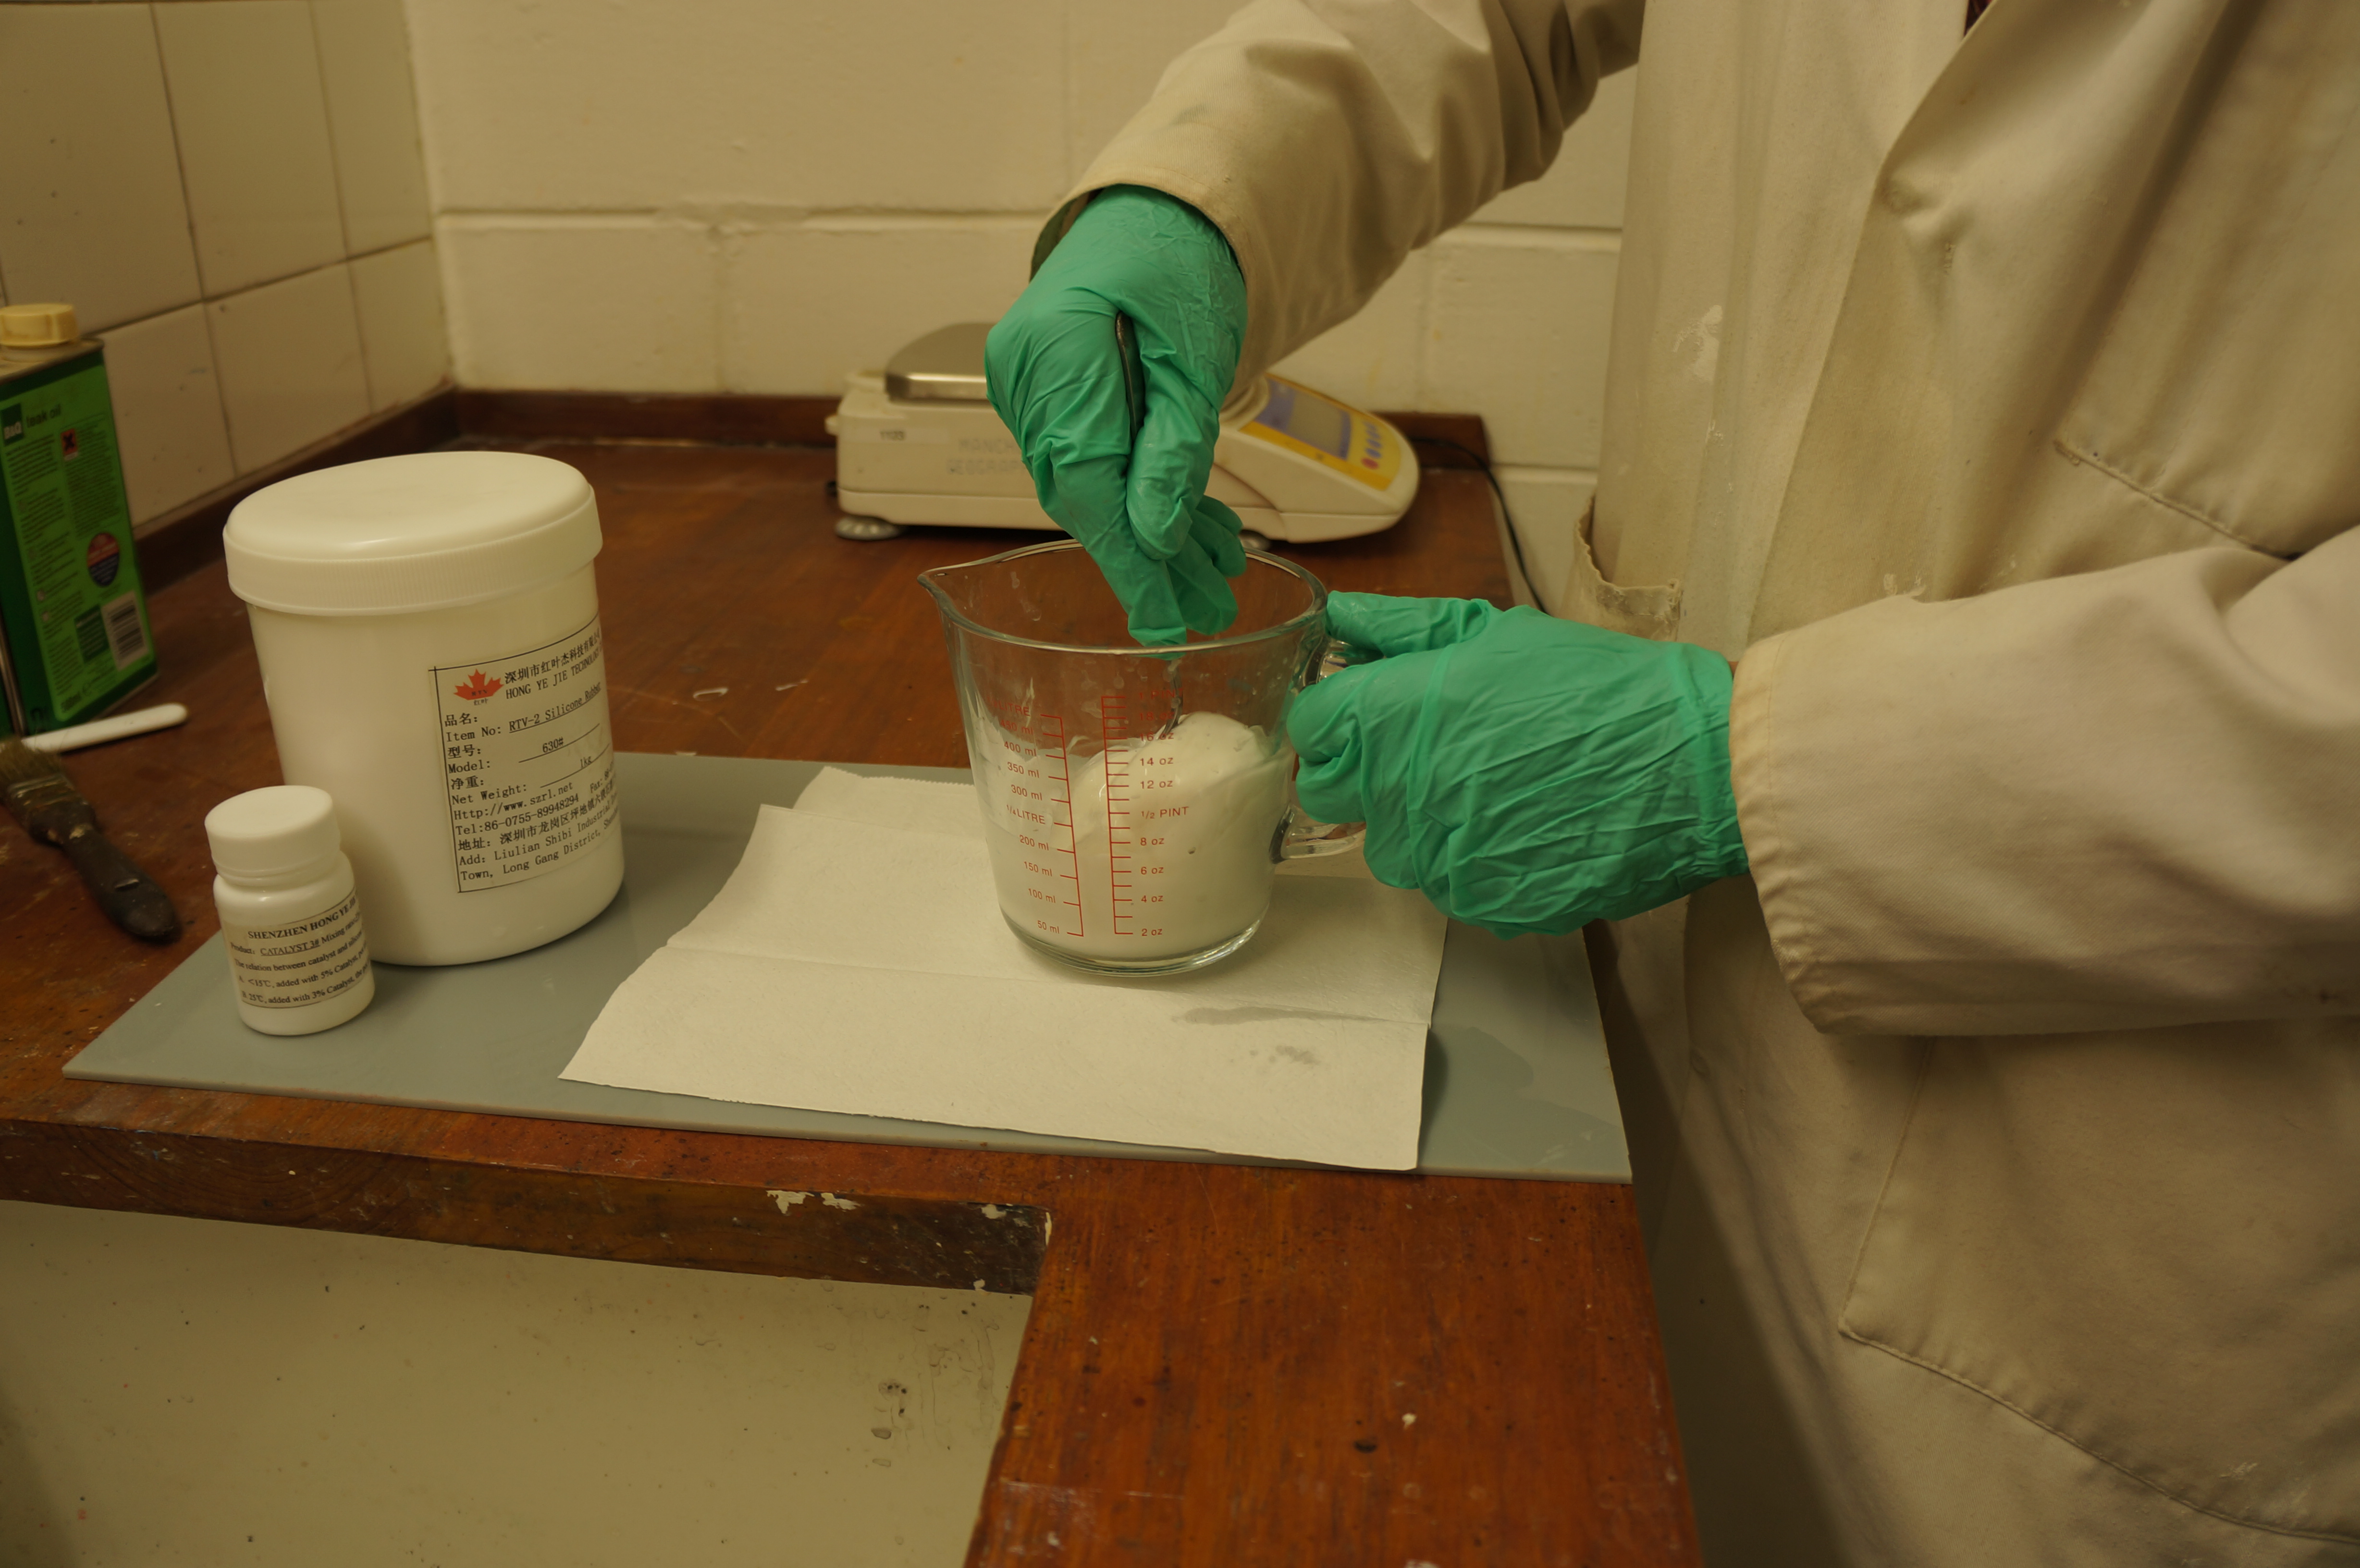
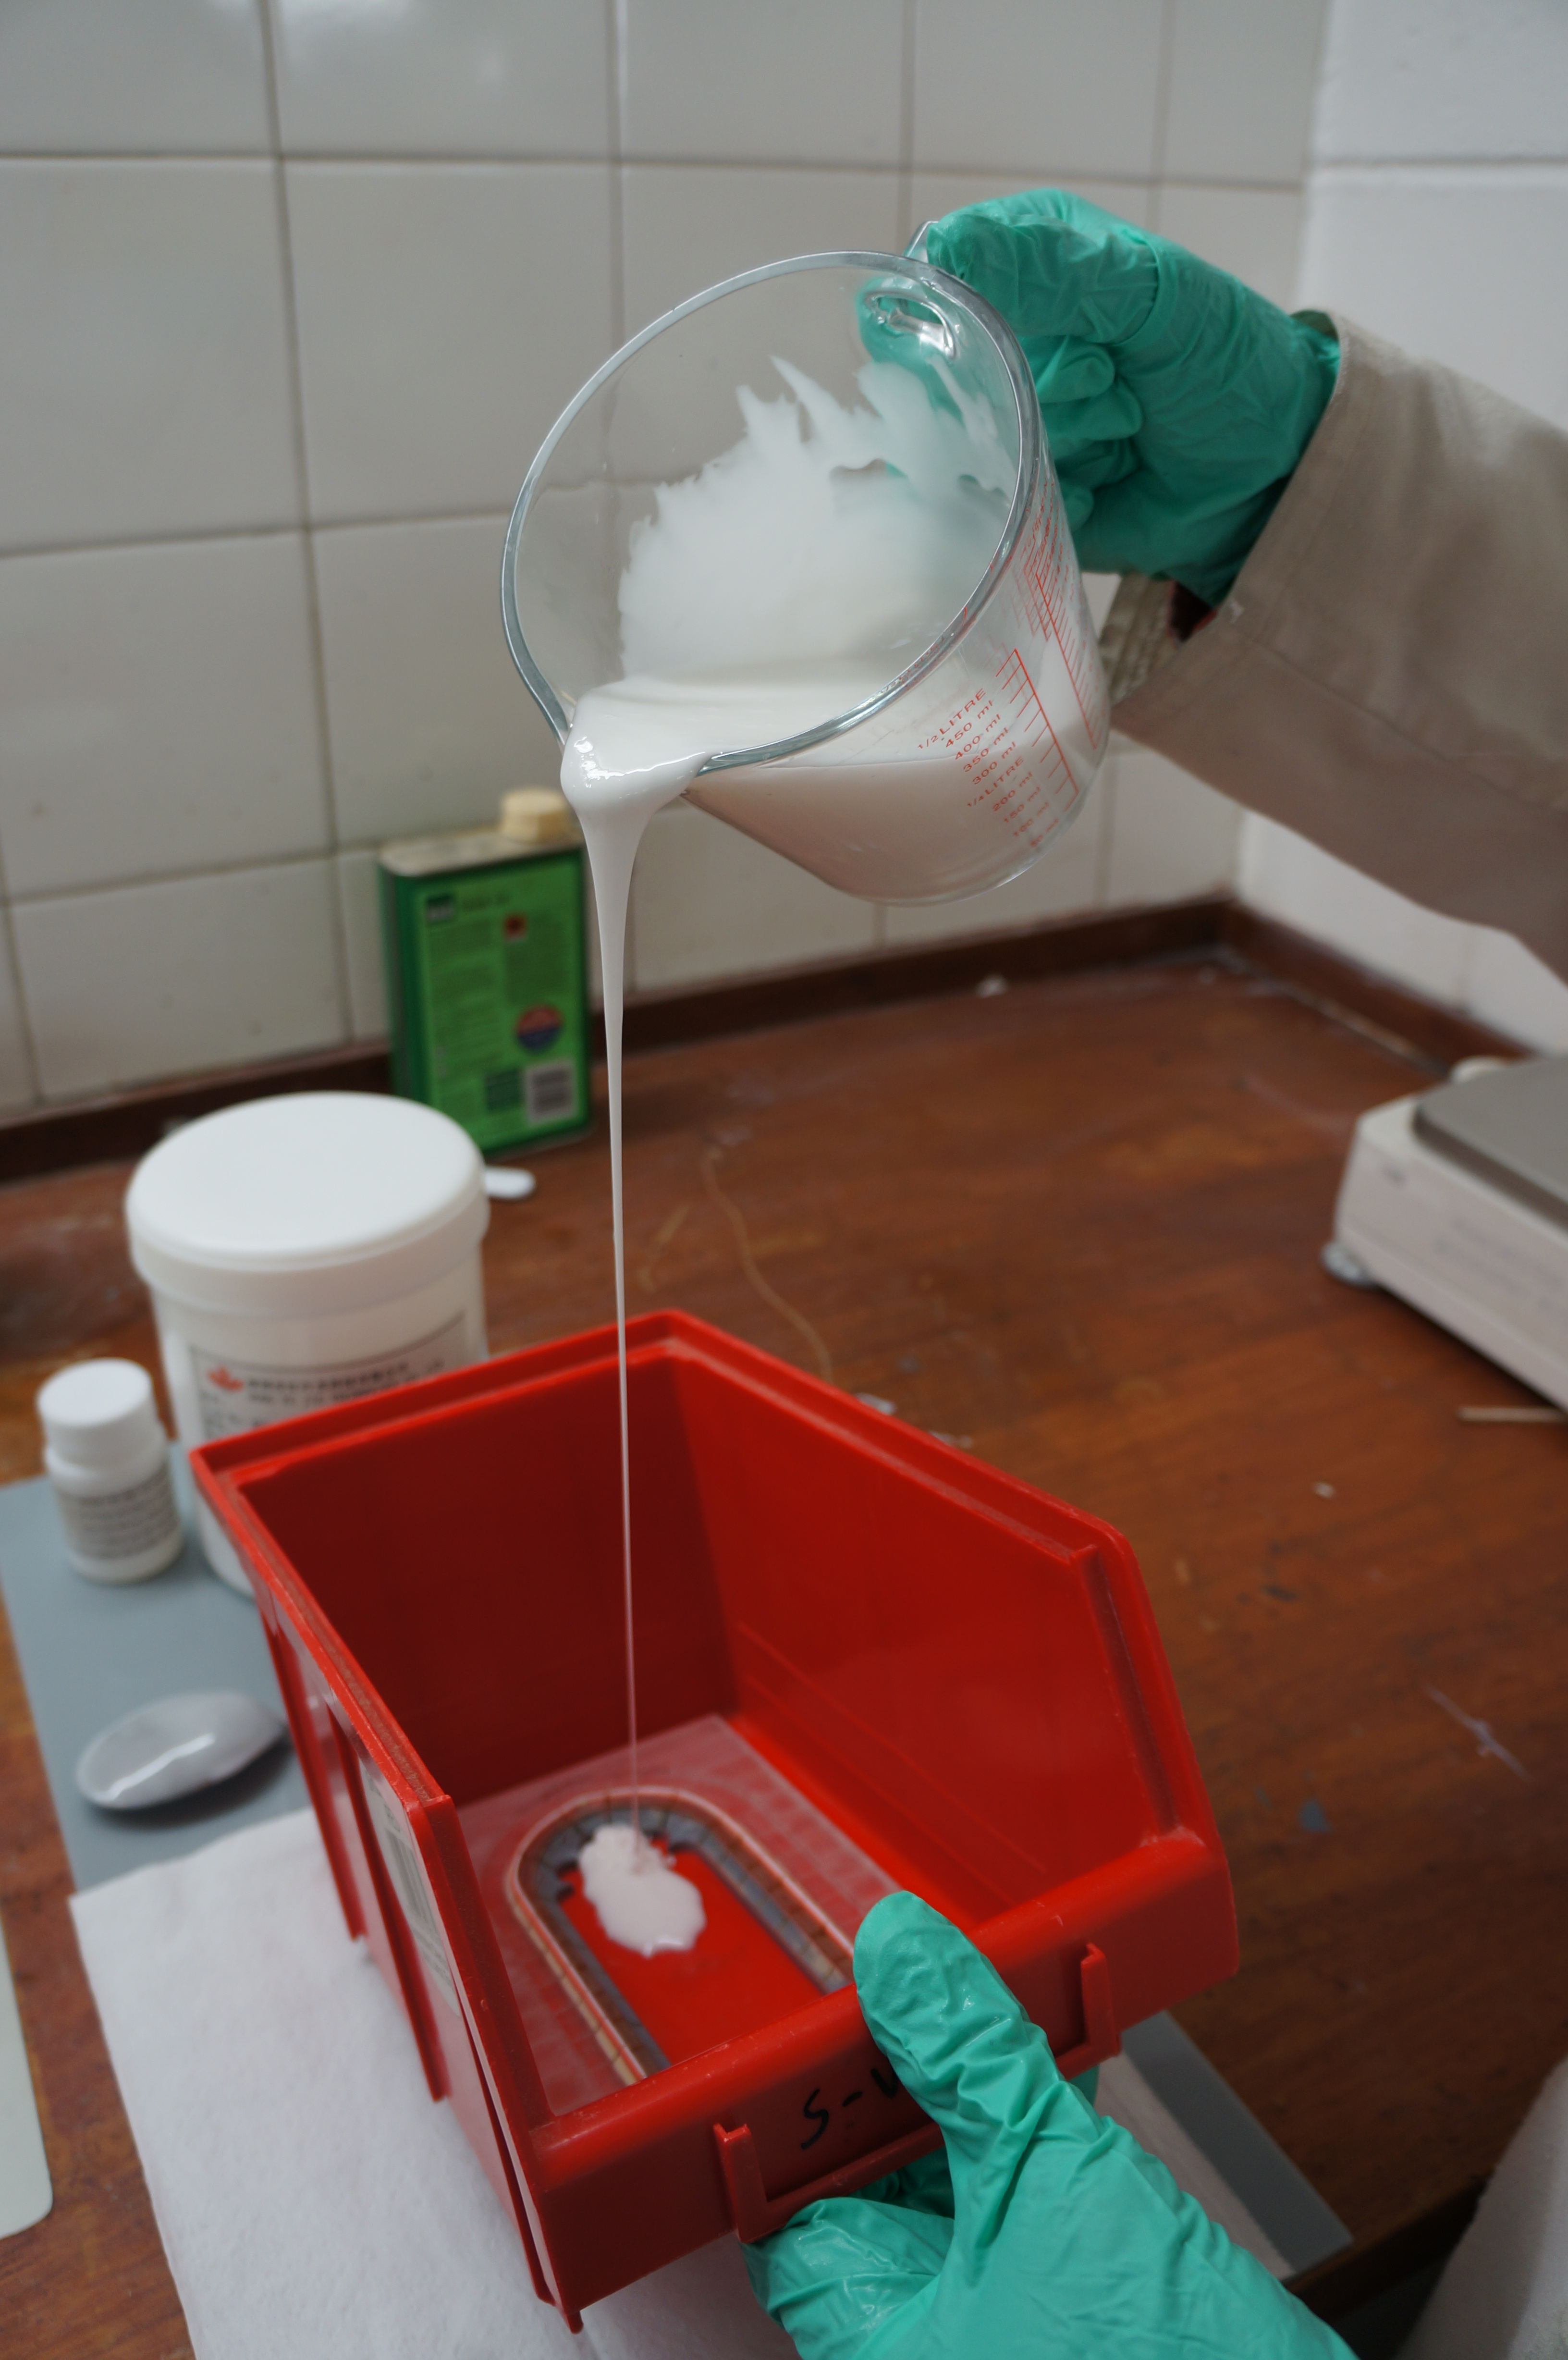
The are a wide range of silicone’s available for mould making so it is always advisable to check the specification of individual products before committing to use them on your master model. Firstly ensure the master is secured to a mould former – in this case we used a storage try which suited but bespoke formers are usually required.
Ensure the silicone is mixed to the manufacturers instructions and pour in a thin stream to avoid any air bubbles forming against the master mould. Ensure the master is sufficiently covered and allow to cure for the recommended time.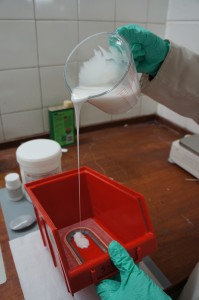
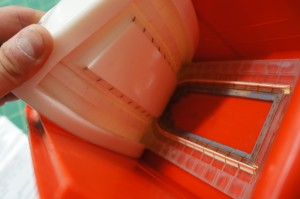
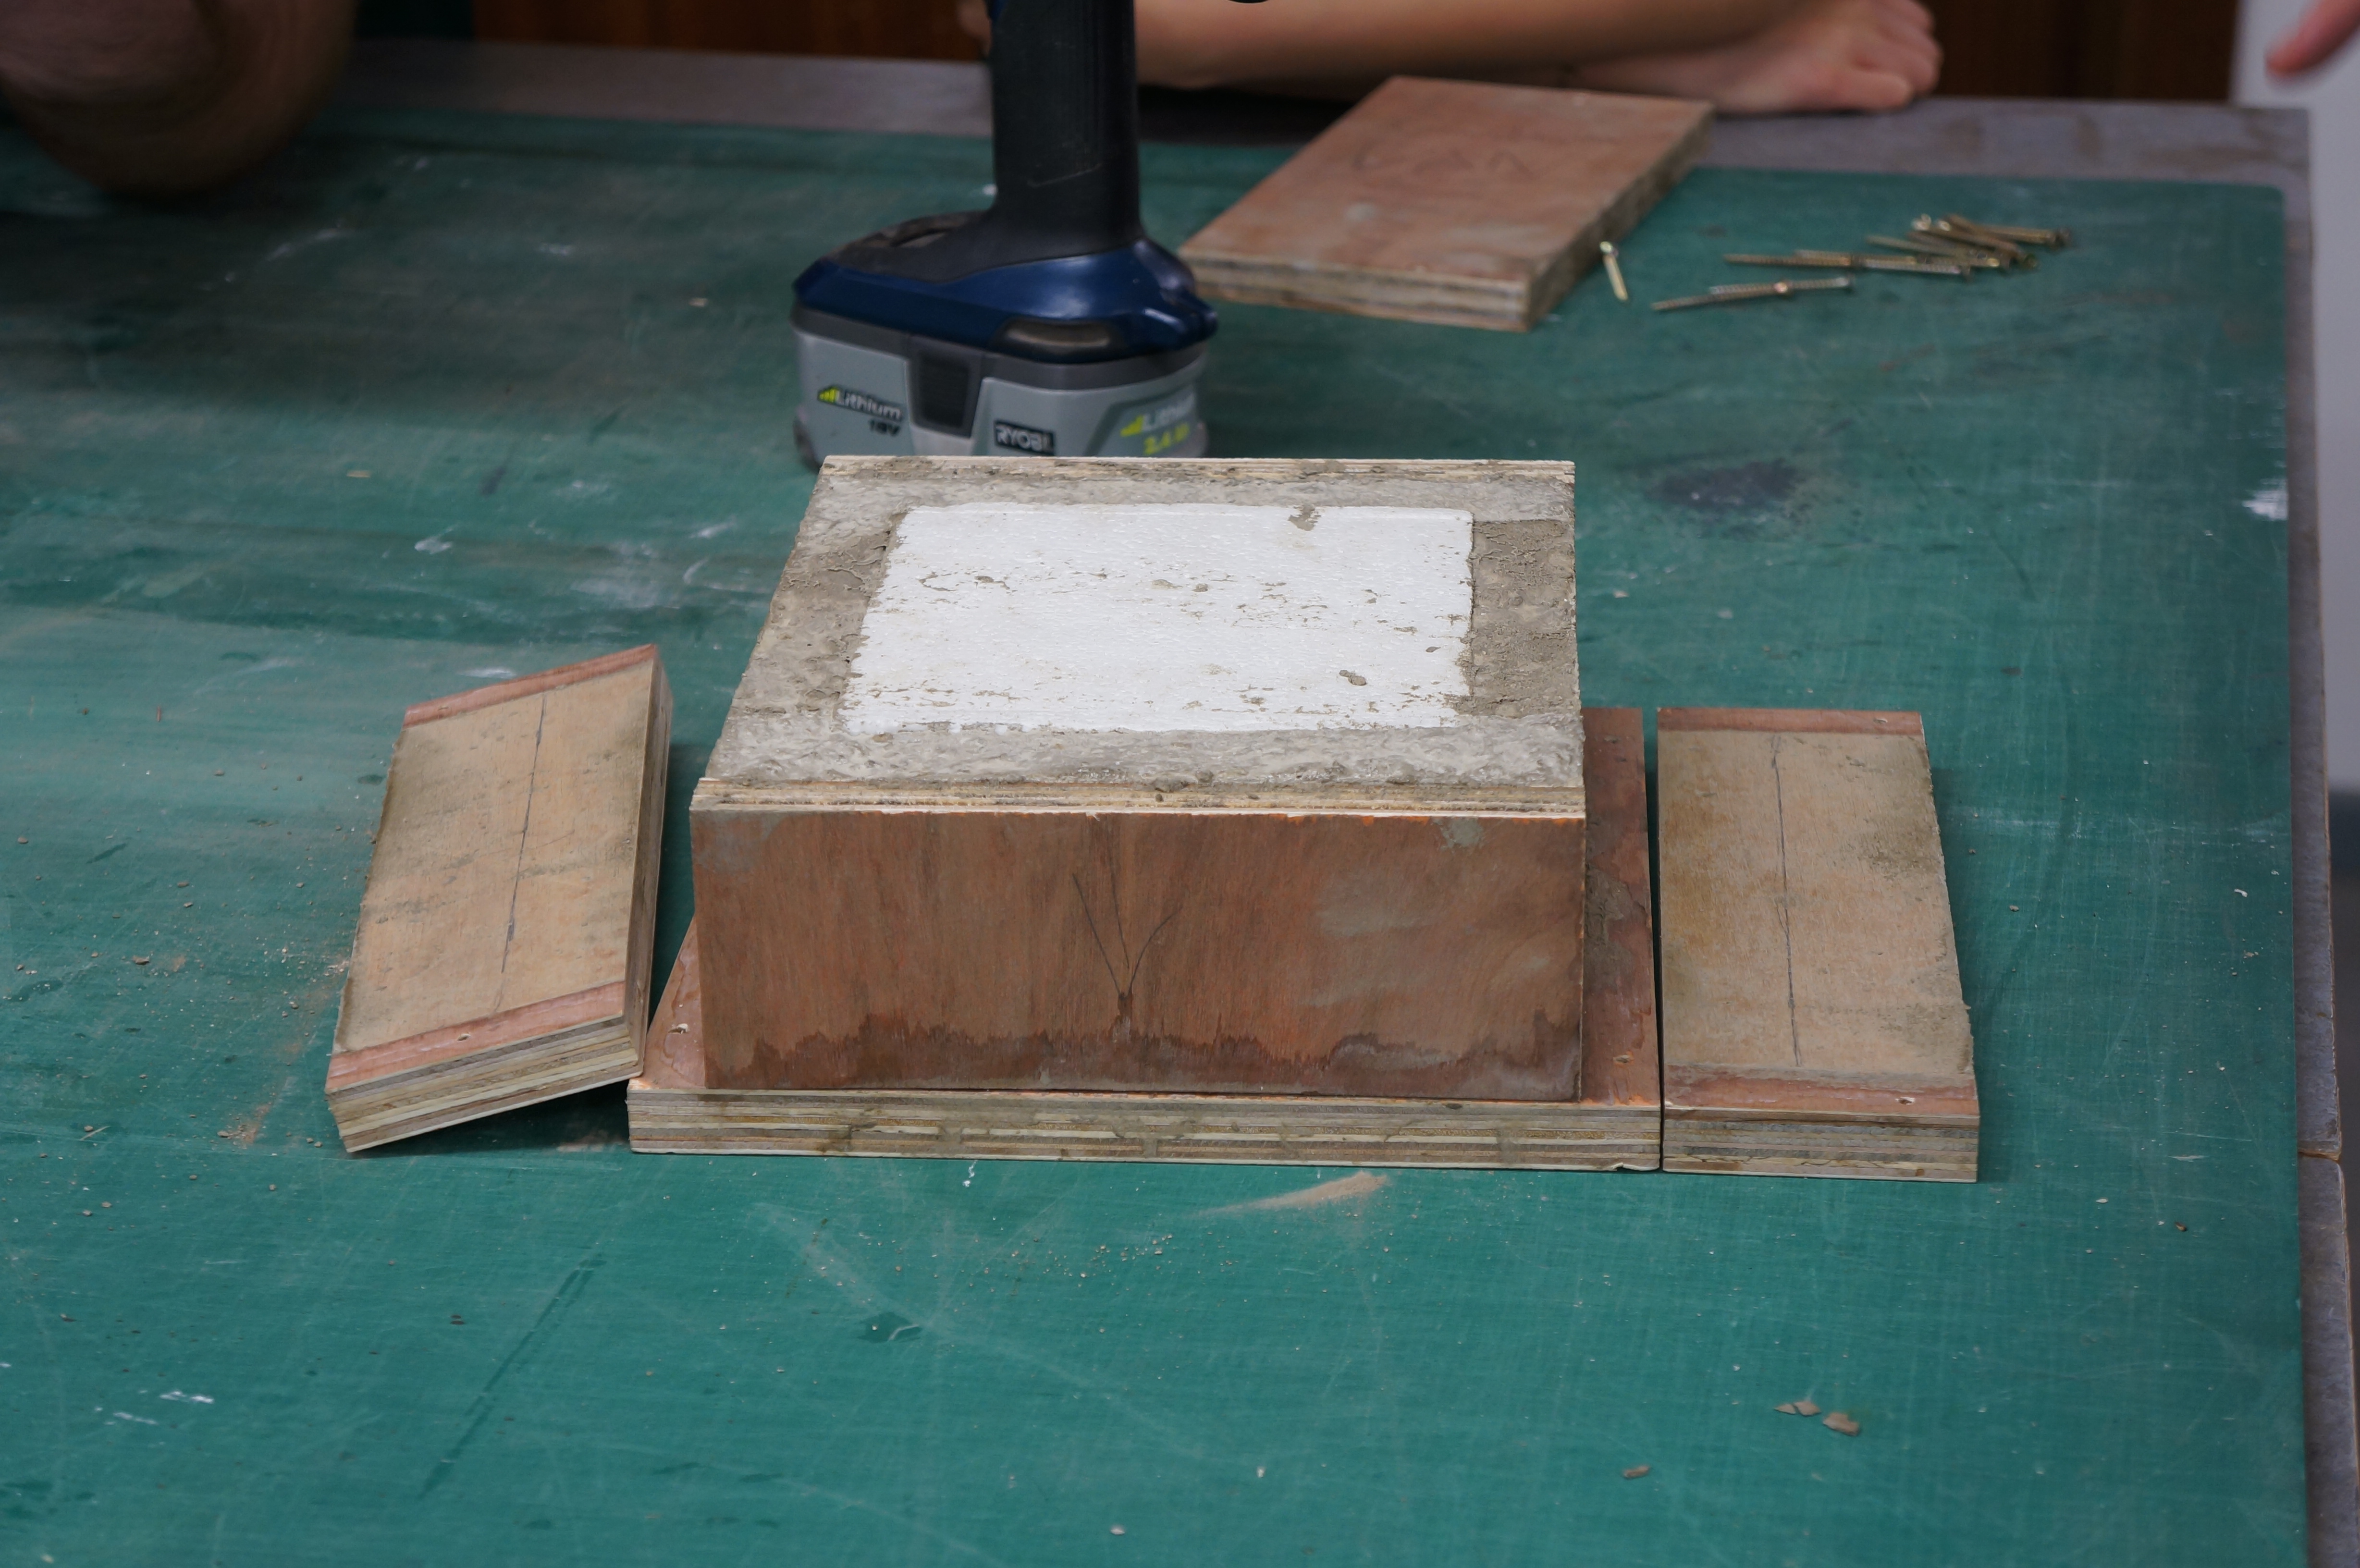
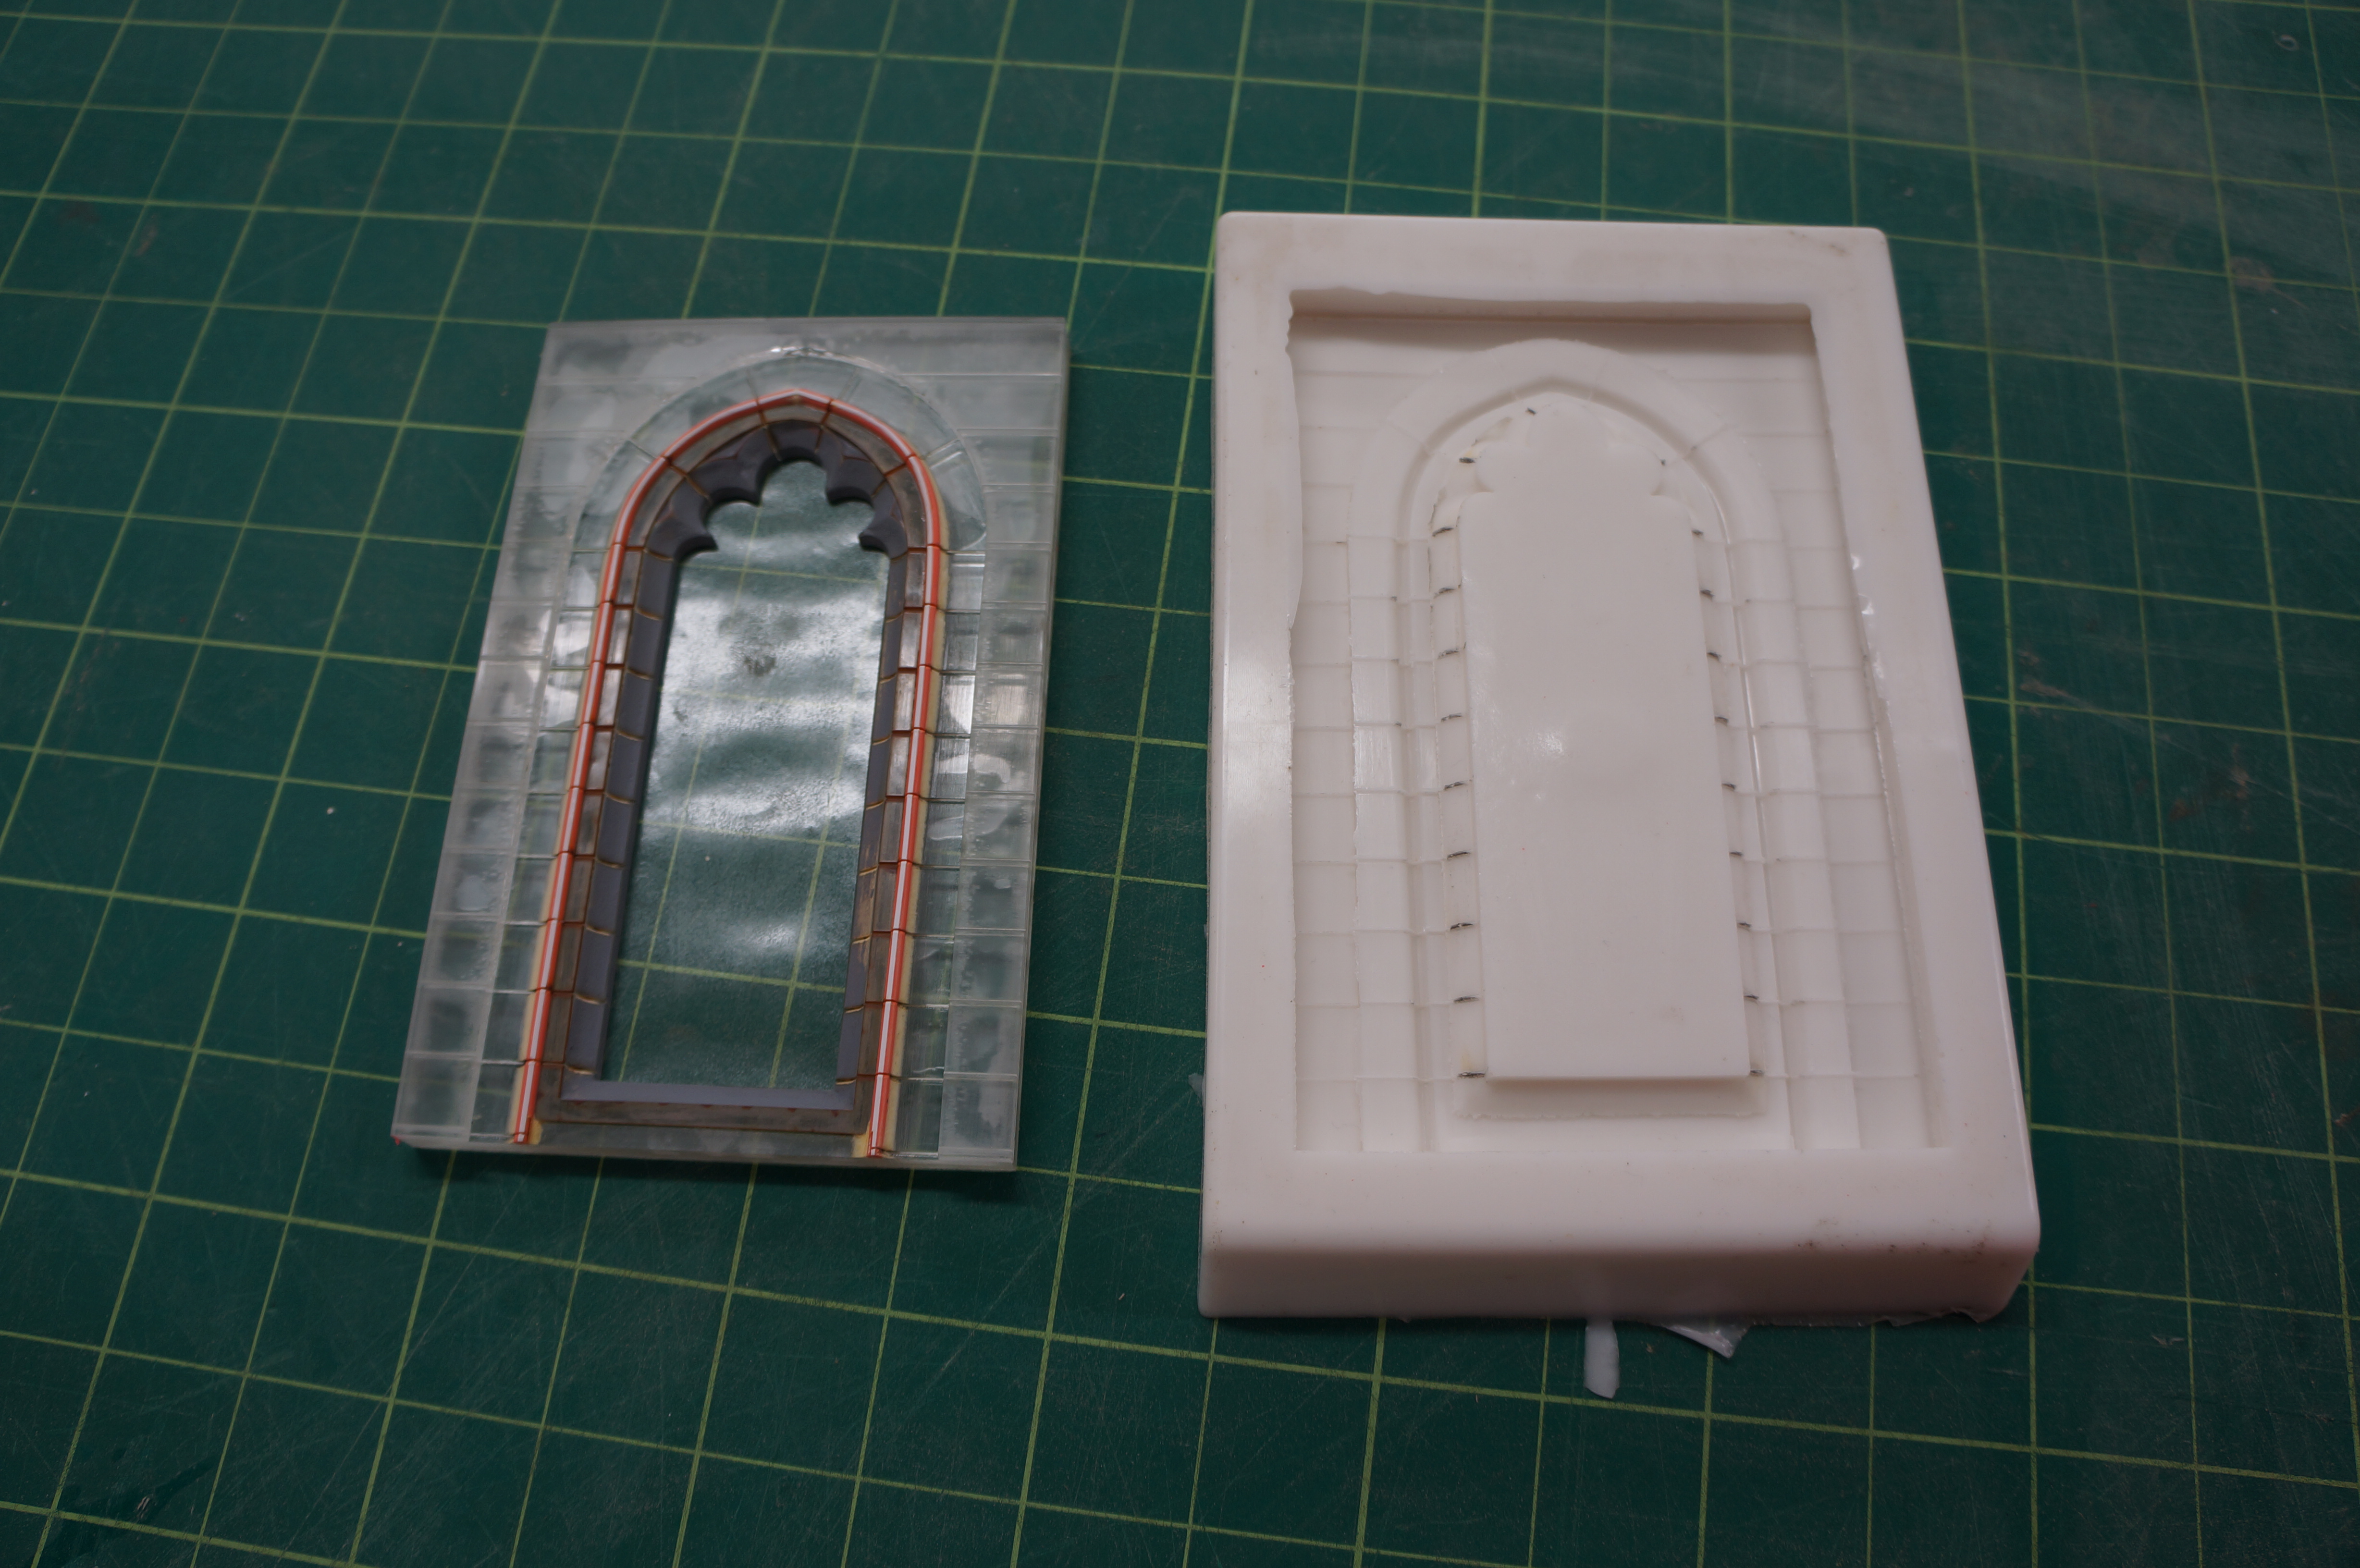
Once cured carefully remove the silicone mould preserving the master mould to be reused if any problems occur. The benefit of using silicone is that the flex allows the master and eventually cast items to be easily removed without much stain on the items themselves. Â Some minor trimming of silicone overlap may be required before the mould is ready to be used for plaster casting. Plaster Casting
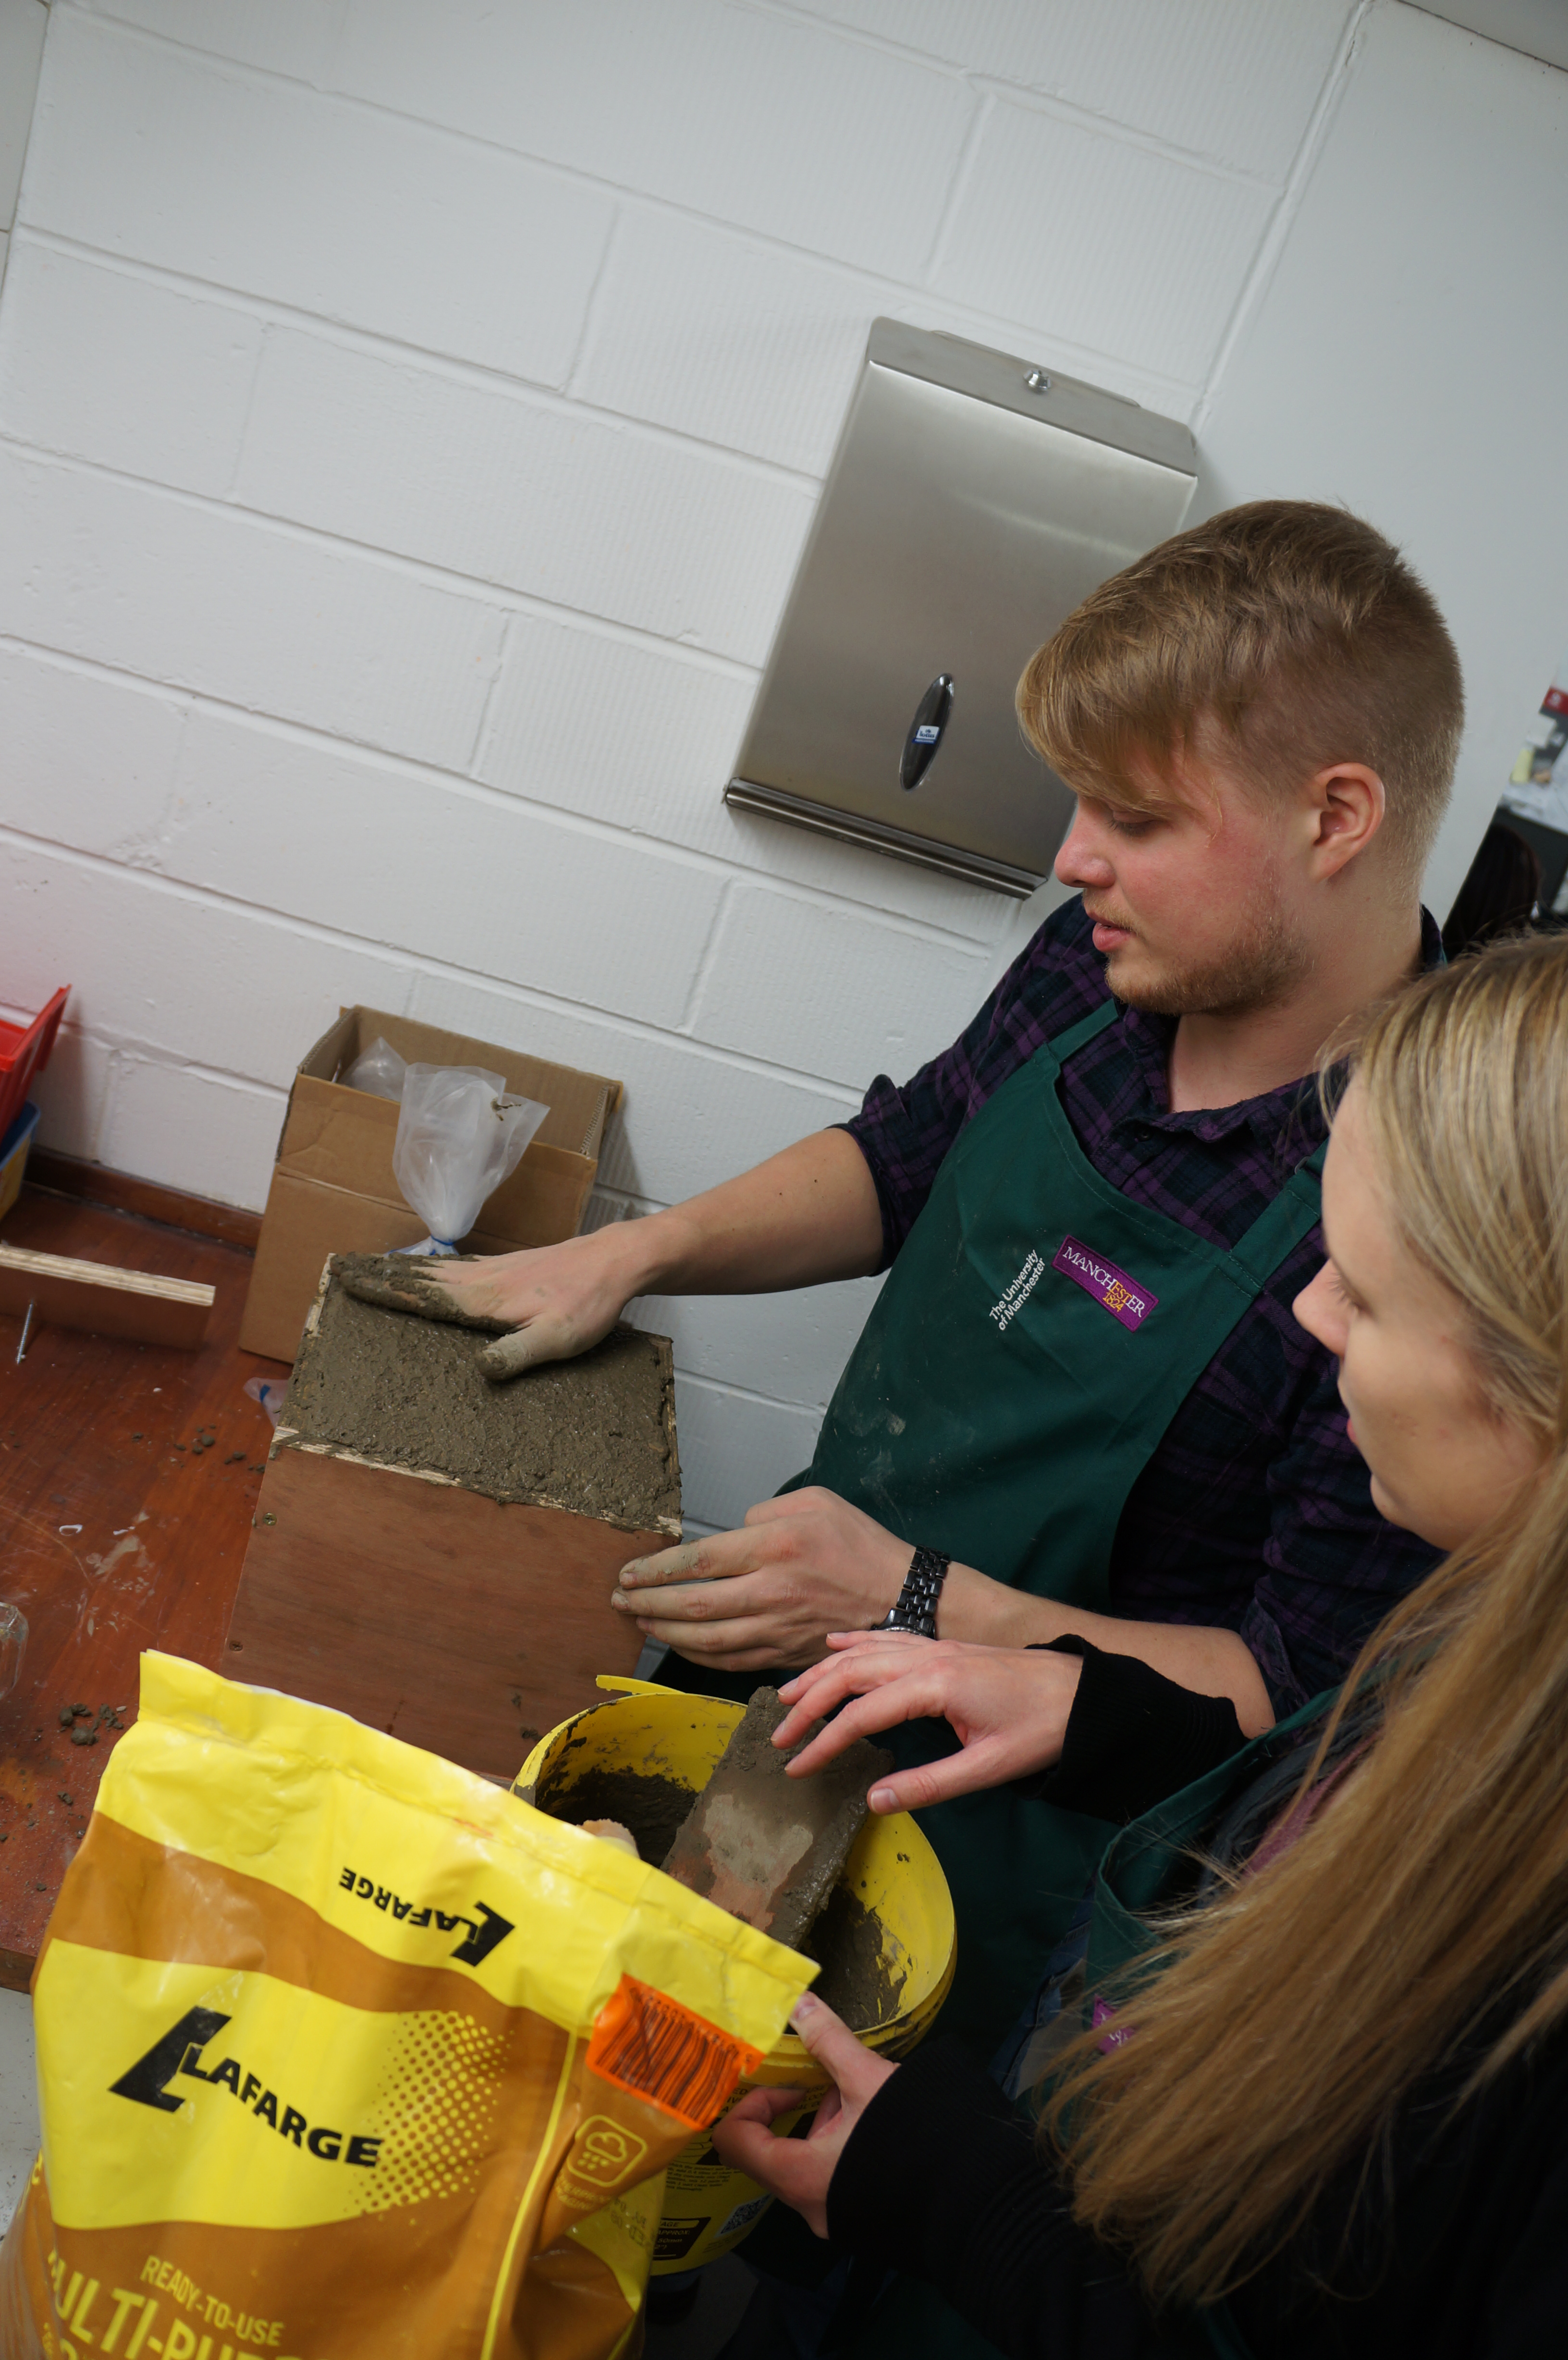
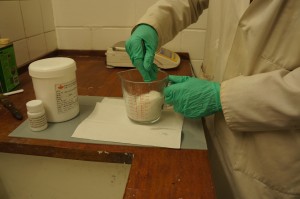
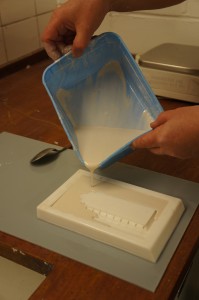
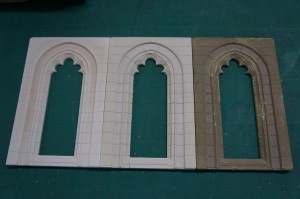
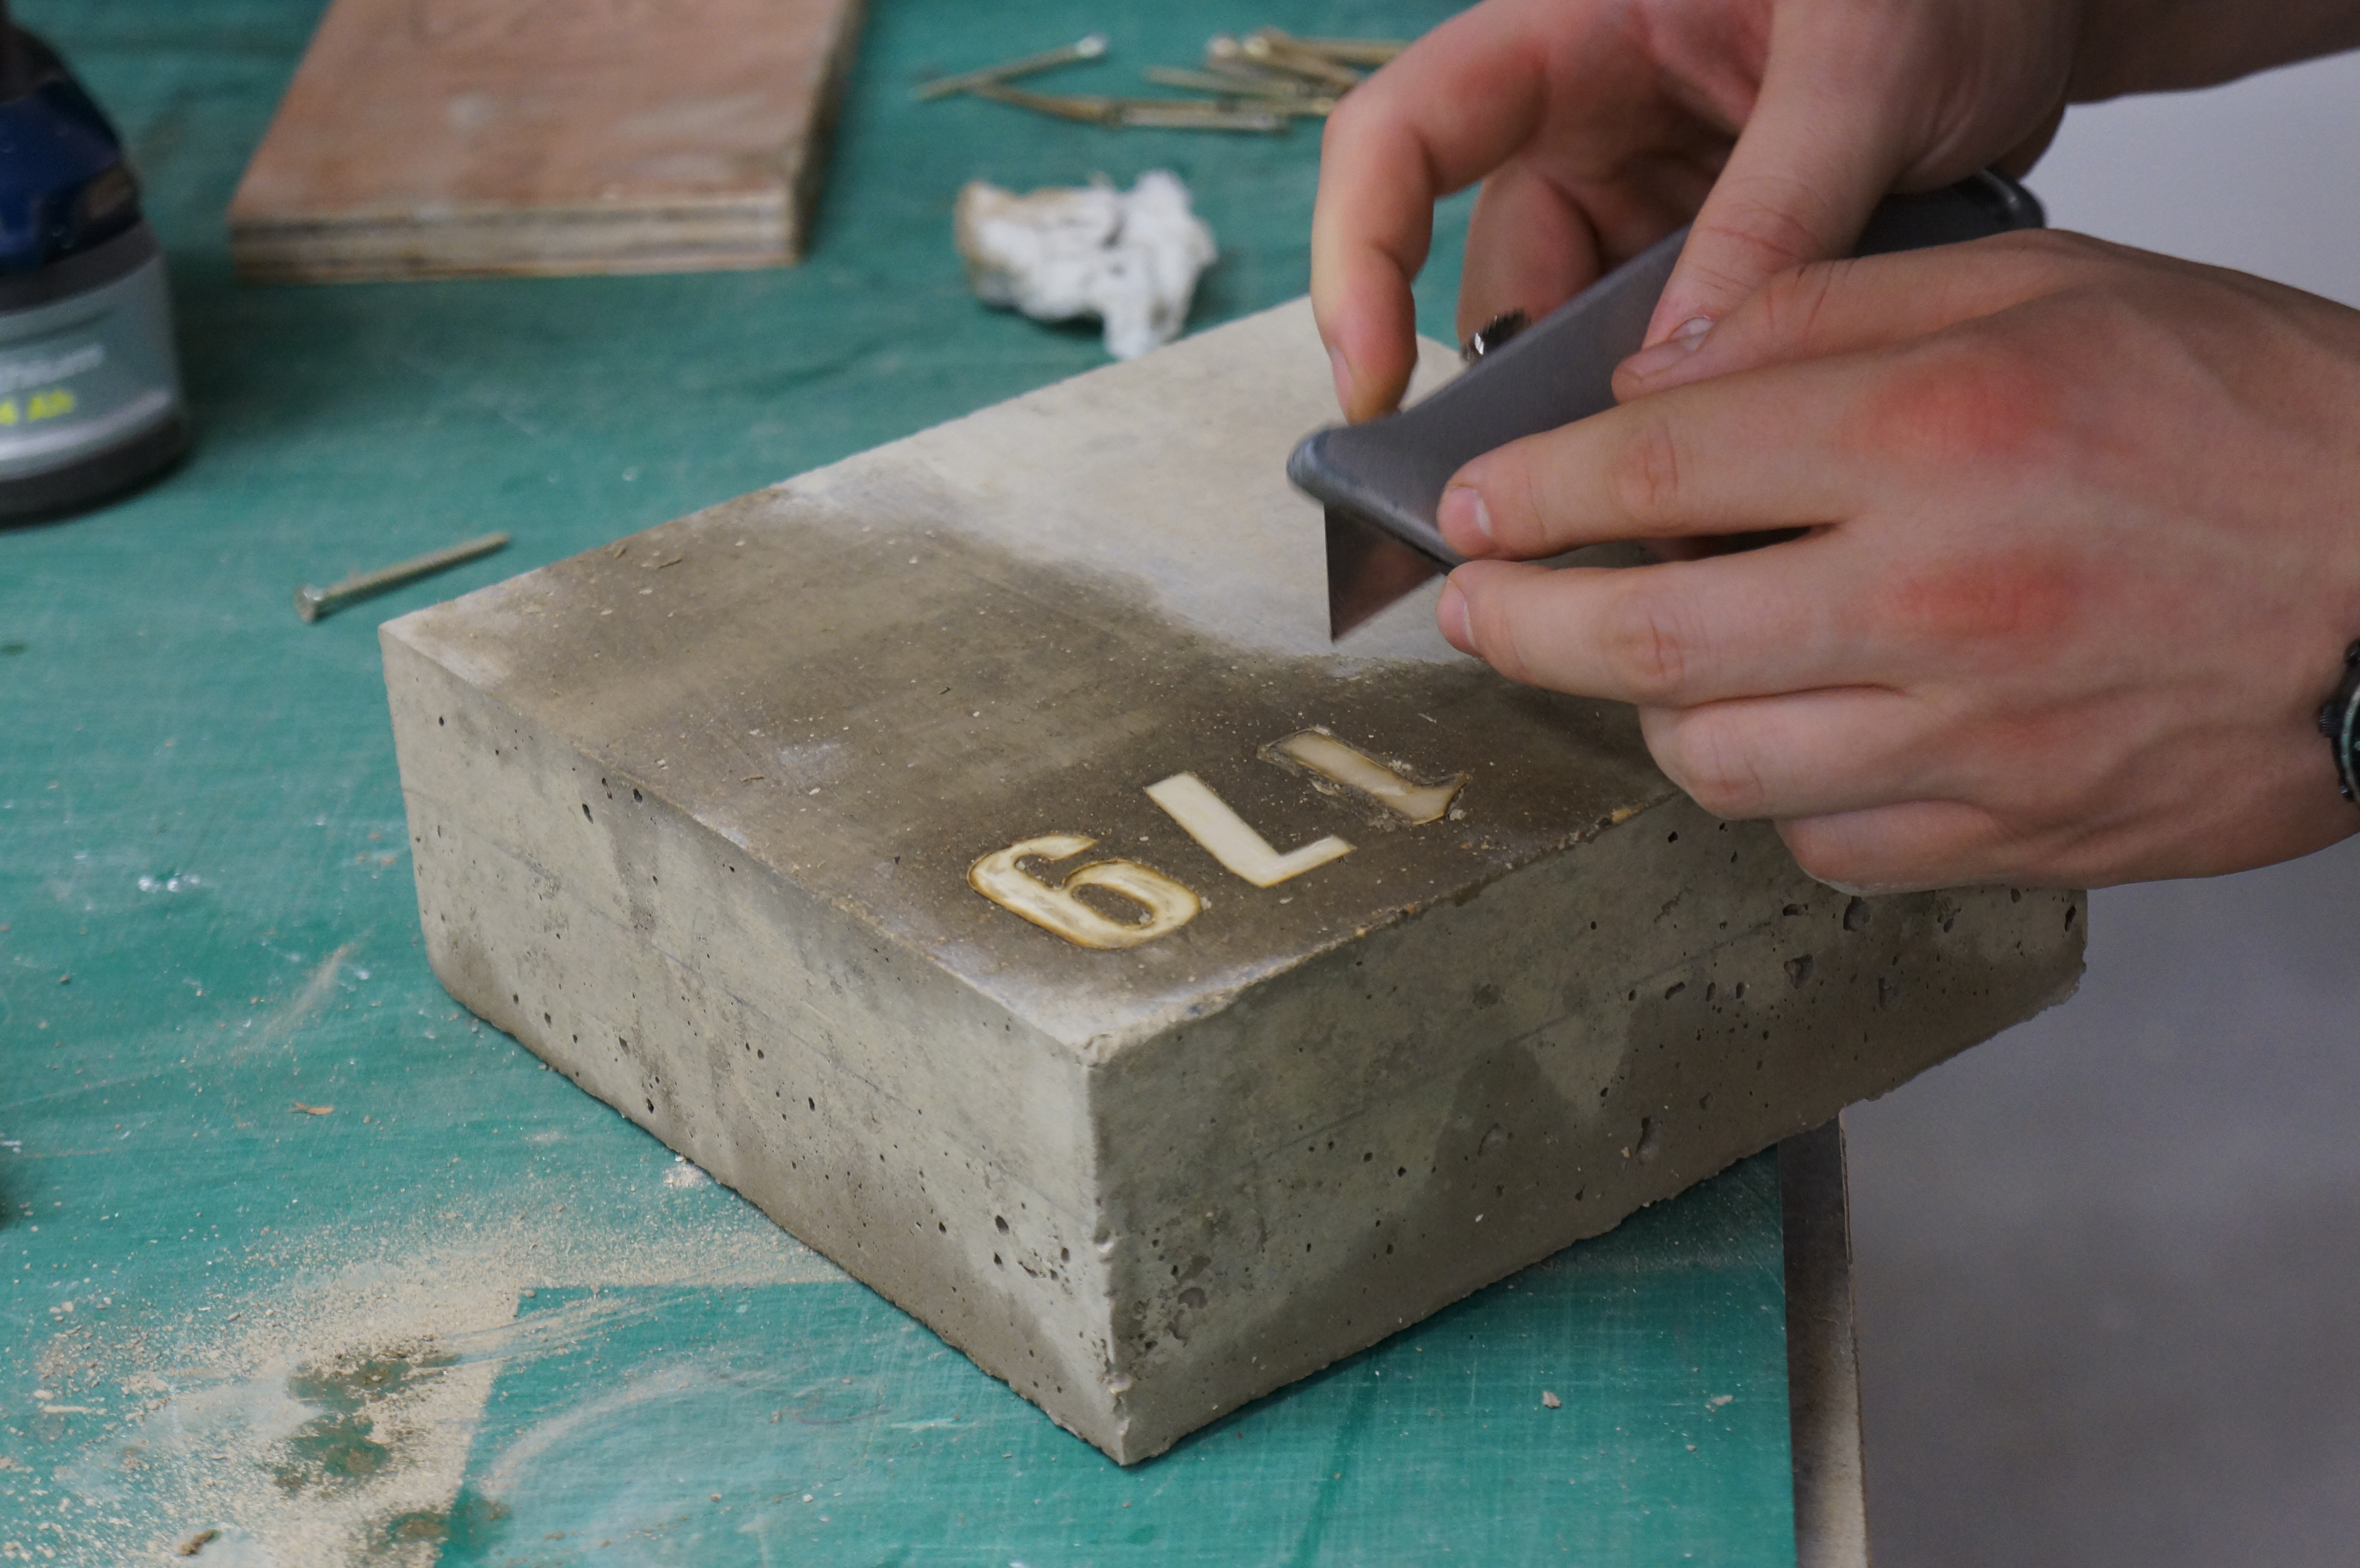
As with the silicone there are many types of plaster available so always check to see if the specification suits your needs. In this case we simply used stone plaster mixed to the correct consistency and poured directly into the silicone mould – no release agent required.
Once the plaster has set it can be carefully removed from the mould giving a completed cast. These sections can be used as tests or replicated to create a more detailed facade. 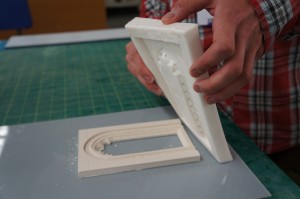
One area we have touched on is adding pigments to the plaster mix to give varied results in terms of finished cast colouring. We will revisit this area when we have time to experiment some more and let you know how it goes. If you have any ideas that could make use of this method of making be sure to get in touch either via email or in person at the workshop. We are more than happy to help! Scott & Jim

 These two renders show how the facade would appear with shades open (above)and then closed (below)
 Henry describes the project for us:
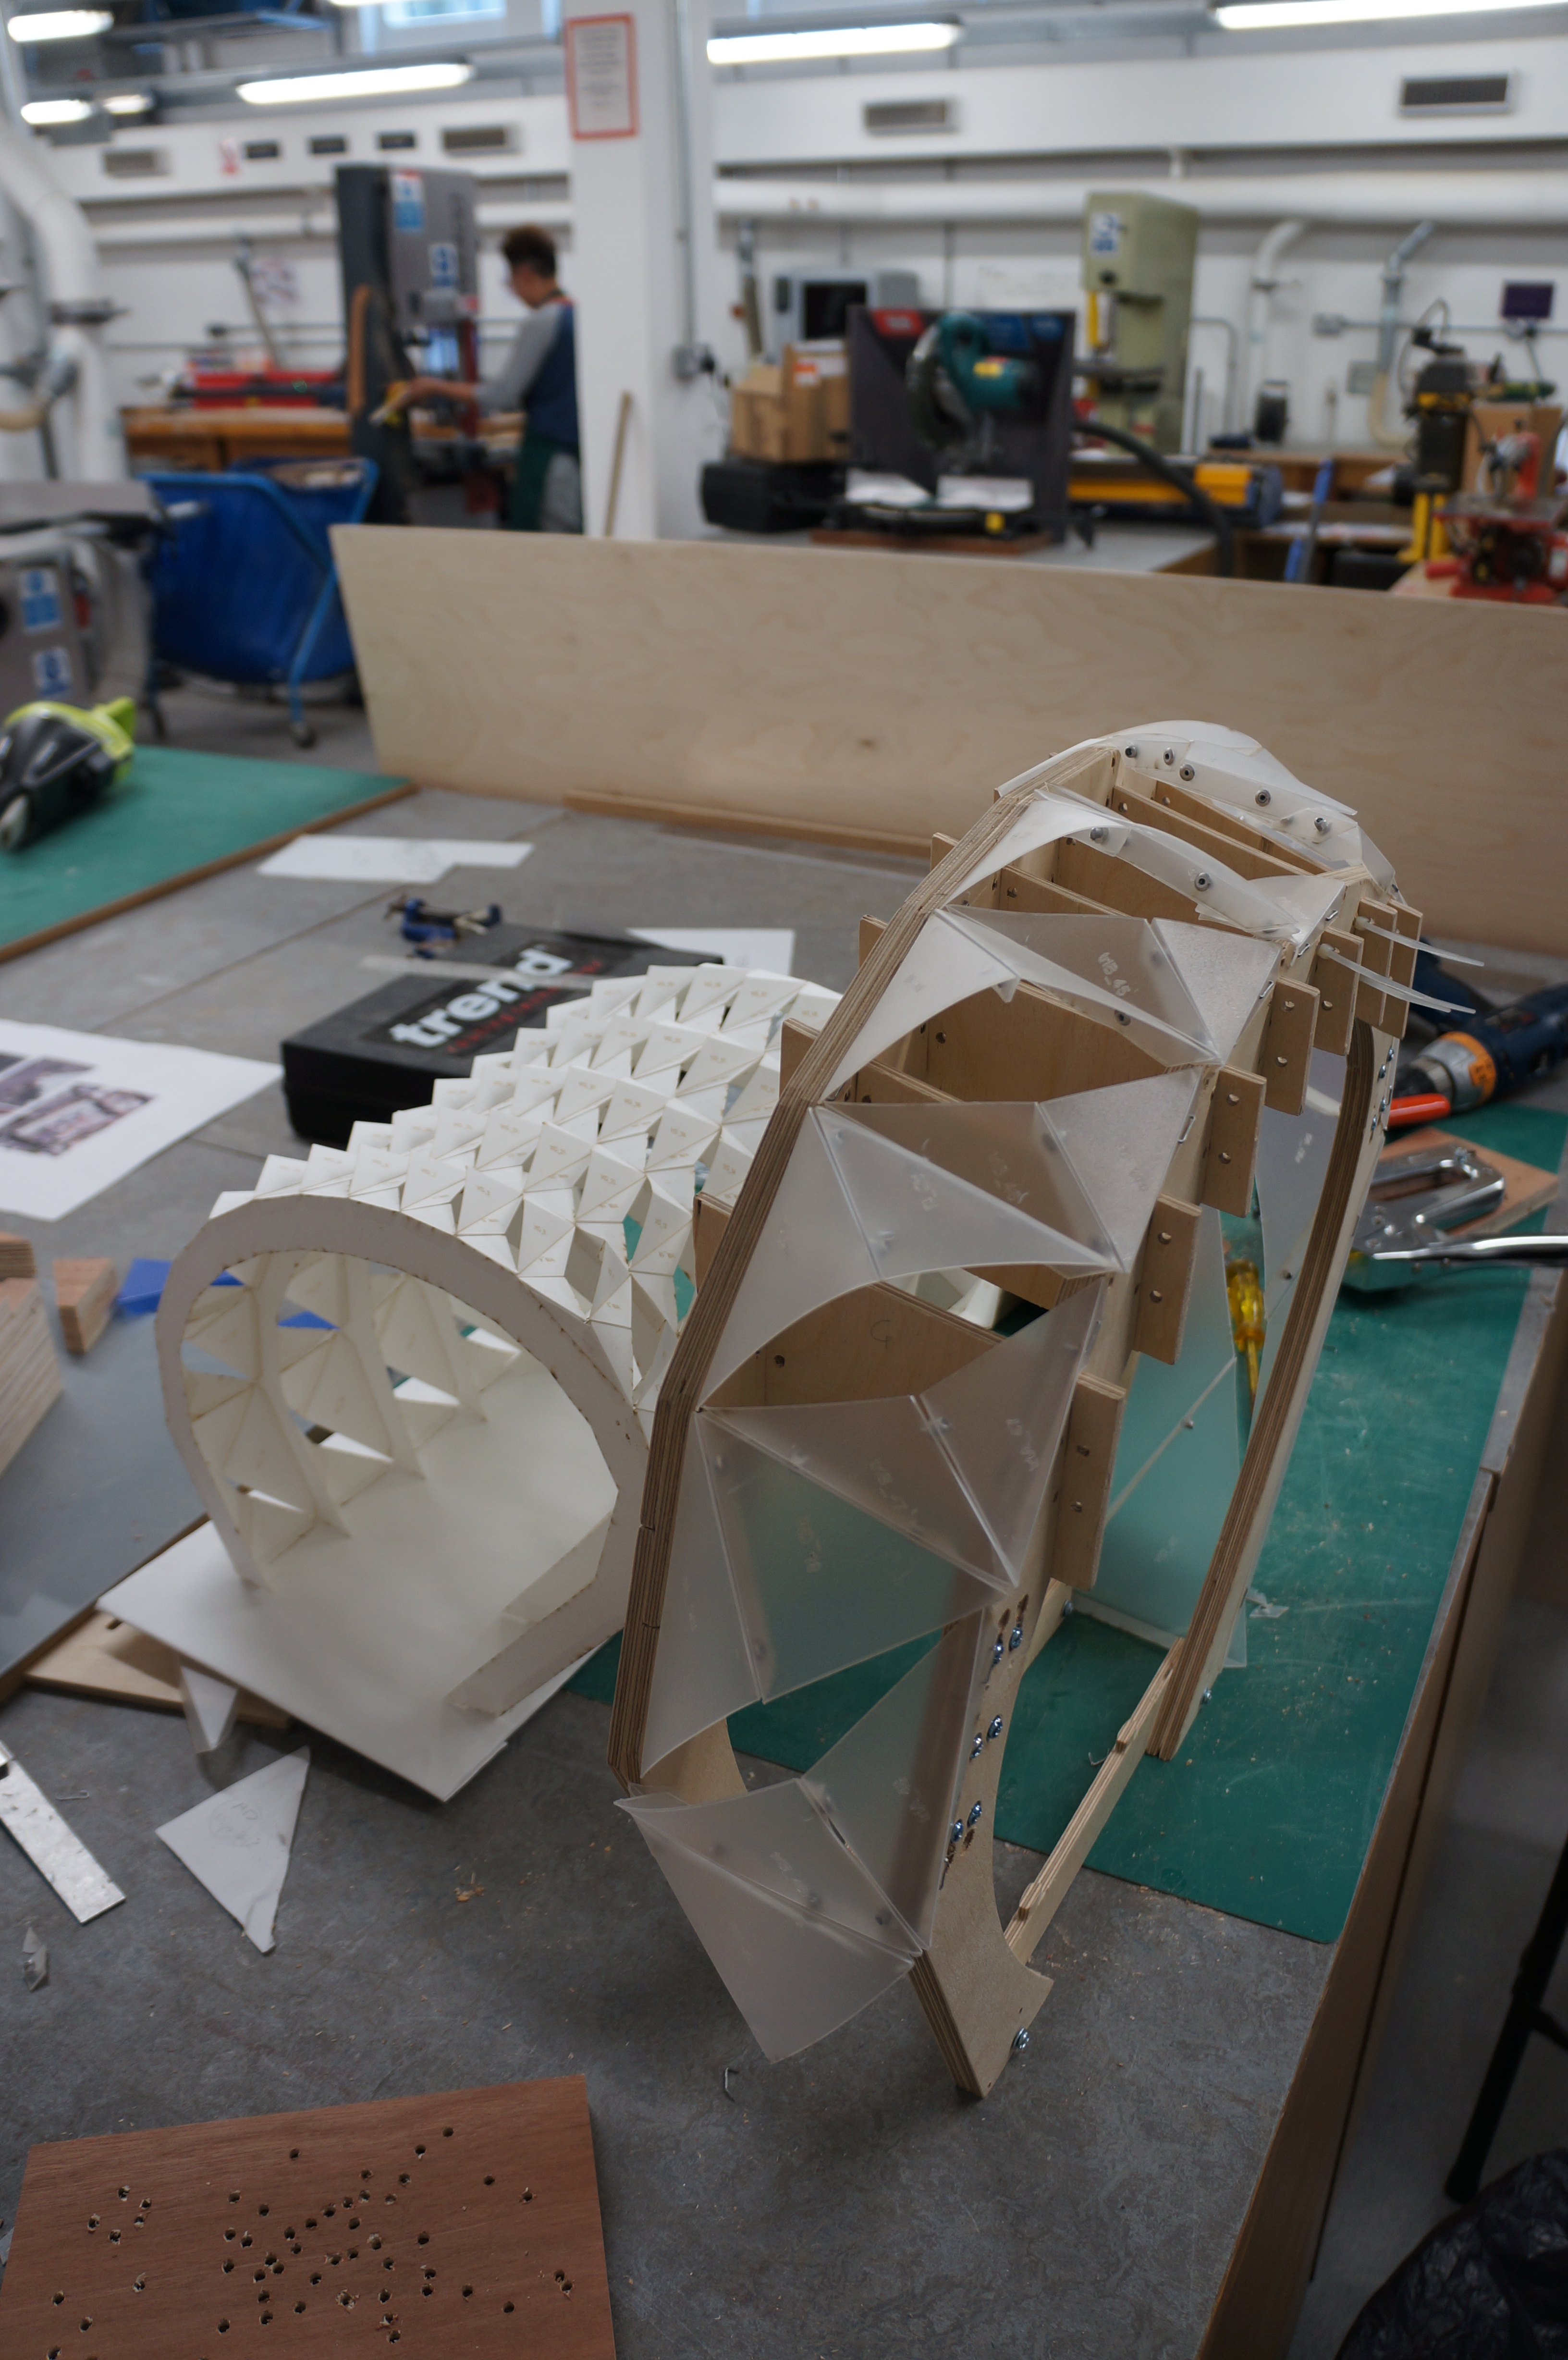
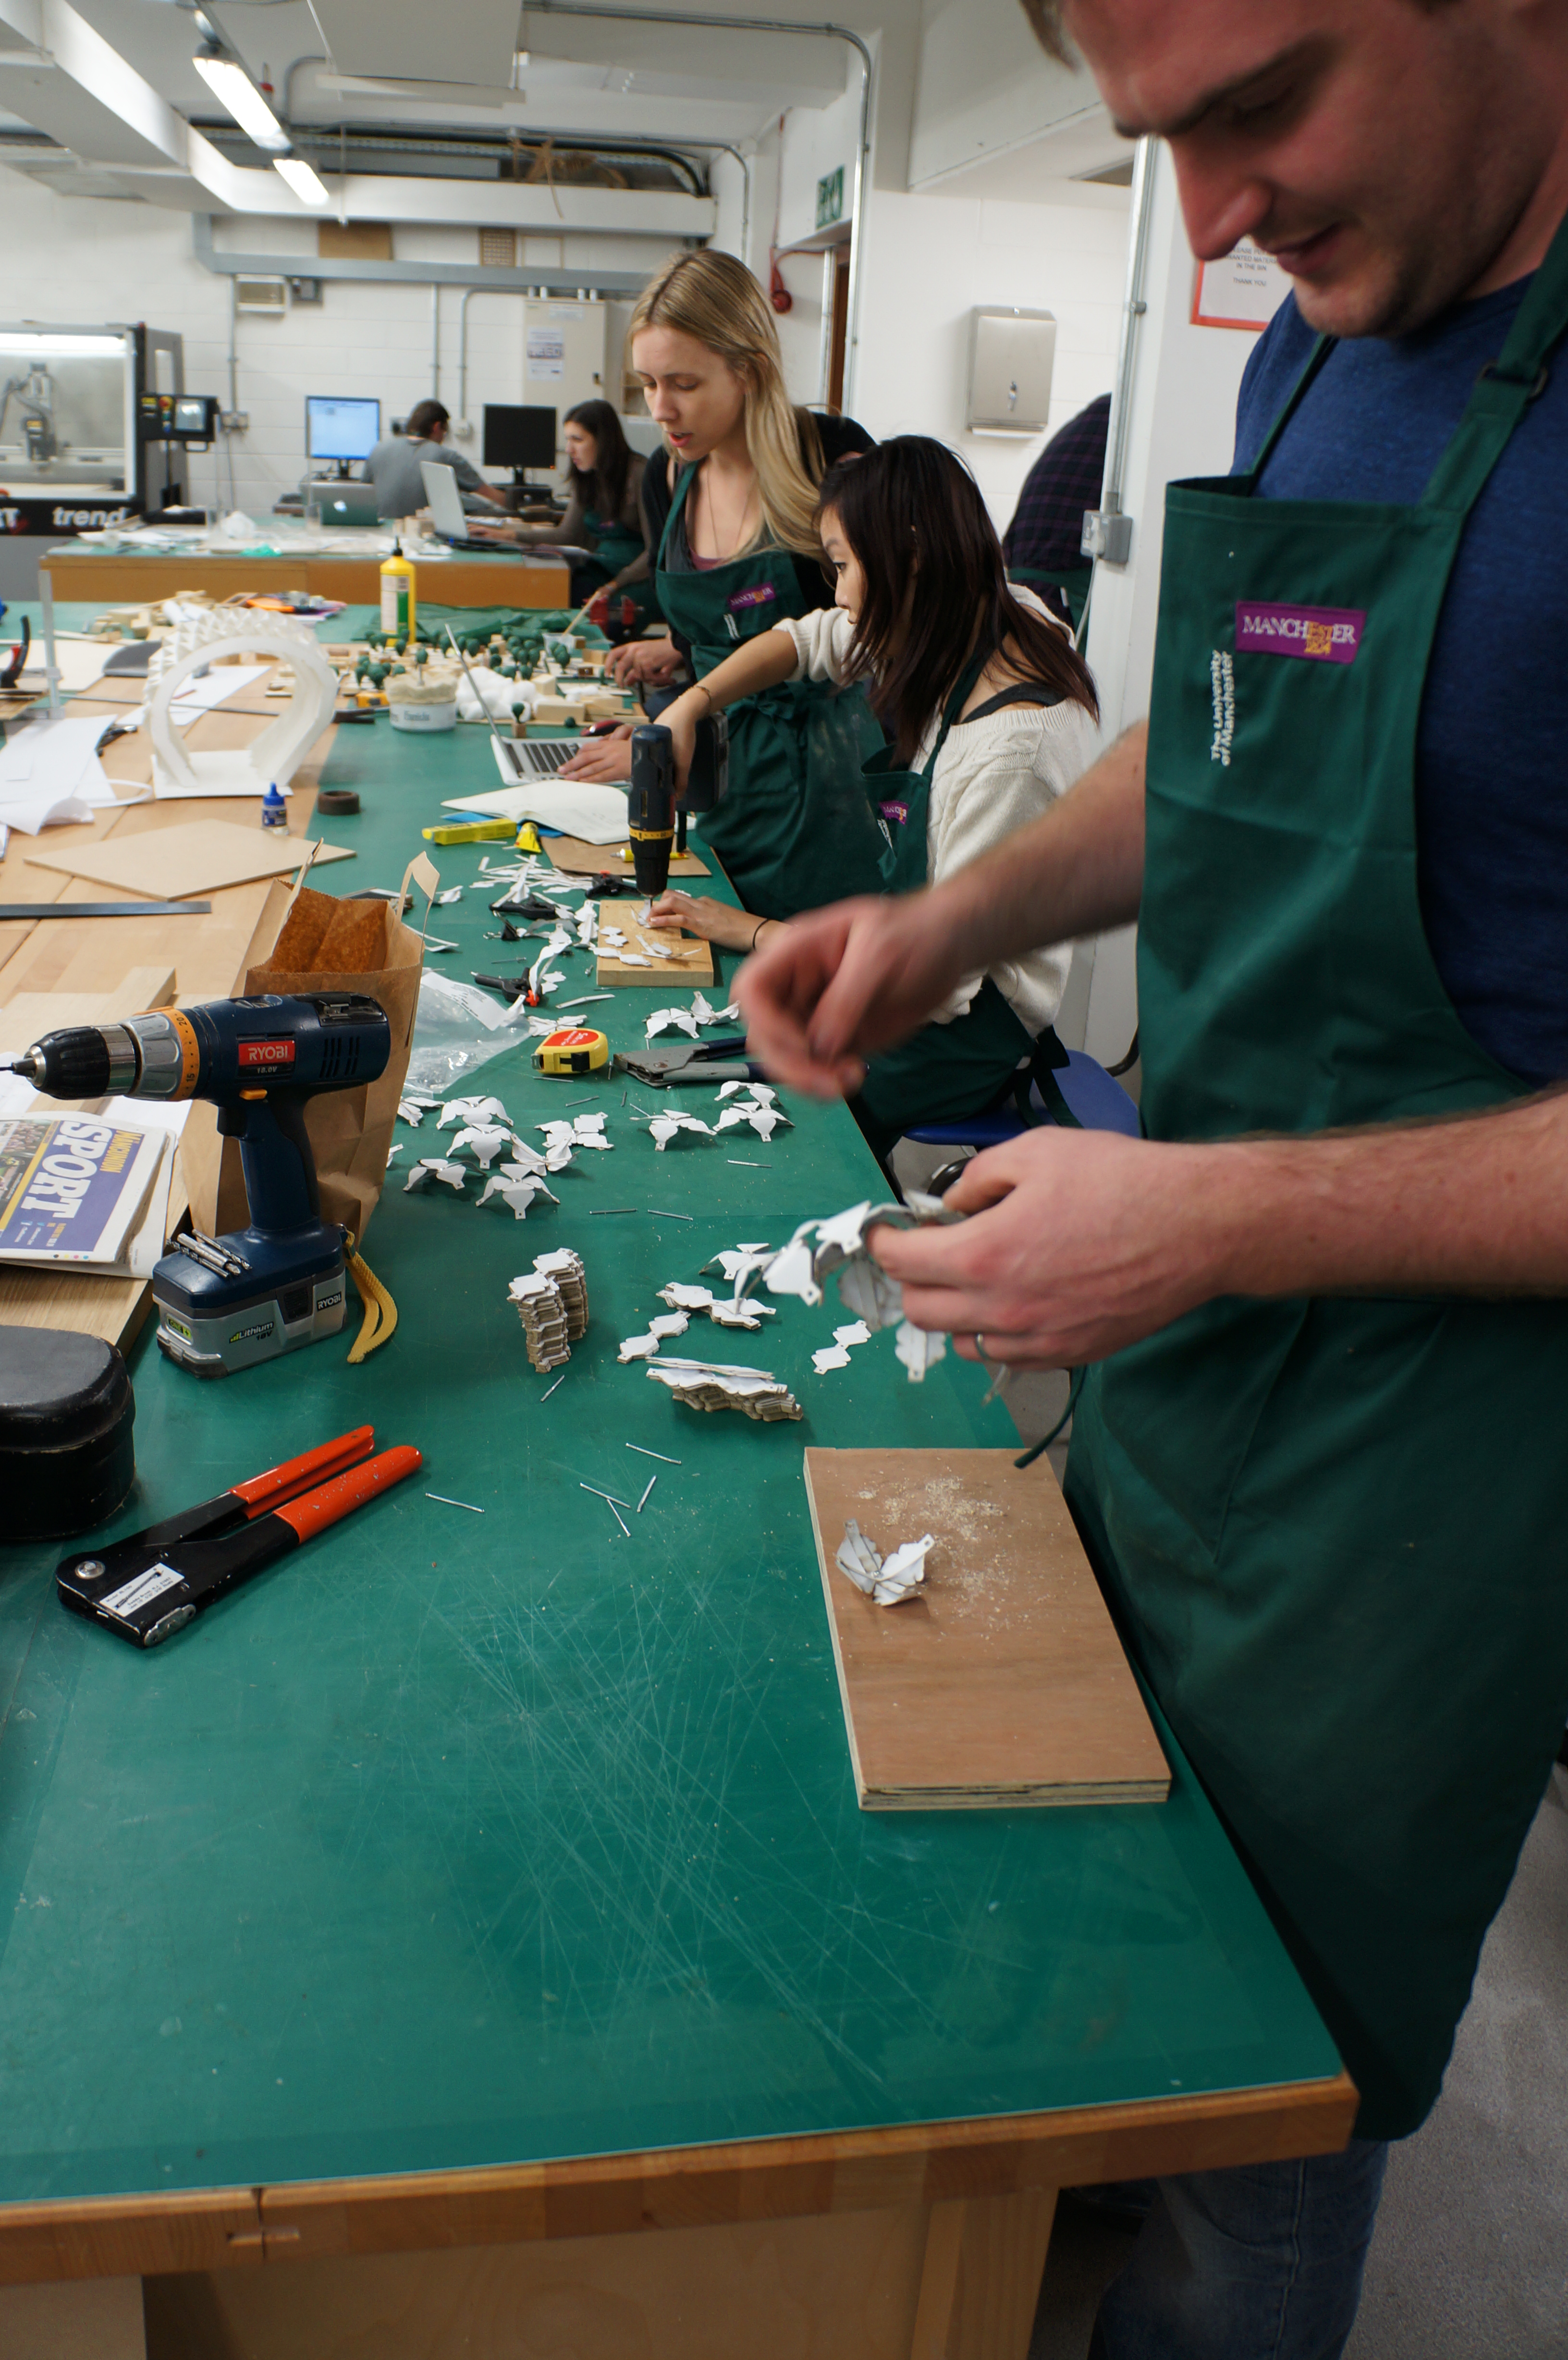
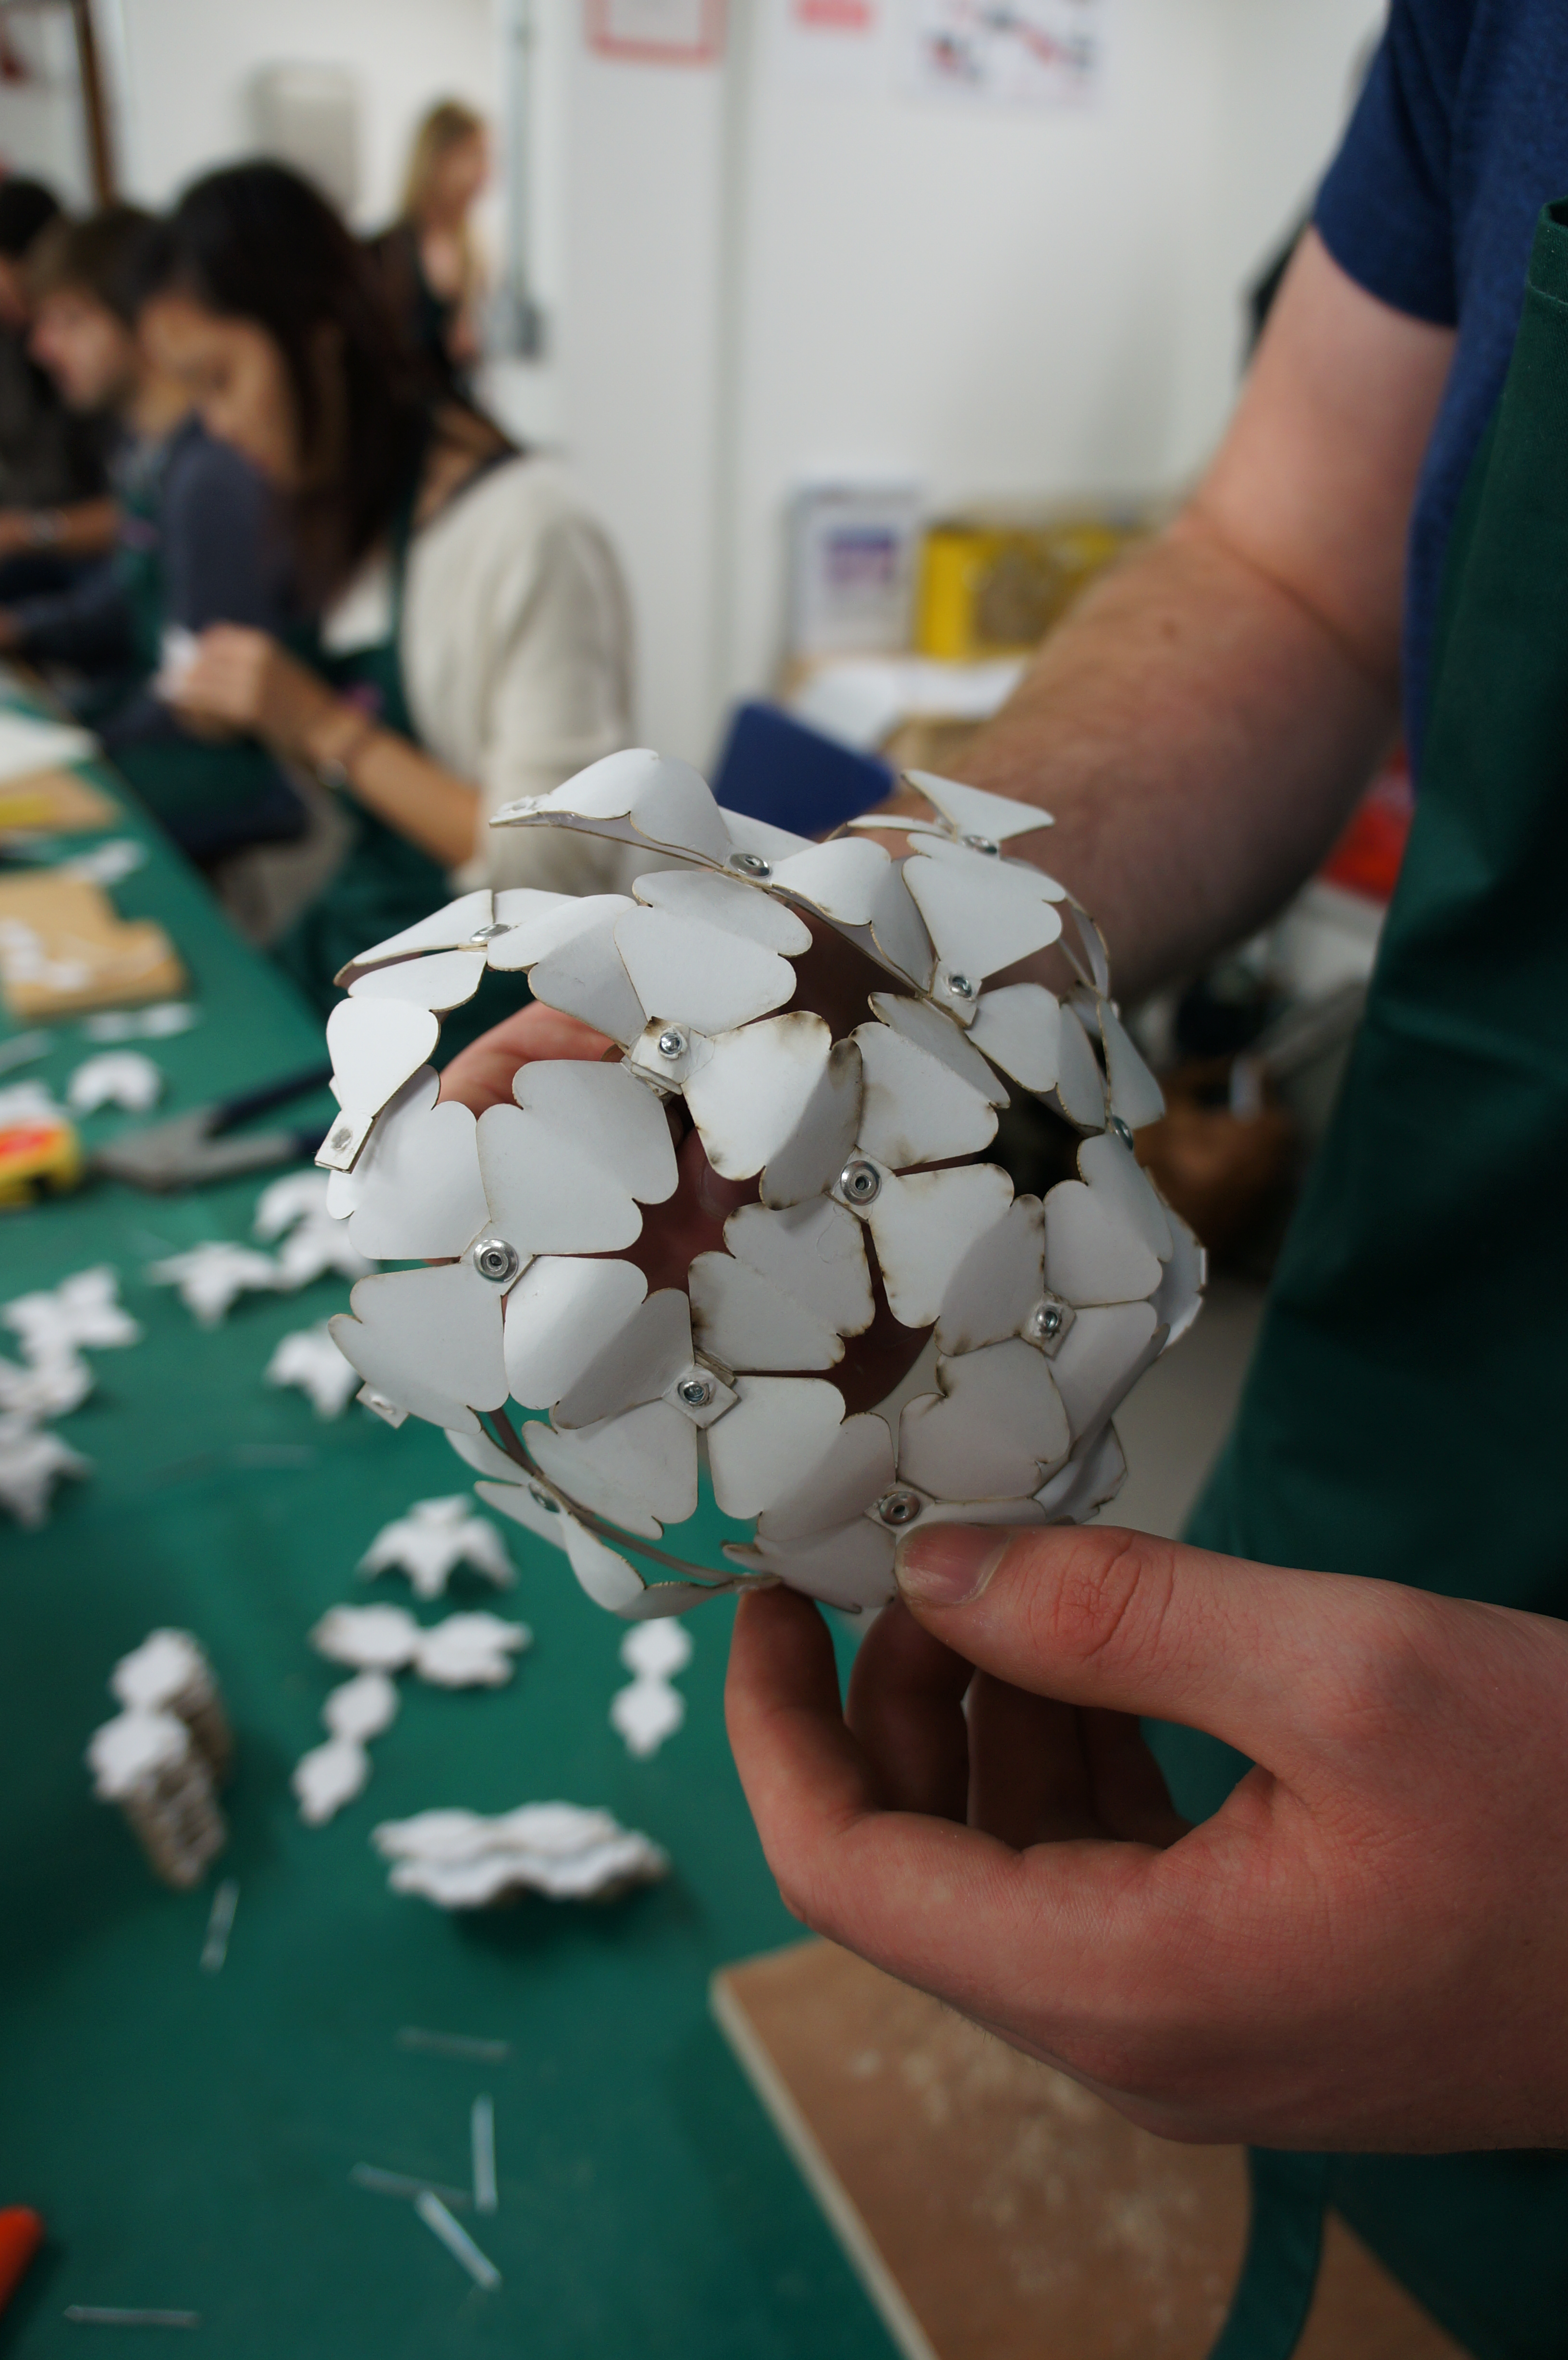
 Henry cut the gearing for the model using acrylic to create the components which he had developed through test models previously. The refined design was then drawn up in cad and the component profiles laser cut – fabric included. When cutting fabric or any material you are unsure of it’s always a good idea to run some tests on a scrap piece to ensure the finish you wish to achieve.
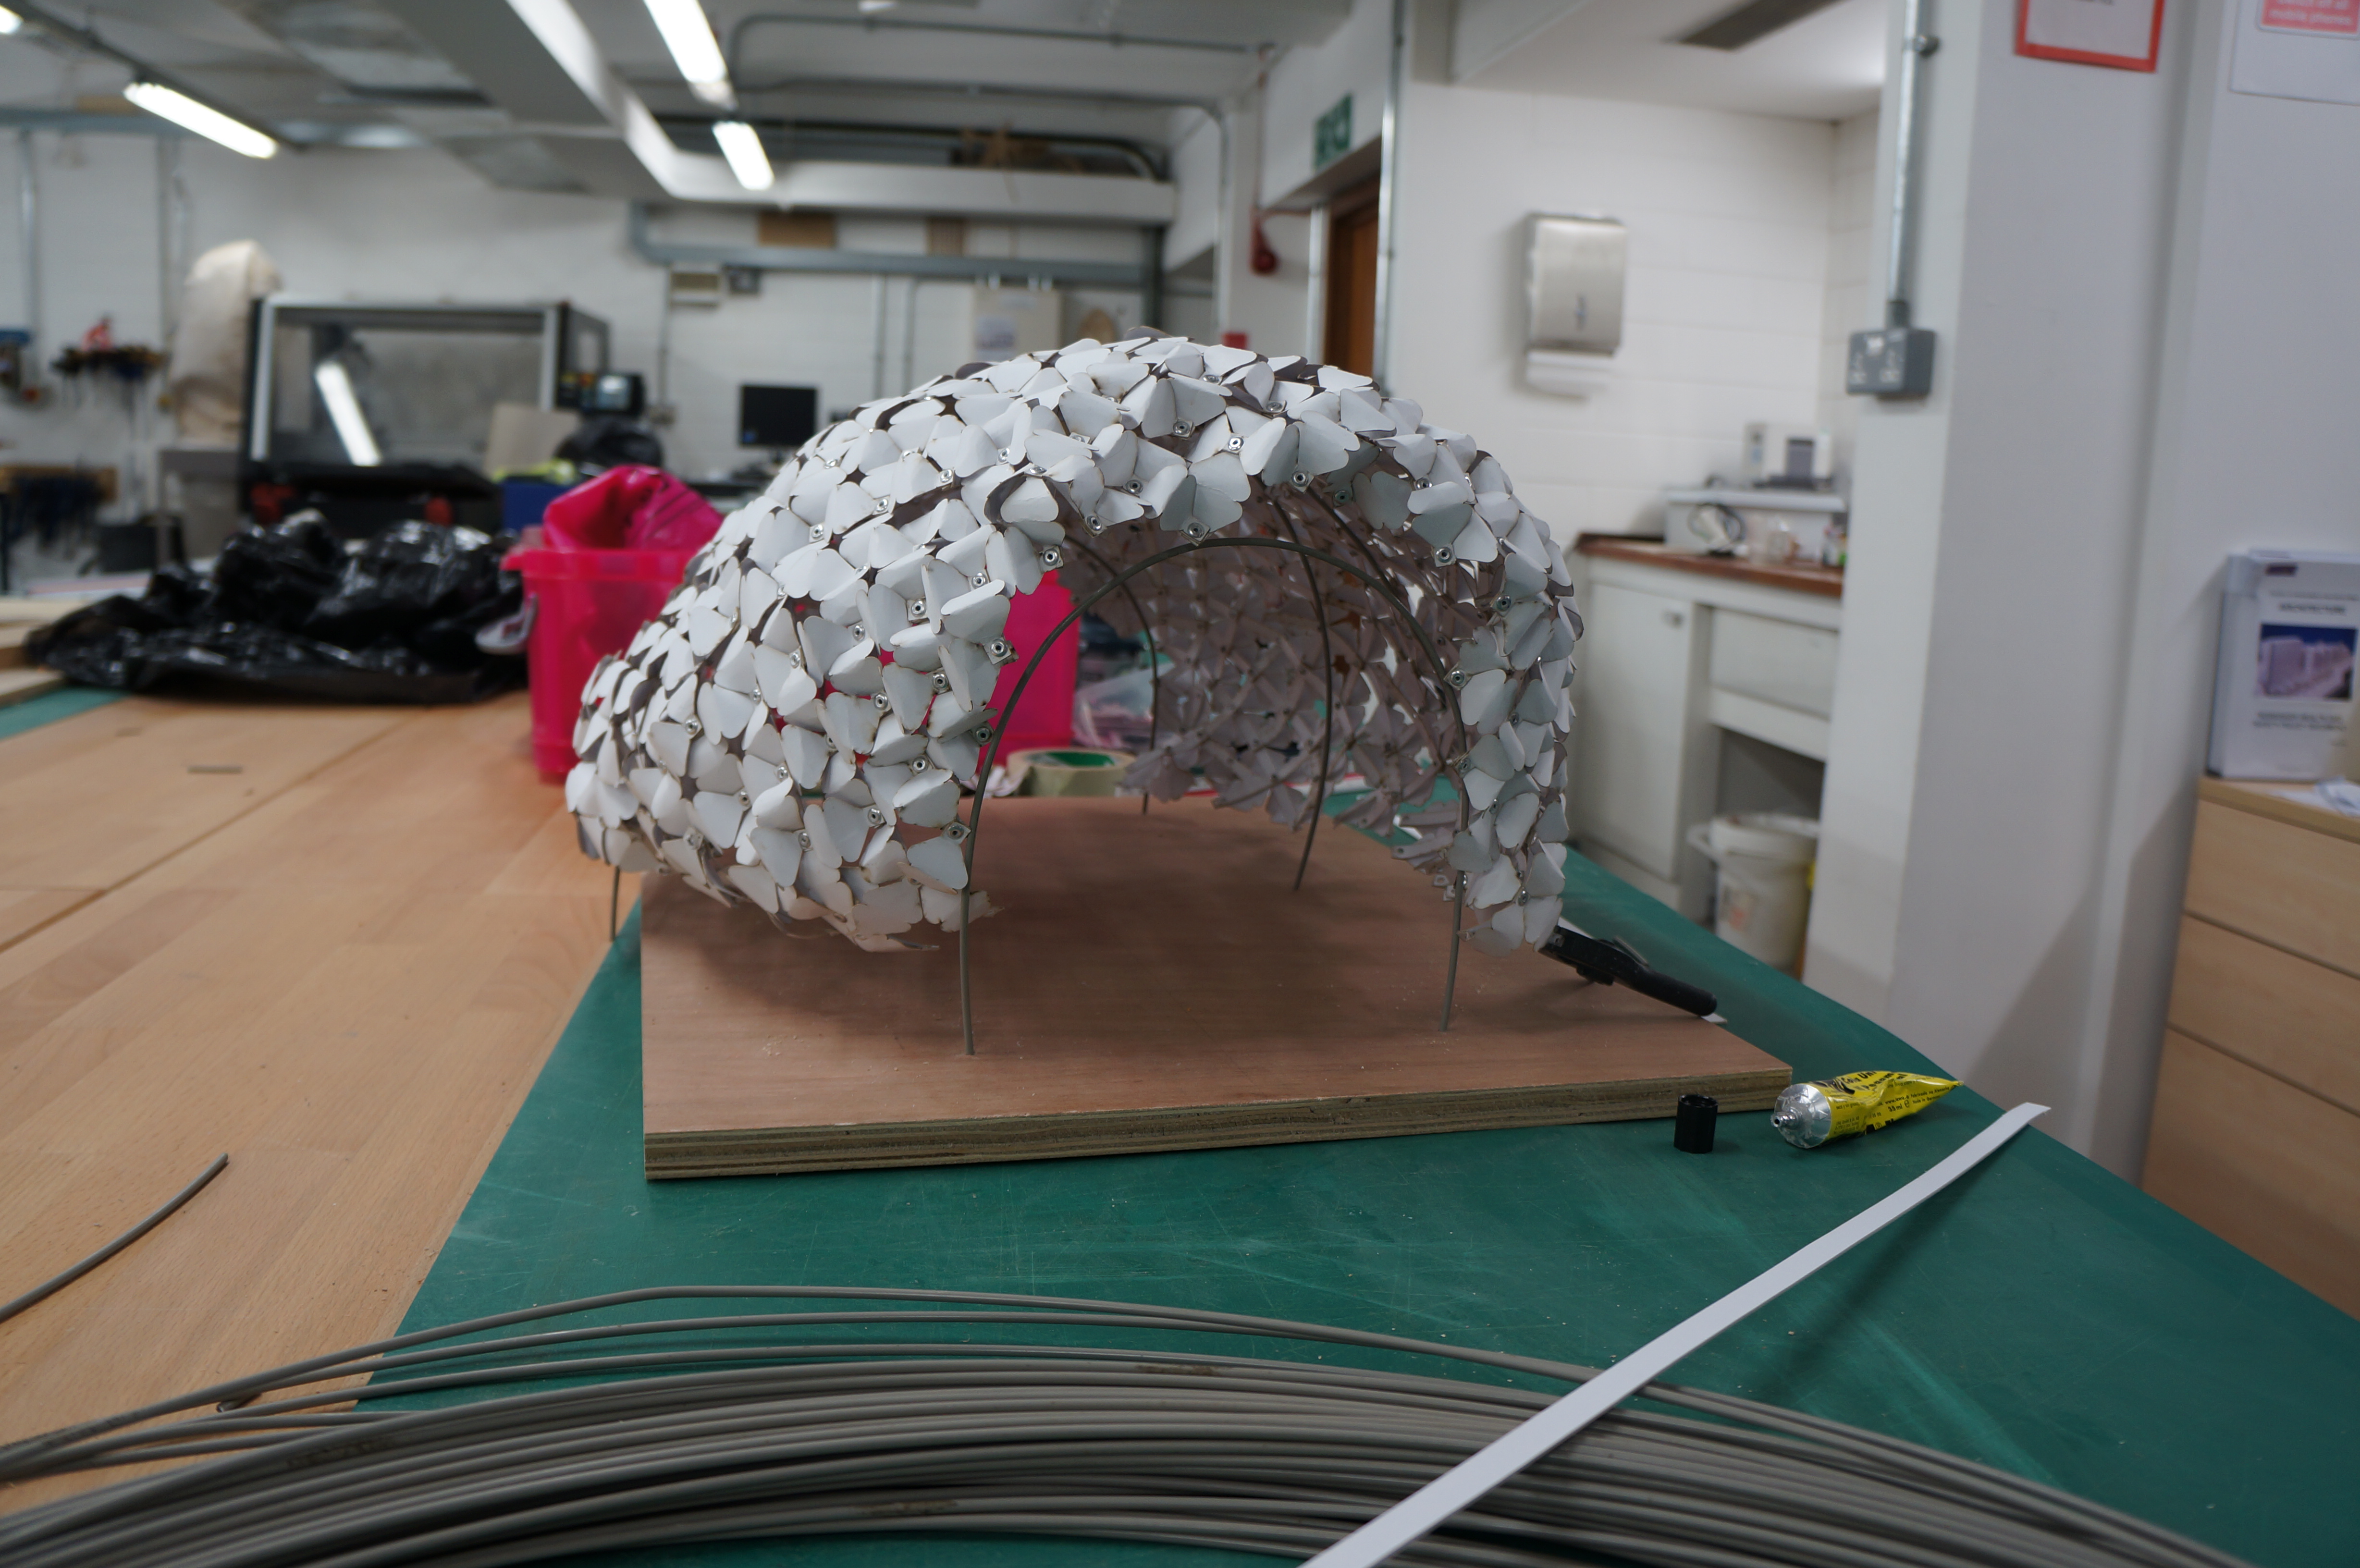
 Wire was used as a former and support for the fabric ‘fans’ which when stretched out want to fold under their own weight.


